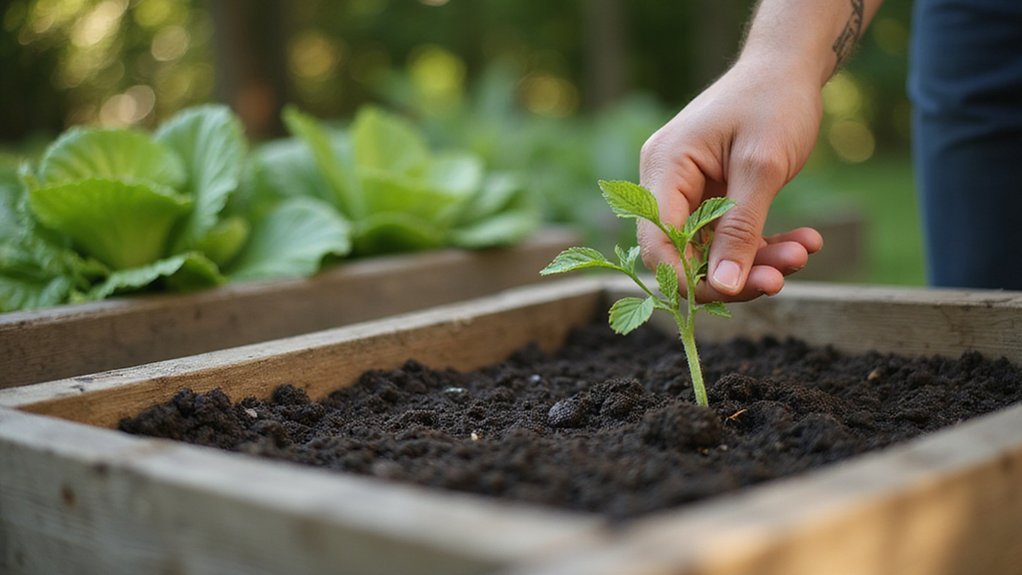
What to Put in a Raised Garden Bed
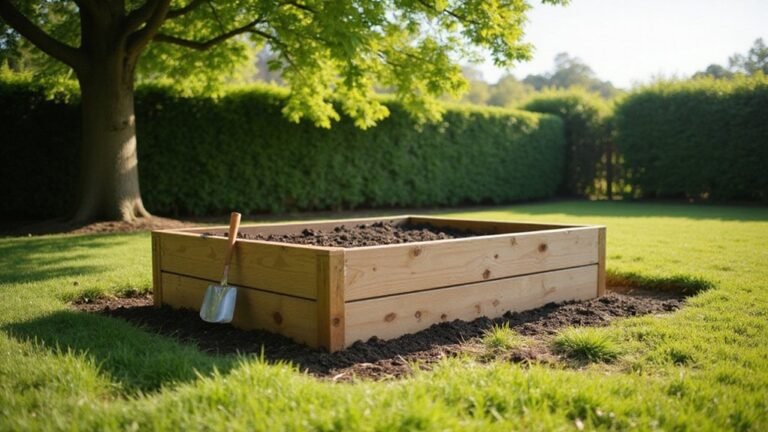
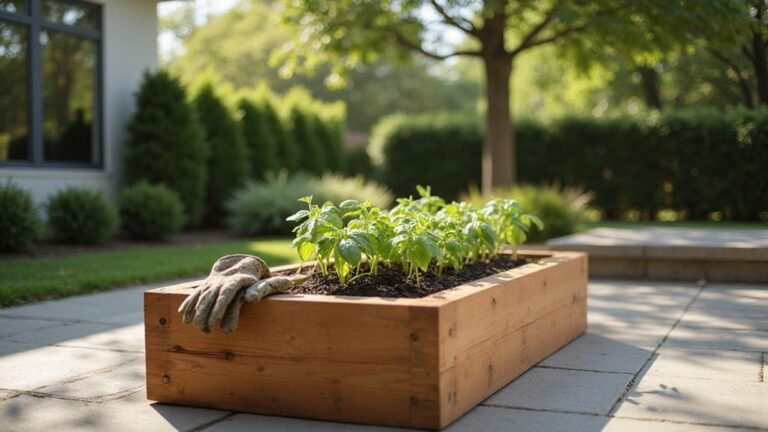
You might wonder what the best way is to fill a raised garden bed for healthy, long-lasting soil. The secret is in layering materials that promote drainage, add nutrients, and protect from weeds.
By following a few simple steps, you can create a fertile, thriving environment for your plants. Keep reading to learn how to build the perfect bed from the ground up.
Why Bottom-Layer Fillers Matter More Than You Think
Burying 60 to 80 percent of your raised garden bed with compostable waste creates a fertility powerhouse beneath the surface. This deep layer of organic material fuels microbial activity that breaks down materials over time, releasing nutrients and building soil structure. As logs, leaves, and other compostables decay, they boost nitrogen availability by up to 30 percent, enhancing plant growth and health. Additionally, this method significantly reduces costs—using decomposing waste as filler can cut your soil purchases in half or more. When you have 12 to 24 inches of decomposing material underneath, a topsoil layer of only 12 inches is sufficient. Instead of wasting money on inert fillers, you let nature recycle nutrients naturally, creating a rich, sustainable environment for your plants. This technique also mirrors the easy DIY guide used for building self-sustaining chicken coops. This bottom layer works with a soil layering strategy where a top layer of raised bed mix supports early root establishment and drainage. For watering such a layered bed, selecting a plant watering can with a long spout and gentle rose attachment ensures even moisture distribution deep into the fill without disturbing the surface soil. For safely processing homegrown produce, achieving high pressure levels in a pressure canner is critical to destroying harmful bacteria and ensuring long-term food storage.
Best Organic Fillers for the Bottom of Your Raised Bed
Using a 4- to 8-inch layer of organic fillers at the bottom of your raised bed is ideal, especially for tall beds. This base layer creates air pockets, improves drainage, and decomposes slowly to release nutrients over time. Start with logs, hardwood branches, and twigs—they are bulky, decompose gradually, and help with aeration. Add straw, dried grass, leaves, or pine needles to increase carbon-rich volume and promote microbial activity. Partially decomposed compost, garden debris, or old hay can jumpstart the decomposition process and enrich the organic matter. To ensure a proper seal for any composting containers you reuse, refer to the step-by-step guide for sealing mason jars. For larger beds, consider using a chicken coop design to repurpose discarded wood as a durable frame for your garden structure. Aim for this layer to make up about 50% of your total fill, with 6 inches of quality soil on top to support plant roots. Use free or inexpensive materials like grass clippings, shredded leaves, or moss to maximize value and keep costs low. Avoid treated wood or glossy cardboard, as these materials can introduce harmful chemicals and are not suitable for organic gardening. To settle this layer and improve drainage, incorporate fill sand containing rocks, sticks, debris without compaction to promote airflow. For homesteaders reusing glass containers in the garden, glass mason jars can be frozen safely if proper headspace is left to prevent cracking.
Which Nutrients to Add When Filling a Raised Bed
To nourish your plants after building a strong organic base, focus on adding nutrients that promote microbial activity and support plant growth. Incorporate high-nitrogen sources such as blood meal, coffee grounds, or aged manure; these materials stimulate soil microbes, accelerating decomposition and nutrient availability. Test your soil pH before planting and adjust as needed—add limestone to raise pH or gypsum to supply calcium without altering pH. To support root development, include phosphorus rock, which is slow-releasing and suitable for organic gardening. For healthier fruit production, add potassium sulfate, which enhances fruit size and flavor. Including boron helps prevent flower failures and promotes proper flowering and fruiting. Maintain a balanced topsoil-to-compost ratio of approximately 70-30 to ensure consistent nutrient release. Mixing in a small amount of native mineral soil can improve drainage and soil structure, helping plants access nutrients more efficiently from day one. For long-term nutrition, compost provides the main sustained nutrient delivery, with slow-release fertilizers used only as a supplement. Consider the ideal roosting bar height when planning vertical garden structures to avoid damaging nearby plants.
How to Layer Raised Bed Soil for Optimal Plant Growth
To layer raised bed soil for optimal plant growth, start with a 6-to-12-inch base of coarse organic material like logs, twigs, or bark. This layer ensures proper drainage, preventing water from pooling around plant roots. Next, add a 2-to-4-inch nitrogen-rich layer using compost, manure, or grass clippings to boost fertility and provide essential nutrients. Make sure to thoroughly water each layer before adding the next to help settle the material and eliminate air pockets. The decomposition of these layers generates heat, acting as a natural heater for earlier sowing and higher yields. For a durable and long-lasting structure, consider using rot-resistant wood such as cedar or redwood to frame the bed. Finally, fill the top 8-to-12 inches with a homemade blend of compost and topsoil, commonly in ratios of 1:1 or 2:1. Homesteaders often find this homemade blend more cost-effective than purchasing bagged soil in bulk. Leave a 2-to-5-inch gap at the top for organic mulch such as straw, which conserves moisture and suppresses weeds. Ensure your topsoil supports diverse plant growth, as healthy soil reduces pest issues and encourages robust root development. Avoid compacting the top layer to allow roots to penetrate freely and thrive. For those needing to mix and store soil components, mason jars for salads offer a convenient, airtight container to keep seed mixes or amendments organized.
Drainage Fixes Every Raised Bed Filler Needs to Know
To ensure proper drainage in your raised bed, start with a solid foundation by layering 2 to 3 inches of crushed gravel or river rocks at the bottom. This layer helps water flow freely and prevents root rot. Cover the gravel with landscape fabric to keep soil from washing down while still allowing water movement. If your bed sits on a concrete or hard surface, drill 1/2-inch holes every 4 to 6 inches along the lower edges to promote drainage. Alternatively, create a slight 1 to 2 percent slope toward one end to direct excess water away from plant roots. Adding coarse materials like wood chips, twigs, or coarse compost beneath your soil blend further increases porosity. If gaps between layers cause leakage, sealing them with additional liner layers can prevent unintended water escape and retain moisture. For optimal root health, consider mimicking natural cavity conditions by using wood duck nesting boxes as a guide for raised bed depth and structure. Mixing in coarse perlite or garden grit ensures the soil remains open and drains well. For long-term food storage of harvested produce, mason jars provide an airtight, pest-proof solution to keep your vegetables fresh. Lifting the bed with 4 to 6 inch cedar blocks at the corners can also promote airflow underneath, reducing moisture buildup and helping keep roots healthy.
Cheap Fillers to Save Money When Filling Your Raised Bed
Layering cheap organic bulk debris can significantly reduce costs when filling your raised bed. Start with sheets of cardboard placed directly on the soil surface to act as weed barriers and to help retain moisture. Next, add dry leaves or wood chips to increase the volume and improve aeration. Straw bales are also effective because they break down over seasons, creating useful air pockets that benefit plant roots.
Incorporate high-carbon materials like dried leaves with high-nitrogen sources such as grass clippings or coffee grounds. To speed up decomposition, keep the green (nitrogen-rich) layer at about one-quarter the thickness of the brown (carbon-rich) layer. Manure can be added to supply nutrients, while waste wood chips help reduce the amount of soil needed to fill the bed. Before adding organic materials, be sure to remove all old bedding and debris to prevent disease buildup. This Hugelkultur-inspired approach uses layered organic materials to minimize costs by relying on readily available debris like wood chips and manure. Choosing a fake plastic watering can can also help you avoid rust and uneven water distribution when moistening your layers. Finish with a mixture of approximately fifty percent garden soil and fifty percent compost. These layered materials enhance soil structure, promote healthy root zones for companion planting, and support pest control by encouraging a thriving ecosystem that naturally deters bugs.
Reuse Old Potting Mix as Raised Bed Filler (Yes, It Works)
Old potting mix can be reused as raised bed filler if it is free of disease and pests. Start by inspecting it visually for signs of root rot or insects. Rejuvenate the mix by mixing one part compost with three parts of the old soil. Incorporate nutrients with alfalfa meal or worm castings and add coconut fiber to prevent soil compaction. Water the mixture thoroughly and let it rest for 10 days to allow microbial recovery, which can be sped up by applying compost tea. Adjust plant spacing to accommodate the slightly lighter soil structure, ensuring roots have enough room to grow. Never reuse mix contaminated with diseased plants; sterilize or discard it to prevent spreading issues. This approach saves money, reduces waste, and provides a nutrient-rich foundation for your new garden bed. A ceramic watering can planter offers an attractive and functional way to water these beds gently, preventing soil disturbance. You can also extend the soil’s usability by filling 25-30% of new pots with old soil to save on new mix. For the compost you add, choosing the best compost bin ensures a steady supply of quality material for this rejuvenation process. Building your own bin compost at home allows you to control the aeration and moisture levels for faster, healthier decomposition.
How to Fill a Raised Bed Without Soil (Hugelkultur Method)
To fill a raised bed without soil using the Hugelkultur method, start by placing corrugated cardboard directly on the ground to suppress weeds. Layer rotting logs on top of the cardboard, followed by smaller branches and twigs, filling gaps with grass clippings, leaves, and straw. Add a nitrogen-rich layer of manure or compost to boost microbial activity. Then, cover this foundation with about 12 inches of topsoil and organic compost. This layering creates a self-sustaining, nutrient-rich environment. As the wood decomposes, it gradually releases nutrients, functioning as a long-term soil amendment. For optimal results, prepare the bed in autumn so the wood begins breaking down before planting season. Keep in mind that the initial nitrogen levels will be temporarily lower, influencing plant choice and growth. The buried logs also serve as a long-term moisture storage battery, allowing plant roots to tap into the retained water during droughts. After completing the layering, thoroughly water the bed to kickstart decomposition and microbial activity. For homesteaders, this method significantly reduces the need for frequent watering during the growing season. Using a vacuum sealer to store excess compost or soil amendments can help maintain their freshness and prevent spoilage. For the best watering results, consider selecting a watering can that offers a gentle rose attachment to avoid disturbing the decomposing layers.
Mulch Tips to Protect Your Freshly Filled Raised Bed
Before applying mulch to a freshly filled raised bed, ensure the soil is thoroughly watered and all weeds are removed. Spread a 2- to 3-inch layer of organic material such as compost or straw, keeping it 2 to 3 inches away from plant stems to prevent rot. Maintain consistent mulch spacing by keeping this gap that prevents direct contact with plant parts, which reduces the risk of rot and pest problems. Use well-decomposed mulch, as fresh compost can burn tender roots; aging is important. For vegetable beds, opt for finer organic mulches like compost or straw, and avoid coarse materials such as bark or hay. Check the mulch depth regularly: keep it at about 1 inch around seedlings to prevent smothering. In early spring, reduce the layer to around 2 inches to allow the soil to warm up more quickly. Organic mulch decomposes to replenish nutrients in soil, leading to healthier plants. Refresh your mulch when it thins to less than an inch, typically once or twice a year, to continue blocking weeds and retaining moisture without overapplication.
5 Filler Mistakes That Ruin Your Raised Bed Soil
Avoid using inert fillers like plastic bottles or packing peanuts in your raised bed soil. These materials compact over time, creating anaerobic zones that prevent proper air exchange. They also introduce microplastic contamination into your soil, which can harm plants and soil life. Instead, use a mix of about 40% screened compost for nutrients, 30% coarse sand for drainage, and 30% coconut coir to improve aeration and water retention. Skipping proper base drainage is another common mistake. To prevent water pooling, add a layer of crushed gravel underneath the soil and include drainage holes in the bed’s structure. Never rely solely on heavy clay or inert dirt as your base, as these can lead to poor drainage and compaction.
Using fresh bark or sawdust alone is harmful because they cause nitrogen drawdown, which starves plants of vital nutrients. Also, avoid synthetic NPK fertilizer blends—they are chemical additives that bypass natural soil processes and can degrade long-term soil health. Instead, layer coarse twigs, decaying leaves, and a quality vegetable planting mix to build structure and porosity, ensuring your soil stays well-drained and fertile over time. Filling the bottom third of your beds with sticks and leaves is a cost-effective way to reduce filler mistakes while improving drainage and organic matter.