What to Put Inside a Raised Garden Bed
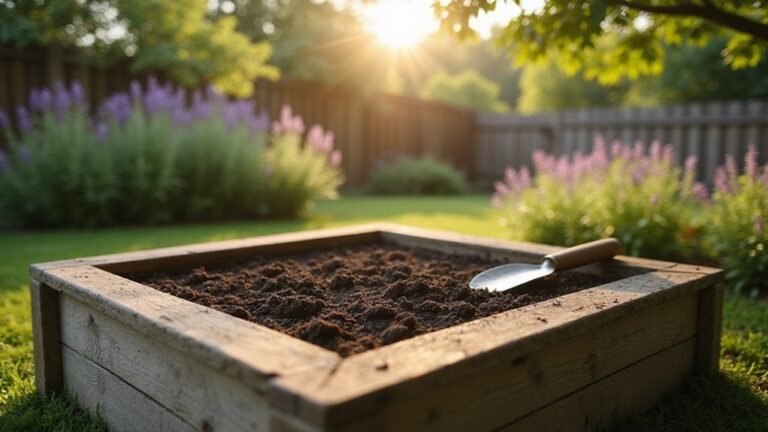
Wondering what to put inside a raised garden bed to give your plants a healthy start? The right soil mix can make all the difference, and it usually involves a careful balance of ingredients like topsoil, compost, and organic amendments.
Getting this foundation right ensures your crops will thrive from the beginning. Keep reading for the essential tips to fill your bed properly.
Start Your Raised Bed Soil With a 60-30-10 Mix
Fill your raised garden bed with a 60-30-10 mix: 60% high-quality topsoil for structure, 30% compost for nutrients, and 10% aeration material like perlite for drainage. Measure all components by volume, not weight, to ensure accuracy. This combination provides excellent soil aeration, helping roots breathe and preventing them from suffocating in dense ground. The compost offers a balanced supply of nutrients, promoting healthy plant growth and supporting microbial activity without making the soil overly loose. The topsoil supplies the bulk and stability needed to anchor plants firmly in place. Layer each ingredient separately before mixing thoroughly with a shovel to ensure even distribution. Lightly water as you combine the ingredients to help everything settle, resulting in a rich, airy foundation ready for planting. To protect your flock from predators with a similar level of care, consider secure coop designs featured in the best chicken coop reviews. For homesteaders looking to store excess soil amendments, glass mason jars can be safely frozen to preserve compost or perlite mixes.
Add Perlite or Sand to Prevent Soil Compaction
Adding perlite instead of sand is the best way to prevent soil compaction in your raised bed. Sand’s heavy weight and tendency to create impermeable layers with silt-rich soils actually reduce drainage and make compaction worse. Perlite, on the other hand, is a lightweight, sterile volcanic glass that forms stable air channels without decomposing. It improves soil aeration for years, helping roots breathe and water move through your soil freely. For gardeners seeking an easy recycling method, consider pairing this with a quality compost tumbler to turn organic waste into rich soil amendments. Use about 10 percent perlite by volume in your potting mix. This ratio strikes the right balance between improving drainage and retaining moisture. Unlike sand, perlite stays in place, won’t wash out, and provides long-lasting, non-compacting structure for your raised bed. To further support root health, roosting bars can be set at a height that prevents soil disturbance. A 2 gallon watering can provides the ideal capacity for evenly applying water without disrupting the stable perlite structure. As a result, your plants develop healthier roots and you experience fewer drainage issues.
Mix in Compost, Aged Manure, and Worm Castings
Adding 20–30% aged compost by volume creates a strong nutrient base and boosts soil biology. This amount provides slow-release nitrogen, phosphorus, and potassium essential for healthy plant growth, while increasing microbial activity in the soil. For increased nitrogen, blend in 15–25% aged manure, which also adds fiber like cellulose and lignin that help improve long-term soil structure. Worm castings should also be included—these are rich in beneficial microbes and plant-ready nutrients that support root development. They enhance soil aeration without trapping excess moisture. When mixing, do so gently to avoid damaging air spaces, and never till deeply to preserve soil structure. Keep the total organic amendments below 40% of the soil volume to prevent waterlogging and excess moisture retention. For best results, ensure the compost you add has been fully decomposed using a proper starting a compost bin method. Choosing the right compost bin helps ensure complete decomposition of the organic matter you add. As with preserving soil biology in a garden, freezing soup in glass mason jars requires careful process control to avoid breakage. This approach results in a well-balanced, fertile, and well-textured raised bed.
Test pH Early, Then Adjust to 6.0-7.0
Testing your soil pH early after mixing in compost, manure, and worm castings is crucial. Use a calibrated digital meter to test when the soil is moist but not waterlogged, collecting 5-6 samples from 4-6 inches deep, mixing them thoroughly. This quick check helps prevent pH imbalances that can lock out essential nutrients like iron and calcium, which manifest as purple leaves, stunted roots, and reduced yields. For best results, use vacuum sealer bags to store any extra soil samples for future testing, as they keep the samples airtight and free from contamination. If you notice a pungent odor from your compost, it may indicate anaerobic conditions that also require immediate attention, such as turning the pile to increase oxygen flow and balance moisture. You can also consider using compostable bags for collecting and transferring your compost materials to keep the process tidy and sustainable.
Aim for a pH between 6.0 and 7.0; if your soil falls below 5.5 or above 7.5, immediate adjustments are necessary. For acidic soils, incorporate 1-2 cups of agricultural lime into the top 6 inches, water lightly, and recheck after 3-5 days. If your soil is alkaline, apply 1-2 pounds of granular sulfur per 100 square feet and water thoroughly. The microbial activity triggered by sulfur will gradually lower the pH over several days. Repeat testing and adjustment until you reach the optimal range. Addressing pH early ensures your plants can absorb nutrients effectively and avoid stunted growth or poor yields.
For accurate results, average multiple readings from a meter that stabilizes before recording, as bright sunlight and fluctuating probes can cause variable measurements.
Match Raised Bed Soil Depth to Your Crops
Matching your raised bed soil depth to your crops’ root needs is crucial for healthy growth. Shallow-rooted plants like lettuce and radishes do well in beds that are only 6 to 12 inches deep, as their roots stay close to the surface. Medium-rooted vegetables such as carrots and peppers benefit from 12 to 18 inches of soil to support their root expansion. Deep-rooted crops like tomatoes and squash require 18 to 36 inches for full development. For gardeners using coarser soil blends, incorporating construction sand can improve drainage and prevent compaction in deeper beds. One recommended option for raised beds is a premium soil blend that balances organic matter with proper aeration.
Since changing soil texture is difficult, choosing the right depth helps compensate for soil limitations. Deeper beds improve water retention and give roots more space to spread out. For a mixed garden, aiming for at least 18 inches of soil balances most shallow and medium-rooted plants while allowing some room for deep-rooted varieties. Matching soil depth to your crops’ needs ensures they have enough room to grow vigorously and produce a good harvest. Antique brass watering cans, with their durable construction and precise spout, offer a reliable tool for delivering water directly to the root zone of plants at any bed depth.
Mulch Your Raised Bed Soil to Lock in Moisture
To lock in moisture, apply a layer of mulch to your raised bed soil at a depth of 2 to 4 inches before planting. Use fine materials like shredded bark or compost at 2 to 3 inches, or coarser materials such as wood chips and straw at 3 to 4 inches. Water the soil thoroughly prior to applying mulch to seal in moisture from the start. Leave a gap of 2 to 4 inches around plant stems to prevent rot. Replenish mulch once or twice a year as it decomposes. For best results, choose straw, compost, shredded leaves, or grass clippings. Avoid using sawdust and fresh grass clippings, as they can deplete nitrogen in the soil. It’s best to mulch after the soil warms up in spring to avoid delaying seed germination. Using a Bloem Easy Pour watering can helps efficiently dampen the soil surface before applying mulch. To ensure accurate moisture management, consider using a soil thermometer to check that the ground has reached the proper temperature before mulching. For long-lasting moisture retention, a ceramic watering can planter can serve as both a decorative and functional tool for targeted watering in your garden.
Avoid These Toxic Materials That Ruin Raised Bed Soil
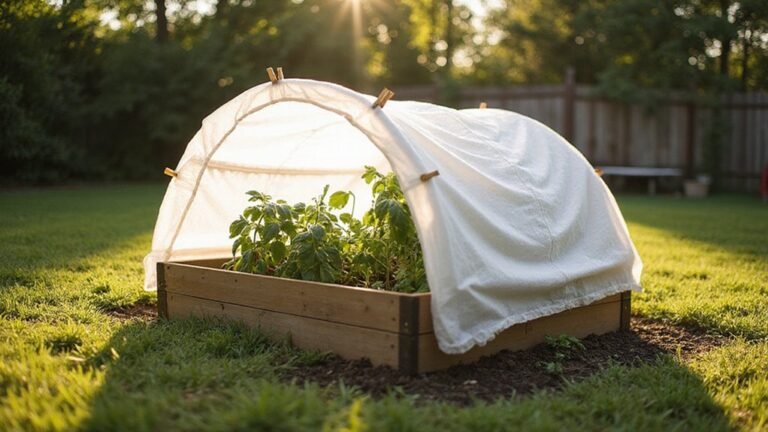
Avoid railroad ties treated with creosote. These ties leach toxic chemicals into your soil in just a few weeks and can reduce earthworm populations by up to 92%. Using such contaminated material can harm your plants and disrupt soil health. Similarly, pre-2004 CCA-treated lumber contains arsenic that easily migrates into your plant’s root zone, making it unsuitable for organic gardening. Never use tires with cadmium or lead, as these heavy metals can seep into crops and pose health risks. Be cautious with pallets; only select those marked HT (heat-treated), not MB (methyl bromide), to avoid hidden pesticide residues. Concrete blocks made from fly ash may contain arsenic and mercury, which can contaminate your soil. Additionally, pre-2003 galvanized metal is not safe for food cultivation due to potential zinc galvanization leaching. For a safer alternative, consider using a raised garden bed cover made from untreated materials to shield your soil from external contaminants while avoiding toxic substances. To protect your soil and plants, stick with modern, untreated materials specifically designed for gardening use. For example, many high-quality wood duck nesting boxes are constructed from untreated cedar to avoid chemical exposure in natural habitats. Similarly, storing your harvested vegetables in a vacuum bag sealer can prevent spoilage by removing air and contaminants from the storage container.
Refresh Your Soil Yearly With Compost or Worm Castings
To keep your soil productive, refresh it annually with compost and worm castings. Begin by aerating and loosening the soil with a garden fork to improve aeration and drainage. Apply 2 to 3 inches of well-aged compost as a top-dress; this adds organic matter and nutrients essential for healthy plant growth. Follow with a ¼ to ½ inch layer of worm castings, which enriches nitrogen and minerals while introducing beneficial microorganisms that aid nutrient cycling. For an extra nutrient boost, scratch in an organic 5-5-5 fertilizer, spreading it evenly across the surface. Water the amended soil thoroughly and wait 3 to 14 days to allow the materials to break down and integrate. Finish by applying a mulch layer to suppress weeds and retain moisture, supporting soil health and structure for the growing season. This method aligns with a soil maintenance strategy that avoids complete replacement, allowing the same soil to remain productive for multiple years with regular replenishment of nutrients. Refreshing your beds twice a year—early spring and late summer—ensures your soil remains resilient and fertile.