DIY Rain Barrel Base: Easy Homesteading Project
Landing a heavy rain barrel without a sturdy base can turn into a spill disaster. The right foundation keeps it stable, prevents sinking, and makes future access easier.
With a simple setup using gravel and concrete blocks or pressure-treated lumber, you can ensure your rain barrel stays put and functions safely.
Keep reading for all the details on building a reliable base.
Why Your Rain Barrel Needs a Solid Base
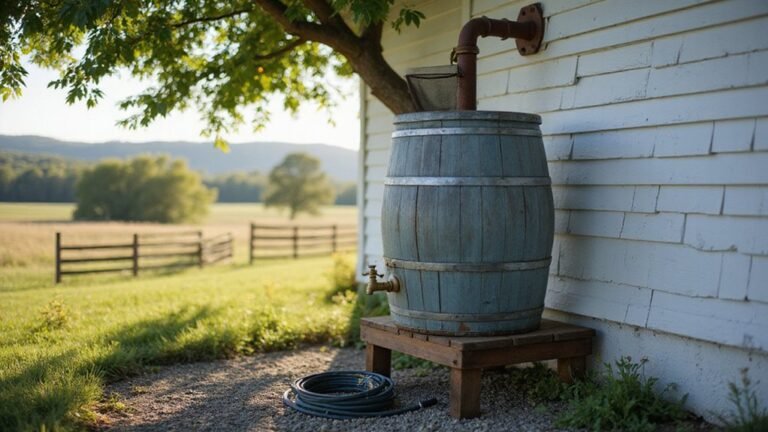
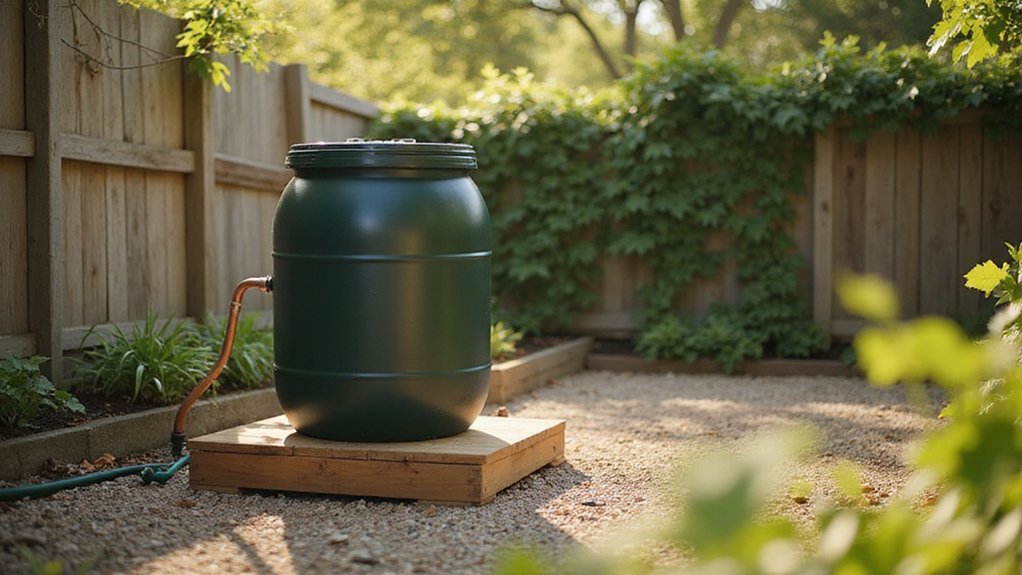
A rain barrel needs a solid, level base to prevent tipping, especially since a typical barrel can weigh around 440 pounds when full. Without a sturdy foundation, soft mulch or sloping soil can cause the barrel to topple, risking spills and damage. A level surface keeps the barrel stable, especially during heavy rain or strong winds. Using a non-porous surface such as concrete stops water from seeping into the ground and washing away soil, which can lead to erosion around the barrel’s base. Elevating the barrel by about 12 inches minimizes direct contact with moisture, reducing the risk of rust or cracking over time. This also improves water flow if you are using a spigot and makes it easier to access the water. A firm base maintains the aesthetic appeal of your rain barrel by keeping it upright and stable, allowing you to match container colors with your home or garden theme. It also prevents winter damage—by draining and storing your barrel on a solid platform, you avoid cracks or bursts caused by freezing. Overall, a dedicated, level base ensures your rain barrel operates safely and looks great throughout all seasons. For long-lasting durability, consider using best materials like concrete or treated wood to construct your base. Positioning the base at a proper nesting box height helps maintain balance and accessibility. For those also managing a garden, choosing the right compost bin can similarly improve your homestead’s efficiency and reduce waste.
How to Choose Materials for Your Rain Barrel Base
Choosing the right materials for your rain barrel base depends on prioritizing stability, weather resistance, and budget. Concrete blocks are highly durable, supporting up to 2,400 pounds and lasting over 25 years, making them ideal for long-term stability. Paver stones distribute weight evenly and tolerate freeze-thaw cycles well, especially if they have Class I ratings. Cinder blocks are cheaper but tend to degrade more quickly unless you seal them regularly to prevent moisture damage. For starting a sourdough starter, using a clear glass mason jar allows you to easily monitor fermentation activity.
Natural options like cedar ties look appealing but require annual oiling to prevent rot. Granite slabs are a durable alternative, lasting more than 30 years without decay. When installing, ensure that concrete blocks are level within 0.25 inches using a masonry tool. Paver stones should be set into a gravel base for stability. Railroad ties need a compacted soil pad beneath them for secure support, while stone slabs often require a rubber mallet to achieve a flat, even surface. Aim for a base height of 12 to 16 inches to optimize water pressure; lower heights reduce flow, while higher ones can increase the risk of tipping. Consider your local climate and your own skill level to choose the best material for your rain barrel foundation. For additional inspiration, you might also consider how a top food dehydrator design emphasizes durability and stable performance for long-term use. For a similar focus on long-term reliability, a raised garden bed soil mix can also benefit from selecting materials that balance drainage and nutrient retention.
Prep Your Site So the Base Doesn’t Sink
To ensure your site doesn’t sink, start by excavating the site to the appropriate depth—1 to 2 inches for ground-level placement or 3 to 4 inches for block foundations. Clear away all vegetation, rock, and debris to prevent organic matter from decomposing and creating voids under your base. Vegetation removal is essential because decomposing organic material can cause shifting or settling over time. The soil’s composition is critical; loose, sandy, or rich topsoil won’t support a heavy load like a 415-pound barrel. After digging, firmly compact the soil at the bottom with a tamper to increase stability. Do not rely solely on sand for the base, as it shifts under weight. Instead, lay a 3-inch layer of pea gravel or a 2-inch layer of angular stone. Tamp this gravel or stone every 2 inches until you reach the desired grade. A garden wheelbarrow is ideal for hauling these materials to the site. This creates a firm, level surface that prevents sinking and distributes weight evenly, ensuring a stable foundation for your project. Additionally, stormwater runoff from impervious surfaces can be mitigated by using a rain barrel to store water for irrigation, which reduces the volume of runoff reaching local waterways. A similar approach to maintaining consistent temperature can be applied when selecting heated waterers for chickens to prevent freezing issues during winter. Additionally, ensuring proper coop ventilation helps maintain air quality and reduces moisture buildup, which is vital for chicken health.
Build Your Rain Barrel Platform in 4 Steps
To build your rain barrel platform, start by cutting all the lumber to the specified measurements. You will need four 4×4 posts at 24 inches, six 2×4s at 23 inches for the tabletop, four 2×6s at 16 inches for the side frames, and two 2×4s trimmed at 45-degree angles for bracing. Sand all pieces thoroughly to ensure a smooth surface and prevent splinters. Consider using reclaimed materials from an antique copper watering can to add rustic charm and historical character to your project. If you prefer modern materials, select pressure treated lumber to ensure long-lasting resistance against moisture and rot. This process requires careful temperature and humidity monitoring, much like hatching duck eggs at home without specialized equipment. Accurate cuts and smooth finishes are essential for a sturdy, safe platform that will hold your rain barrel securely.
3 DIY Rain Barrel Base Options: Blocks, Beams, or Pavers
The simplest and most budget-friendly option is using cinder blocks and a paver. Typically, you’ll stack eight cinder blocks crosswise to create a stable base, then place a 2-by-2-foot paver on top. This setup costs around $18.88 and provides enough height for easy spigot access. The blocks and paver form a sturdy sandwich that supports a 450-pound full barrel and maintains at least 6 inches of clearance for maintenance or overflow. This method is quick to assemble and very affordable, making it suitable for DIY gardeners on a tight budget.
Common Mistakes That Sink Your Rain Barrel Base
Skipping essential prep work is a major mistake that can cause your rain barrel base to fail. For example, failing to excavate 3 to 4 inches and tamp gravel every 2 inches can lead to uneven settling and sinking over time. Without proper compaction, the base becomes unstable under the weight of the water container. Additionally, neglecting to raise weed fabric edges allows surface water to wash out the soil beneath, causing erosion. Root intrusion is another common issue—skipping heavy-duty fabric lets roots penetrate and destabilize the base. Using gravel filled with sand instead of clear, angular stone hampers drainage, increasing the risk of water pooling and shifting. Setting blocks directly on loose dirt without a properly compacted pad makes them sink quickly. Clay-heavy soils and frost heave are often overlooked but can cause the entire structure to shift or crack if not properly addressed through soil correction measures. A high-quality vacuum sealer for meat relies on similar airtight sealing principles to lock in freshness and prevent spoilage. Just as a stable base prevents anaerobic conditions from causing odors in a compost bin, the same compaction and layering principles applied here can prevent uneven settling under the heavy water barrel. Applying the same compaction and layering principles used in building a stable bin compost base can prevent uneven settling under the heavy water barrel.
Keep Your Rain Barrel Base Solid for 25+ Years
To keep your rain barrel base solid for 25-plus years, start with a stable foundation. Use cinder blocks or a concrete slab to create a level, durable support that resists shifting over time. Proper foundation stabilization prevents wobbling and ensures the barrel stays upright, even during heavy rain or strong winds. Ensure the stand is at least two feet tall to provide sufficient water pressure for gardening. For a base that remains level and secure, consider incorporating similar materials used in premium nesting box platforms.
Build your framework from pressure-treated or cedar lumber because these materials naturally resist decay and rot, extending the lifespan of your setup. All cut ends and joints should be coated with weatherproof sealant to block out moisture that can cause wood deterioration. When securing connections, always use bolts or screws instead of nails to prevent loosening and wobbling over time. For additional guidance, consider the same build quality principles used in top-rated food dehydrators to ensure long-lasting performance.
Extend the legs of the frame above the platform to lock the barrel firmly in place, reducing movement when the water is filled or drained. Regular inspections are essential—check annually for cracks, rot, or warping. Address any issues immediately to maintain stability.