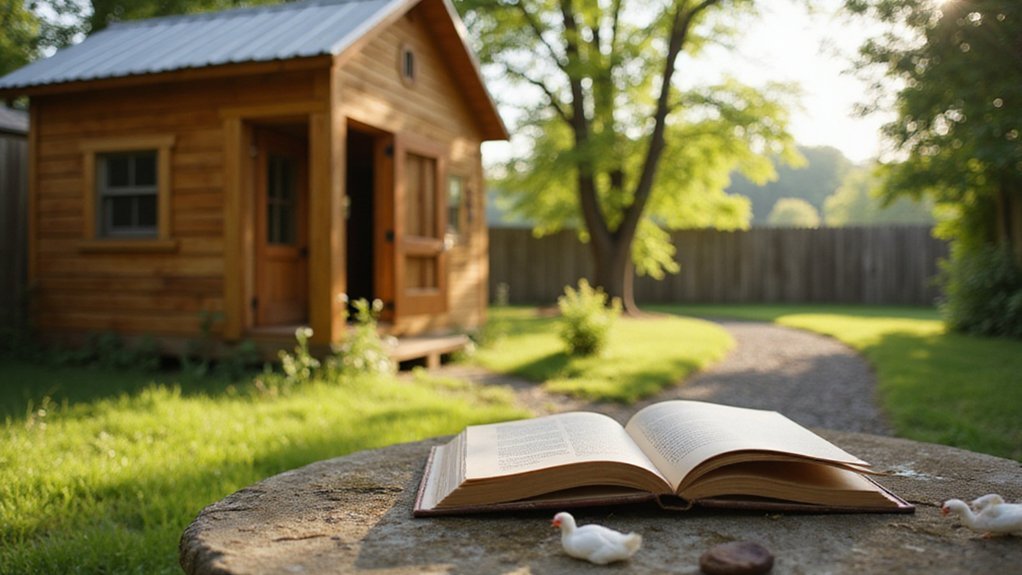
Easy Chicken Coop DIY: A Beginner’s Guide
Looking to build your own chicken coop but unsure where to start? A solid foundation is key.
Followed by framing and sheathing that protect your hens from the elements and predators alike.
With some basic carpentry and weatherproofing, you can create a sturdy, safe space for your chickens that lasts for years.
Keep reading to see how all the steps come together.
Choose a 30-Foot Buffer and Level Your Site
Choosing a 30-foot buffer and a level site is essential for a safe and functional chicken coop. This distance helps you avoid neighbor complaints by keeping odor and noise at a reasonable distance, which most local codes already require. A flat, stable ground prevents your coop from shifting or rotting over time, reducing maintenance and costly repairs. To further extend your coop’s longevity, use a reliable appliance to dry herbs and treats, such as a top-rated dehydrator, which maintains consistent airflow and temperature. Predator protection is crucial. Having a clear, open 30-foot gap gives you a good sightline to spot raccoons, foxes, or other pests before they get too close. A level foundation allows you to seal gaps tightly, preventing pests from digging underneath. Proper drainage is also vital; directing water away from the coop keeps bedding dry and reduces the risk of disease. Positioning the door opposite prevailing winds minimizes drafts, helping your chickens stay warm in winter and cool in summer. Starting with these steps saves you from expensive fixes later on. For your specific flock size, reviewing top picks reviewed can help you choose a coop design that matches the tested durability and features of professional models. When disposing of soiled bedding, consider using best compostable bags to keep your compost bin clean and simplify waste management.
Pour Concrete Trenches for a Rot-Proof Base
To create a rot-proof base, excavate a trench 12 to 18 inches deep and 6 to 8 inches wide around your coop’s perimeter. This size forms a continuous barrier that prevents ground moisture from reaching the wood, thereby reducing the risk of rot due to fungal growth and damp soil. Proper drainage is essential to ensure water flows away from the trench instead of accumulating within it, which keeps the base dry and stable. For added strength, install vertical iron rods every 3 feet within the trench to prevent cracking and shifting over time. Mix a durable concrete using one part cement, two parts sharp sand, and four parts granite for maximum resistance to weathering. Pour the concrete evenly and smooth it with a trowel for a uniform finish. Cover the fresh concrete with plastic sheeting and keep it moist for at least five days to encourage proper curing, following common DIY kit instructions for optimal results. This concrete foundation will not only resist decay and block rodent access but will also provide a long-lasting, stable base for your coop. For the chickens that will live in this coop, placing the interior perches at the correct roosting height ensures they can rest safely and comfortably. A brooder box can serve as a secure starter space for young chicks before they move into this coop. Alternatively, you can set wooden blocks in the trench as a simpler foundation method, using sand and dirt for backfilling and leveling to maintain stability.
Frame the Walls and Roof Supports Separately
Start by framing the walls and roof supports separately. For the walls, cut 2x4x8 boards into vertical studs, spacing them 16 inches apart on center. Attach a bottom plate that matches your foundation dimensions, then install a two-layer top plate for added strength. Use 3-inch exterior screws to fasten all joints securely. Reinforce the walls by adding 1×4 horizontal braces midway between the top and bottom plates. Cut window and door headers to length and extend them properly to support the load above openings.
For the roof supports, build a ridge beam from two 2x8s nailed together lengthwise. Cut rafters at a 30-degree pitch, providing a 1.5-foot overhang for rain runoff. Install purlins 24 inches apart across the rafters to improve ventilation and stability. Secure rafters with hurricane ties to withstand high winds, and add knee braces at a 45-degree angle to prevent sagging. Ensure all framing components are plumb and level, and glue joints before fastening for added strength. When cutting rafters, chamfer their ends with a spokeshave for a tidy finish. If you plan to hatch future replacements from straight run chickens, choose male-to-female ratios carefully for flock health. For additional protection, consider wrapping the completed frame with chicken wire fence to prevent predators from entering. For the floor of the coop, cedar or redwood provides natural rot resistance and durability.
Sheath Walls and Roof With Plywood
After framing, sheath the walls and roof with plywood to create a solid, weathertight structure. Use CDX-rated exterior plywood, which resists moisture and rot, for durability. For roof sheathing over rafters spaced 24 inches on center, employ half-inch plywood. For walls, use 3/4-inch plywood for added stability. Fastening is crucial: drive 16d galvanized nails every 6 inches along edges and every 12 inches in the field. Alternatively, use 3-inch coarse-thread screws near edges to prevent splitting. When installing roof sheathing, start from a lower corner, and overlap seams by at least 1 inch to shed water effectively. Align wall panels flush with the bottom rails, leaving a small gap at the top to accommodate framing. For installation, sheets are often aligned with stud measurements, running consistently from lower walls to the roof to maintain proper spacing. A similar principle applies when choosing the best soil to fill the bed, ensuring proper drainage and structure for plant roots. To provide a similarly weathertight and predator-resistant home for wood ducks, a wood duck nesting box should have a rough interior surface and proper ventilation. Before moving on, seal all exposed edges with exterior primer or paint to improve weather resistance. For a similar project involving organic waste, a top compost bin can help you efficiently turn scraps into nutrient-rich material.
Build the Run Frame and Attach Hardware Cloth
To build a sturdy run frame, space your posts every six feet along the perimeter and dig two-foot-deep holes for each. Make sure each post is plumb before filling the hole with dirt and setting it in cement for stability. Use 2x4s to connect the frame members, attaching them with angle screws, and verify that all corners are square using a framing square to ensure the structure remains true and secure. The frame should be built from treated wood for durability against weather and pests.
For attaching hardware cloth, cut 1/4-inch or 1/2-inch mesh into 24-by-24-inch squares. Overlap the seams by at least two inches to eliminate gaps, which is crucial for predator-proofing. Attach the cloth to the frame with a hammer-tacker, starting staples at the center and working outward to keep the material tight and prevent slack. Pull the cloth taut as you go to avoid sagging. For additional security, wire the hardware cloth to the concrete base strip, ensuring the entire enclosure remains predator-resistant.
Hang the Coop Door and Paint for a Polished Look
To hang the coop door properly, start by measuring and cutting the opening precisely. For standard chicken doors, the opening should be 32 centimeters high and 25 centimeters wide, following Safe Coop guidelines. Automatic door openings typically require an opening of 10.5 inches by 12 inches, based on Ladies First installation data. Pre-drill pilot holes for self-tapping screws to avoid tearing the sheet metal when attaching the door.
Place hinges after securing the 1×4 frame and 1×6 fence pickets, ensuring both doors match exactly for balance. Leave a gap of 1 to 2 millimeters between the runner and the door sides to allow smooth sliding movement. Before painting, sand all wood surfaces to remove imperfections and achieve a smooth finish. Use leftover 2x twos or scrap wood for supports and clamp them in place to hold the door during installation.
Choose weather-proof paint for all exterior components. Apply a primer coat first to help the paint adhere evenly and enhance durability. For the paint color, use rust-resistant paint on metal runners and UV-resistant paint on wooden parts. Sand between coats to ensure a polished appearance and provide further protection against rain and sun exposure.
Finally, verify that the surface is plumb before attaching the door controller, ensuring proper alignment and operation.