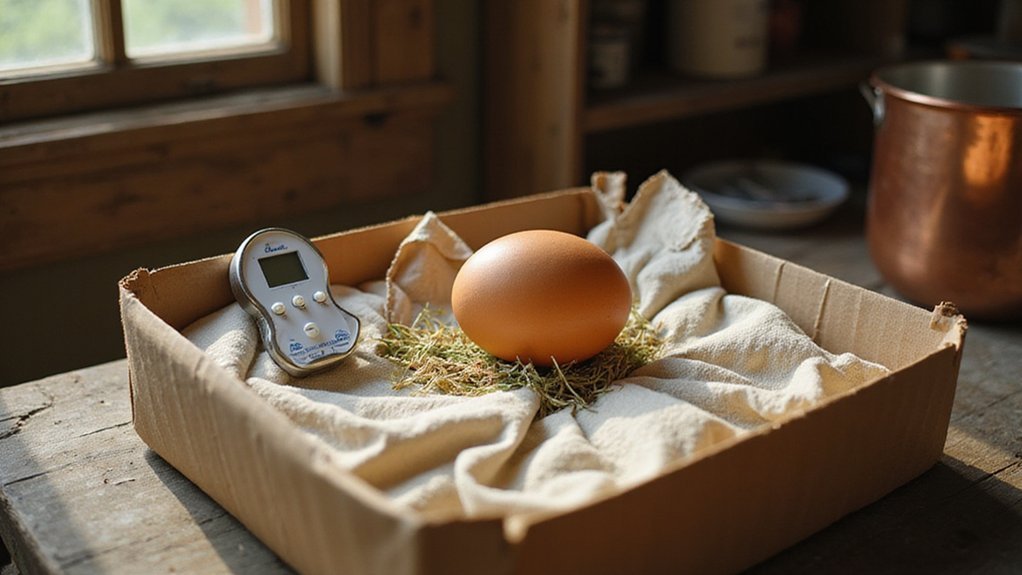
How to Hatch an Egg Without an Incubator
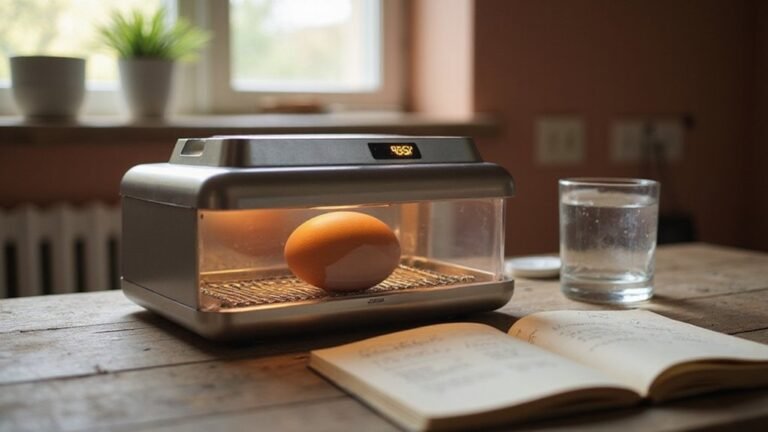
Trying to hatch an egg without an incubator can seem tricky, but it’s doable with some careful mimicry of nature. You’ll need to keep eggs at the right temperature and humidity, and turn them regularly—like nature would.
In this guide, I’ll walk you through the simple steps to give your eggs the best shot at hatching, all with affordable materials and basic tools.
Your Eggs Won’t Hatch Without These 5 Essentials
Fertile eggs with live embryos are essential for hatching chicks. Store eggs at 50–60°F before incubation to keep them viable; eggs older than 7 days significantly reduce hatch rates. Conduct a candling test to verify embryo viability before starting incubation. The eggshell’s porous composition is critical, as it allows oxygen in and carbon dioxide out. You cannot block it with an airtight container because proper gas exchange is vital for embryo development. Nutrition for the embryo comes solely from the yolk, so your role is to maintain a stable environment rather than feed it. For successful incubation, choosing a well-reviewed coop can provide a suitable alternative space for managing the brooding period. Positioning your incubator on a stable rain barrel stand can help prevent accidental tipping and temperature disruptions. Maintaining the correct humidity level is also crucial, as improper moisture balance can cause the chick to become stuck inside the shell.
An insulated container, like a Styrofoam cooler, is necessary to retain steady heat for 21 days of incubation. Avoid using cardboard or wooden boxes unless they are lined well. Seal any leaks to prevent temperature fluctuations but ensure ventilation remains open—embryos need oxygen exchange after day 10 or they risk suffocation. Without these basic necessities, your eggs stand little chance of hatching.
Why 99–101°F Is Critical for Natural Hatching
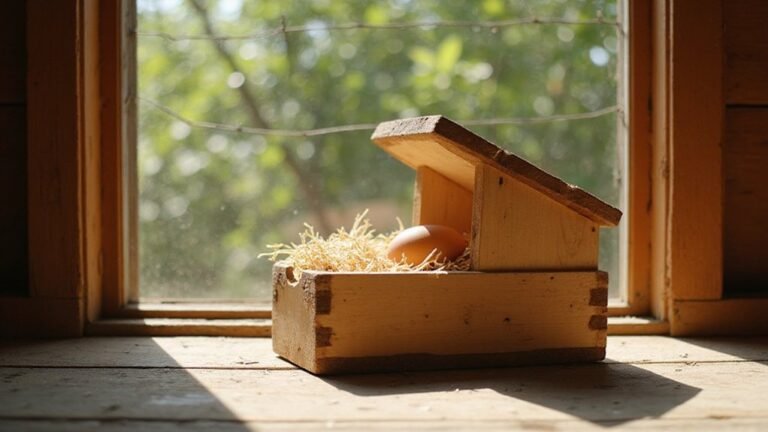
Maintaining a temperature between 99°F and 101°F is critical for successful natural hatching. This narrow range ensures that embryonic development proceeds correctly, as egg shells transfer ambient heat to the developing embryo. Within this window, the embryo’s thermoregulation systems form properly, and metabolic rate increases by about 10% when the temperature rises from 99°F to 100°F. Enzyme activity peaks, oxygen consumption remains stable, and energy reserves are used most efficiently around 99.5°F. A similar principle applies to wood duck eggs, where proper nesting boxes help maintain stable incubation temperatures.
If the temperature drops below 99°F, cell division slows significantly, delaying development and reducing hatchability. Conversely, exceeding 101°F for even 30 minutes causes proteins to denature, leading to embryo stress and increased mortality rates. Maintaining a consistent 100°F solidly places you in the optimal zone where hatchability exceeds 90%, and critical organ and heart development occur without disruption. Precise temperature control is essential; outside this range, embryo development is compromised, making temperature regulation the key to healthy hatching success.
Monitor Heat Without an Incubator: 3 Thermometer Tricks
To monitor temperature accurately without an incubator, you can use three thermometer tricks. First, use a digital thermometer: place its tip in a warm rice pack near the egg, keeping it about 1 inch from the shell. Wait 30 to 45 seconds for a stable reading. This method helps maintain temperature consistency by avoiding direct contact, which can cause fluctuations. Second, employ an infrared spot thermometer: aim it at the center of the egg from 3 to 5 inches away and hold steady for 2 to 3 seconds. Test it on a dark background first to account for shell reflectivity, ensuring accurate readings. Unlike non-contact thermometers used on skin, which can be deceived by rapid tricks like ice or rubbing, these methods work because egg surfaces are less affected by such brief manipulations. Third, insert an analog thermometer into a rice-filled sock placed beside the egg for continuous monitoring. Check the scale every 2 to 4 hours and shield it from drafts using insulated box walls. These tricks help you keep the temperature steady, which is crucial for proper humidity regulation and preventing air drying.
Natural Hatching Humidity: Bowls, Towels, and Daily Misting
To maintain proper humidity levels, place a shallow bowl of warm water near your eggs. This provides a large surface area that encourages evaporation, helping to keep the moisture content consistent. Dampen a towel and lay it underneath the eggs; it acts as a wick, gradually drawing moisture upward from the surroundings. For optimal results, position the bowl at the right height similar to roosting bars to ensure even moisture distribution. A garbage can chicken feeder can also be creatively repurposed as a stable, deep reservoir to hold water and towels during natural incubation.
Misting the eggs with warm water once daily can also prevent the shells from becoming brittle. Just be sure to refresh the water in the bowl every day to avoid stagnant water, which can lead to mold or bacteria growth. If you notice condensation inside your incubator, reduce the water level or open vents slightly to lower humidity.
During early incubation, aim for a humidity range of 40 to 50 percent. As the hatch date approaches, increase humidity to between 65 and 75 percent to support embryo development. Regularly monitor the eggs by weighing them every two days; small weight loss indicates proper moisture evaporation.
Manual Egg Turning: Mark ‘X’ and ‘O’ (Stop on Day 18)
Using simple marks helps keep your egg-turning organized and consistent. Take a soft pencil and draw an ‘X’ on one side of the egg and an ‘O’ on the opposite side. This system allows you to track each turn accurately: when the ‘X’ faces up, that side has been turned. Turn your eggs at least three times a day, ideally five, spaced evenly in the morning, midday, and evening. Rotate each egg by half a turn from ‘X’ to ‘O’ or vice versa with gentle pressure, avoiding any force that could damage the fragile shell. Turning eggs at least three times daily prevents the yolk from sticking to the shell membrane and supports proper embryo development. For optimal temperature consistency during manual incubation, you can also place the eggs near the heat source of a dehydrator set to a low, regulated temperature.
Best Heat Sources: Heat Lamps, Warm Stoves, and 60W Bulbs
A heat lamp is often the best option for providing consistent warmth, but proper positioning is crucial. Keep the lamp at least 12 inches above the eggs to avoid temperature fluctuations. Use a reliable thermometer to monitor the temperature closely and ensure it stays within the ideal range of 99.5°F, preventing swings between 96°F and 104°F. For optimal incubation, also consider pairing your setup with a top hygrometer to accurately monitor and maintain humidity levels. For those considering other kitchen tools, note that a pressure canner is designed specifically for safe canning and is not suitable as a replacement heat source for egg incubation. These same principles apply when using worms in a compost bin, as both processes require consistent environmental conditions.
While a warm stove can also supply steady heat, it should never be placed directly beneath the eggs. Position the incubator near, but not on, the stove to leverage thermal radiation and air conduction. This method helps maintain stable humidity levels between 60 and 75 percent, which is vital for proper incubation.
For small or cooler incubators, a 60-watt bulb is an effective DIY solution. Secure the bulb fixture inside the container to direct heat evenly across the eggs without hot spots. Avoid using heating pads unless you add insulation carefully, as uneven heat distribution can cause problems. Regardless of the heat source, always verify temperature regularly with a thermometer to keep it at the crucial 99.5°F mark, which maximizes hatch success.
Build a $10 DIY Incubation Box That Locks in Heat
A $10 DIY incubation box effectively locks in heat by combining simple insulation with a low-cost heating element. Using a styrofoam cooler with a lid creates a natural barrier to heat loss, while lining a cardboard box with reflective foil can reduce heat escape by about 30%. The reflective foil not only insulates but also helps distribute the heat evenly inside. For heating, a 25-watt light bulb fitted into a socket adapter provides a steady, inexpensive source of warmth. For a reliable heat source, choose a quality heat lamp bulb that is designed to maintain consistent temperatures without flickering. Place the bulb inside the box but away from the eggs to prevent direct burns. Covering a water dish with hardware cloth maintains humidity levels between 40% and 80%, which is essential for keeping eggshells porous and properly hydrated. Set your thermostat to 37.5°C (99.5°F) to ensure eggs incubate at the optimal temperature. Elevate the eggs on a small rack to prevent overheating from the heat source and rotate the eggs three times daily for even development. When selecting a box, consider a lid design that seals effectively to prevent heat leakage, similar to how wide mouth lids for mason jars secure their contents. This setup creates an efficient, low-cost incubator that seals in heat effectively for under ten dollars. A heat regulator circuit with a heat sensor and relay can be added to automatically maintain the temperature without constant monitoring. Using a styrofoam cooler as the base of the box is a proven method to lock in warmth, similar to the insulation principles used in a DIY rain barrel build.
Week-by-Week Chick Development: Candling, Pipping, and Hatching
Once your DIY incubation box maintains a steady temperature of 37.5°C (99.5°F) and humidity stays between 40% and 80%, you can track the embryo’s development week by week. During the second week, the dark spot inside the egg enlarges as the embryo fills more of the cavity, and you should look for movement around day ten. Consistent daily egg rotation remains crucial in the second week to ensure proper embryo positioning inside the shell and prevent the developing chick from sticking to the shell. Candling at this stage can reveal veins visible inside the egg, which signify early development and the presence of life. To maintain the correct environment, it is helpful to construct a DIY chicken coop design for the brooding area. For managing waste from the brooding area, you might consider a bin compost system to recycle bedding and manure. Using solar chargers for fence can help power electric fencing to protect the brooding area from predators.
By day 18, perform a final candling to confirm viability and prepare for lockdown. At this stage, the chick stops turning and positions its head downward toward the air cell. It’s important not to open the incubator after this point—keeping humidity levels high is vital to prevent the membranes from drying out and hindering hatch success.
Between days 20 and 21, the chick pips the inner membrane with its egg tooth and begins to breach the shell. The full hatch typically takes between 12 and 24 hours. After emerging, the chick rests for up to a day, drying its feathers before it starts exploring its surroundings.
Candling Eggs: How to Tell If an Embryo Is Alive or Dead
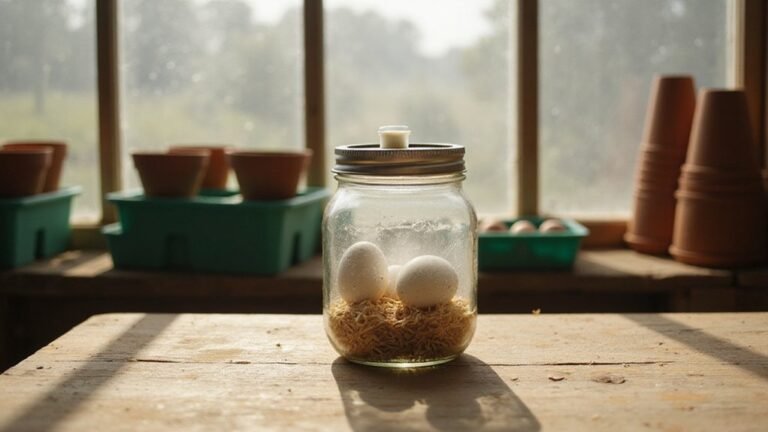
To determine if an embryo inside an egg is alive or dead, candling is essential. This involves shining a bright light through the shell in a completely dark room. Begin by inspecting the egg for shell cracks, as damage can harm the embryo or allow bacteria to enter, risking its survival. A healthy embryo will display spider-like blood vessels radiating from a dark, central spot. You might also observe movement, although it may be sluggish and only noticeable after 30–40 seconds of candling. If you see a clear yolk and no vascular presence, the egg is likely infertile. A dead embryo often shows a blood ring—appearing as a dark, circular stain—or a cloudy, non-vascular appearance. Egg temperature also influences these signs; if the egg has been kept too cold or hot, the embryo may have died early. Eggs exhibiting clear, blood-ringed, or foul smells should be immediately removed from your incubator to prevent contamination and protect the healthy eggs. Using a reliable soil thermometer to monitor the incubator’s temperature can help ensure consistent warmth and improve embryo survival rates. For incubating eggs you can also repurpose a mason jar as a simple humidity dome to maintain stable conditions. During candling, always place eggs with the fat side down for optimal viewing. For the best results, consider deep litter methods to maintain proper coop hygiene and temperature consistency.
Final 48 Hours: Recognizing Pipping Sounds and Shell Cracks
The final 48 hours before hatch are when you’ll notice clear signs that the chick is ready to emerge. First, you’ll hear pipping sounds—distinct clicking or peeping noises coming from inside the egg around day 19–20. This indicates the chick is awake and active inside the shell, so listen in a quiet environment for these sounds. Increased embryo movement is also a sign, as the chick shifts position inside the shell.
Next, internal pipping occurs 12 to 24 hours before you see any cracks. This is when the chick breaks through the inner membrane and begins to breathe air from the air cell. You might hear faint clicks and notice more vigorous movement inside the egg. External pipping then happens, marked by a visible hole or a hairline crack on the shell’s larger end. This crack is the start of the shell breaking open as the chick makes its final push. Within 12 to 18 hours after external pipping, the zipping process begins, where the chick rotates to crack the shell in a spiral pattern. If no external pip appears by day 23, it’s advisable to wait until day 24 before discarding the egg.