Want a simple way to grow more food with less hassle? Creating a raised bed garden can boost your yields by up to 30 percent while making gardening easier and more productive.
It’s a smart, cost-effective method for homesteaders looking to maximize space and increase harvests. The best part is, setting one up isn’t complicated—you just need to know how.
Keep reading to learn the steps to build your own raised bed garden effectively.
Why Raised Beds Transform Your Garden
Raised beds offer a superior growing environment by elevating your soil above ground level, which greatly improves soil quality and plant health. With a height typically ranging from 6 to 24 inches, you gain enhanced control over soil composition and drainage, creating ideal conditions for roots to grow. The loose, aerated structure allows roots to penetrate deeper, resulting in healthier plants and increased yields—often between 20 and 30 percent higher than in traditional garden beds. Using plastic mason jars with lids for seed starting or storing harvested crops provides a durable, lightweight alternative to glass that won’t break in the garden. This elevated design also reduces the physical strain of bending, making garden maintenance more accessible for homesteaders of all ages.
Because the soil is warmer earlier in the season—about two to three weeks ahead—you can start planting sooner and extend your growing period significantly. Elevation reduces weed pressure by approximately 70 percent, since weeds struggle with the confined space and elevated height. Installing pest barriers such as mesh or fabric on the sides completely blocks pests like slugs and cutworms, providing an effective defense mechanism. Additionally, the contained space simplifies crop rotation, which can reduce fungal disease occurrences by around 45 percent. The ability to access your plants easily every day enables swift, early intervention that decreases pest severity by as much as 80 percent, giving your garden a healthier, more manageable foundation. This setup also makes it easier to incorporate sustainable compost from sources like goat pen hay, which acts as a natural fertilizer to boost plant growth and health. For even greater integration with your homestead, you can house your flock in a best chicken coop positioned nearby to supply manure for enriching your raised bed soil.
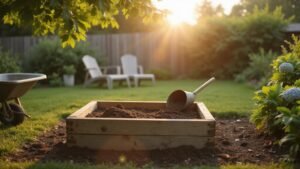
Build Your Raised Bed Frame Step by Step
Start building your raised bed frame by measuring and cutting your lumber to precise dimensions. Use a circular saw on sawhorses to cut two 10-foot 2×8 boards and two 4-foot 2×8 boards from an eight-foot length. Then, cut four 2-foot 2×4 stakes for the corners. Position the long boards parallel, four feet apart, and attach the short sides at each end. Pre-drill pilot holes to prevent splitting, then secure the boards together with three-inch deck screws. Drive the corner stakes into the ground at each corner of the frame, then screw the frame to the stakes. For added stability, install extra support stakes along the long sides. This creates a sturdy, long-lasting frame that simplifies future irrigation and helps deter pests by keeping critters out. The width is limited to 4 ft for easy reach from the center, ensuring you can tend to all plants without stepping into the bed. Applying finished compost from your own bin around the plants will naturally enrich the soil over time. For an additional barrier against burrowing animals, line the bottom of the frame with chicken wire before adding soil. Using untreated lumber for the frame ensures no harmful chemicals leach into your vegetable garden.
Pick the Perfect Sunny Spot for Maximum Growth
Choose a location that receives at least 6 to 8 hours of direct sunlight daily. Full-sun crops like tomatoes and peppers require this minimum to produce strong yields. To find the best spot, perform a shade analysis by tracking shadow patterns at morning, midday, and afternoon using paper or a smartphone app for accurate sun mapping. Check exposure in spring, summer, and fall, since seasonal sun angles change throughout the year. Orient your raised bed north-south to ensure even sunlight distribution across the length. Place taller plants on the northern side of the bed to prevent shading of shorter crops. Avoid areas near heat-reflective surfaces such as walls or pavements, which can stress plants. Position your garden so that the south side of nearby structures captures the maximum amount of sun for healthy, vigorous growth. Consider the height of roosting bars if integrating a chicken coop nearby, as proper elevation ensures both plant sun exposure and safe poultry access. For an easier setup, choose raised bed garden options that are pre-assembled from durable materials like cedar or recycled plastic to save time on construction.
Stop Weeds and Critters Before You Fill the Bed
To prevent weeds and pests from taking over before your plants get started, start with a layer of overlapping cardboard at least 10 centimeters thick over bare soil. This blocks all light, preventing weed seeds from sprouting. Cover the cardboard with sterilized, high-quality compost to smother any remaining weed seeds and create a nutritious base for your plants. Cut X-shaped holes into the compost layer to plant directly into it. To deter burrowing critters, line the bottom of the bed with galvanized hardware cloth of at least 19 gauge, bending it 6 to 12 inches outward under the perimeter to keep out larger burrowers. Staple the hardware cloth securely every 10 centimeters. Add copper mesh tape around the edges of the bed to repel slugs effectively. This triple lining at the bottom enhances pest exclusion by creating a foundation layer that is weed-resistant and pest-unfriendly. Incorporate a diverse mix of flowering plants such as dill and yarrow nearby—these attract beneficial insects that naturally control pests. Finally, clear away old debris regularly to remove hiding places for weeds and critters, maintaining a clean, pest-resistant growing environment. For an ongoing supply of nutrient-rich soil, start a separate compost bin nearby using kitchen scraps and yard waste to generate the high-quality compost needed for annual bed refreshment. For long-term preservation of homegrown produce, consider using a vacuum sealer to keep harvested vegetables fresh in storage.
Layer Wood, Soil, and Compost for Lasting Fertility
Layering wood, soil, and compost creates a durable and fertile base for your garden bed. Start with coarse wood cuttings, about 4 to 6 inches deep, to promote drainage and prevent waterlogging. Follow with shredded materials like leaves or bark to create air pockets that support healthy root growth. Add a layer of grass clippings and coarse compost as a nitrogen buffer; aim for 2 to 3 inches of each to provide nutrients and help decompose. Mix in worm castings gradually into the compost layer to ensure slow nutrient release over time. For beds shorter than 17 inches, prioritize adding wood chips or compost at the bottom to ensure at least 12 inches of quality soil near the surface for roots. This layering method, much like the invention of the Mason jar, relies on a simple, durable design to achieve long-lasting results. To secure the bed structure, use sturdy staples to fasten the wooden frame evenly.
For the root zone, combine one part compost with one part topsoil to achieve a balanced growing medium rich in organic matter. This ratio supports healthy root development and optimal nutrient uptake. Proper mulch management involves topping the bed with 1 to 2 inches of wood chips or straw. This helps retain moisture, regulate soil temperature, and suppress weeds. To preserve the soil’s microbial life during initial preparation, avoid using high-pressure heat treatments like those found in pressure canners, which can sterilize organic materials.
Before planting, perform soil testing to check pH and nutrient levels. Adjustments based on results will allow your plants to thrive. After layering everything, water thoroughly to settle the layers and fill the bed to within about one inch of the top edge, preventing overflow during watering.
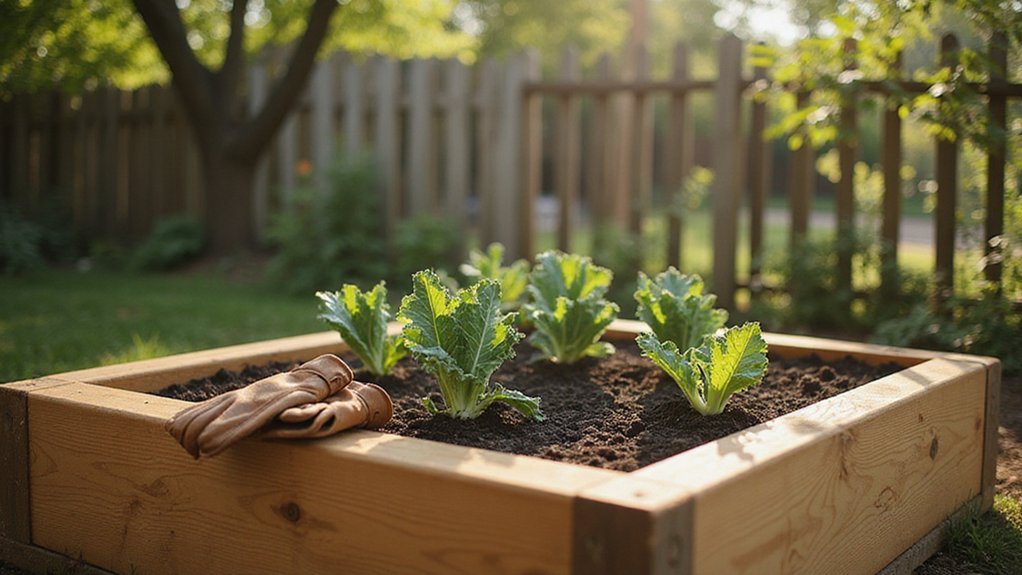
Plant, Water, and Space for the Biggest Harvest
The ideal water level for maximizing crop health is maintaining a 1.5-inch vertical air gap between leaf surfaces. Use a ruler to check this distance at peak growth, as it helps prevent spore transfer and reduces the risk of fungal diseases. To achieve this, regularly monitor plant canopies, especially during rapid growth phases, and adjust watering practices accordingly. Additionally, studying the placement of wood duck nesting boxes shows that proper positioning relative to water sources is critical for wildlife success, just as plant spacing relative to moisture access is key for crops. Never reduce plant spacing to squeeze in more crops without confirming root development. Measure spacing based on the full mature root spread, not just the aboveground size, to avoid crowding that hampers growth. Proper spacing ensures roots have enough room to expand, which promotes stronger plants and higher yields. For efficient water management, combine this spacing with targeted watering—deeply water established plants, allowing moisture to reach the root zone. Consider using mulch to retain soil moisture and keep leaf surfaces dry, further reducing disease risk. A freeze dryer preserves harvests longer by removing moisture at low temperatures, providing an option for storing surplus crops. Selecting a Lowe’s watering can with a narrow spout allows for precise, deep root watering without wetting foliage. Regularly inspecting your plants will help you find the right balance between watering and spacing for an optimal harvest.
How to Maintain Your Raised Bed Year After Year
To keep your raised bed productive year after year, focus on maintaining soil health, controlling pests, and managing weeds. Replenish the soil with a 1- to 2-inch layer of compost every spring and fall. Doing so improves soil fertility and structure, especially if you apply compost in fall to allow it to break down over winter, providing nutrients for spring planting. Loosen compacted soil with a garden fork instead of tilling, which preserves soil structure and beneficial microbes. Cover the beds with 2 to 3 inches of organic mulch to regulate soil temperature, retain moisture, and prevent weeds. Replenish this mulch before summer heat increases to maintain its benefits. For storing harvested compost or garden supplies, consider using best ball lids for mason jars to create an airtight seal.
Regular pest monitoring is crucial—check plants weekly for aphids, mites, or other pests. Hand-pick pests or use natural controls like neem oil if needed. Rotate crops each season to reduce disease buildup and keep soil nutrients balanced, especially when planting families of veggies with different nutrient needs. Remove weeds promptly to prevent them from competing with your crops for nutrients and water. Monthly inspections of bed structures help identify rot, shifting, or damage, and add fresh compost as needed to compensate for soil settling or erosion. Consistent maintenance keeps your raised bed healthy and productive for many seasons.