How to Attach Chicken Wire to Wood
If you’re trying to attach chicken wire to a wooden frame, it can feel tricky to get it tight and secure without sagging or gaps.
The key is in the prep work and how you fasten the wire—using staples, nails, or screws with washers—and keeping it taut as you go.
A little extra effort now will make sure your barrier lasts longer.
The rest of this guide will walk you through the process step by step.
Gather Tools and Materials for Attaching Chicken Wire
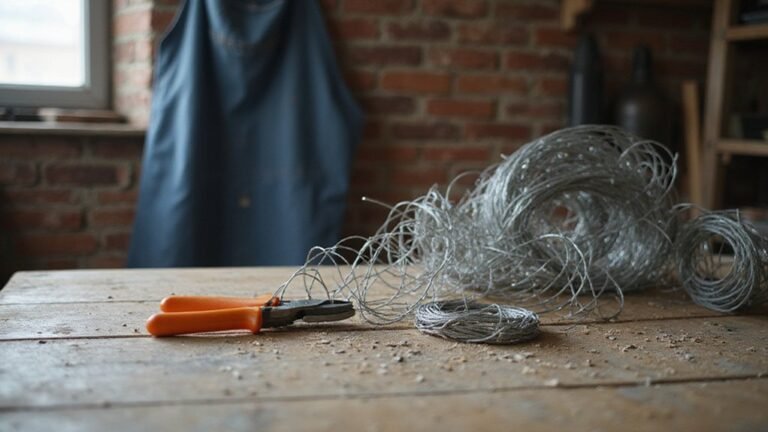
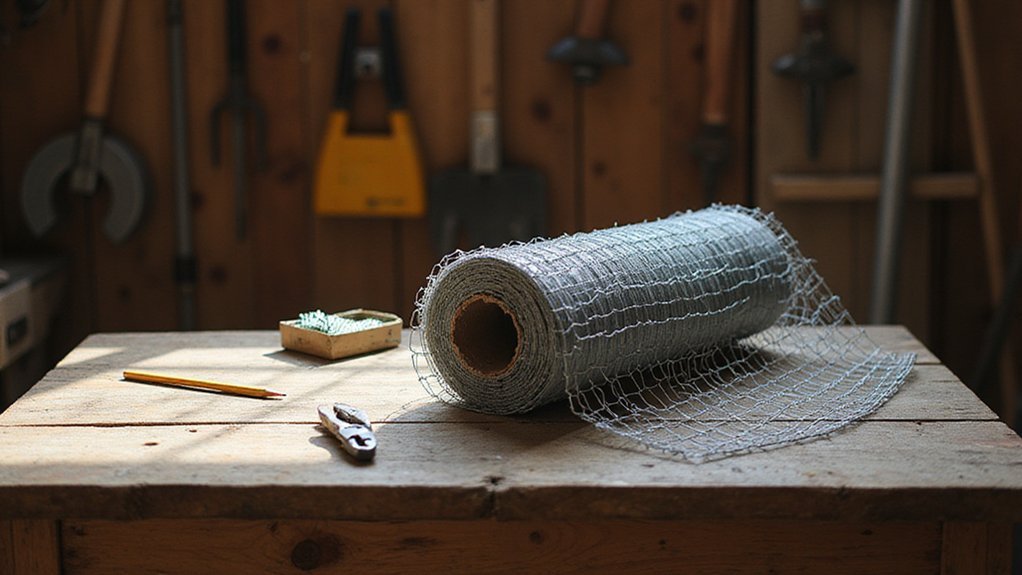
To attach chicken wire properly, you need to gather the right tools and materials. Heavy-duty tin snips are essential for cutting the wire to precise lengths, allowing you to add an extra 4-6 inches on each side to accommodate tension adjustments. Wire cutters with insulated handles are important for safety, especially when trimming excess mesh. Chicken wire is inexpensive and available at hardware stores for a few dollars per roll. For a durable setup, consider how coop reviews often recommend galvanized materials to prevent rust. Additionally, the longevity of your project depends on selecting galvanized materials to resist moisture damage. For wood duck projects, choosing the best nesting boxes ensures your frame matches long-lasting design standards.
Your fastening supplies should include galvanized poultry staples and U-shaped nails—drive them fully into the wood to prevent snagging or animal interference. Use fence clips for temporary holding during the final stapling process. For larger projects, a pneumatic stapler will save time, while a manual staple gun can handle smaller areas. Keep a hammer nearby as a backup tool.
Proper preparation mirrors careful measuring and planning: use a tape measure to verify wood frame dimensions before cutting, and mark staple placement every 6-8 inches. Safety gear is vital—wear heavy-duty gloves to protect your hands from sharp edges and safety glasses to shield your eyes from debris.
Clean, Sand, and Dry the Wood Surface
Cleaning, sanding, and drying the wood surface are essential steps before installation. Begin by sweeping dust from corners with a soft brush, then vacuum away any loose sawdust. Wipe the surface with a tack cloth, moving with the grain of the wood to pick up tiny particles without scratching. For open-grain woods, use compressed air to blow out debris from pores and cracks. Finish with a damp microfiber cloth lightly moistened with mineral spirits to remove any remaining residue, making sure it is compatible with the finish you plan to use. This two-step dust removal process prevents dust from being sealed under the finish and causing adhesion failure or an uneven texture.
Next, sand the entire frame using a fine grit foam pad, between 220 and 320 grit. Focus on edges and corners to prevent injury and ensure a smooth surface. Sand evenly with the wood grain to avoid creating dips or uneven spots. Immediately remove all sanding dust with a vacuum or a tack cloth. For projects requiring efficient waste processing, a tumbler for compost can simplify turning and aerating organic materials. If you used any damp cleaning methods, allow the wood to dry for one to two hours in a clean, well-ventilated environment. Verify the surface is completely dry before proceeding; residual moisture can weaken fastener grip and cause finish issues later on. For outdoor projects like a compost bin, choosing a weather-resistant wood ensures the frame holds up under moisture and decay over time. For those also processing meat, a quality dehydrator helps achieve consistent results when drying jerky.
Measure and Cut Chicken Wire to Fit the Frame
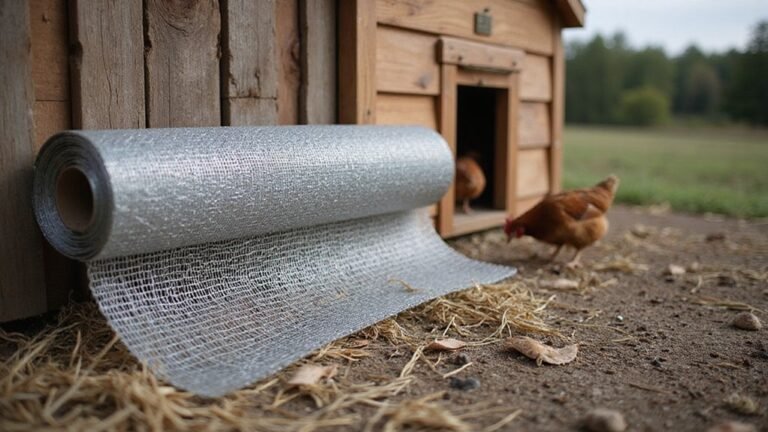
To measure and cut chicken wire to fit your frame, start with your frame dimensions in inches. Use a tape measure to record the exact length and width, then add at least four inches to each side to ensure a secure overlap. Unroll the wire mesh on a flat surface to prevent kinks and make handling easier. Align the wire with your measurements marked on the frame, then draw a straight, clean cut line using a straight edge or ruler. Use heavy-duty tin snips to cut along this line, applying steady, even pressure. For thicker wire, wire cutters provide more leverage and control. Always wear cut-resistant gloves for safety when handling sharp wire. After cutting, check that the piece matches the frame size plus the overlap margin, and inspect for jagged edges. File down any sharp points to prevent injury and ensure a smooth fit. For a more sustainable project, consider using food waste recycling methods like a worm bin to compost scraps instead of discarding them. With your wire precisely cut and edges smoothed, you are ready to attach it securely to the frame.
Staple or Nail Chicken Wire to Wood Fast
To secure chicken wire to wood effectively, fasten it with a staple or nail every 4–6 inches along the edges. Start at a corner using a heavy-duty staple gun, driving each staple firmly to ensure it stays in place. Alternatively, U-shaped poultry staples can be used every 6–8 inches, driving them flush with the wood surface. Pull the wire taut as you go to eliminate gaps and prevent sagging, which is crucial for a secure enclosure. Choose fasteners based on your wood type: heavy-duty staples work quickly, while nails provide a better grip in softer wood. For added strength at corners, double-nail in an X pattern, but always ensure fasteners are driven fully to avoid catching or loosening over time. Regularly check alignment and tighten fasteners as needed to maintain a tight, secure wire. To enhance tension across the entire section, thread tension wire through pre-drilled holes in the wood posts every 45 cm before stapling. For projects requiring a weathertight closure on nearby storage, consider using a quality mason jar sealer to keep contents dry and protected. If you plan to keep composting materials near the enclosure, compostable bags made from plant-based materials can simplify cleanup while supporting eco-friendly waste management. For optimal chick growth and safety, use a best chicken brooder that provides consistent warmth and predator protection.
Secure Chicken Wire With Screws and Washers
Screws and washers provide a much more secure attachment for chicken wire to wood compared to staples. Use #8 or #10 wood screws that are 1 to 1.25 inches long, paired with 1.25-inch fender washers. These washers help distribute the force over at least two wire junctions, drastically reducing the risk of tear-outs. Make sure the washer’s hole size matches your screw gauge to prevent slippage under predator pressure. This method is similar to how a DIY reptile egg incubator uses precise fastening to secure mesh without damaging the frame. For added durability, consider using rot-resistant cedar for your frame to match the longevity of the wire attachment. A similar type of sturdy glass jar relies on tight-fitting lids to maintain a secure seal against pressure.
For ground-level panels, space fasteners every 4 to 6 inches. When stronger animals like raccoons are a concern, tighten the spacing to every 2 to 3 inches. Overhead panels can be attached at 6-inch intervals. Place screws and washers on all ground-level sections where digging or pulling might occur. Drive each screw straight and tightly, ensuring the washer presses firmly against the wire without cutting into it. This method outperforms staples, especially as the wood settles over time, offering long-term security. This approach also leaves the wire in pristine condition for easy reuse when remodeling.
Stretch the Mesh Taut Before Final Fastening
Before fastening the mesh completely, ensure it is taut to achieve a professional, long-lasting finish. Start by unrolling the wire fully to identify any hidden kinks. Grip the mesh with both hands and gently pull to remove slack. Use a temporary anchor point at one corner, then pull the opposite end firmly to eliminate any center sagging. For added leverage, insert a pipe or wire hook into the mesh holes and pull downward. Secure the center of one side first, then tighten the opposite side to lock in the tension. Before final fastening, inspect each staple and re-pull slack sections with pliers if needed. Trim any excess wire to finish neatly. Proper stretching prevents future sagging and helps keep the grid square, ensuring a durable, uniform installation. For optimal results, consider the practical guidance from experts on watering cans to maintain consistent hydration for your plants. Using high-quality materials initially prevents frequent replacements and reduces labor over time. For projects requiring a balance of durability and ease of handling, reading top ghost with chicken wire reviews can help you select the best product for your specific needs. Keeping the wire off the ground on a stable rain barrel stand prevents moisture damage and corrosion during installation.
Use Battens and Manage Edges for Extra Strength
To strengthen your mesh, install vertical battens every 1 foot on panels over 4 feet tall. Use 3/4-inch thick wood securely fastened with 8d nails spaced 12 inches apart. Proper placement of battens flush against the inner frame prevents outward bowing under wind load. For added stability, attach metal corner brackets at the top and bottom of each panel, ensuring the battens are reinforced and secure over time. Selecting a vacuum sealer for meat can also preserve the longevity of your food storage. A vacuum sealer is worth the investment for homesteaders who need to store bulk meat without freezer burn. Proper sealing mason jars follows a similar principle of creating an airtight barrier for long-term preservation.
For edge reinforcement, attach heavy-gauge metal corner brackets to all four frame corners using 2-inch brackets with galvanized screws. Overlap the chicken wire by 2 inches onto these brackets, then double-layer the mesh around critical zones for higher security. Drive stainless steel screws with 1-inch fender washers every 6 to 8 inches along the edges to prevent movement or tearing. Pre-drill holes to avoid damaging the mesh when inserting screws. Fold any sharp wire ends inward at 90 degrees and tap flush with a hammer to prevent injury. Finally, overlap adjacent mesh sections by 8 inches and secure each overlap with cable ties every 6 inches to ensure a tight, secure fit.
Bury or Bend Bottom Wire to Deter Diggers
Burying or bending the bottom wire is essential to prevent diggers from undermining your fence. Dig a trench about 12 inches deep around the entire perimeter. You can bend the mesh outward at a 90-degree angle to create a horizontal apron that extends 12 inches along the ground. This L-shape design makes diggers hit the vertical wire first, then the horizontal shelf, effectively thwarting their tunneling efforts. Alternatively, you can bury the bottom edge vertically into a 12-inch trench and extend a 12- to 18-inch apron flat on the surface, securing it with soil or landscape staples. These methods work because predators encounter the hidden wire unexpectedly, making it difficult to bypass. Once the mesh is in place, backfill the trench thoroughly to lock it in and prevent any undermining. Knowing the difference between straight run chickens and sexed chicks helps homesteaders plan their flock order timing alongside fencing projects.
Check and Tighten the Wire Over Time
Your chicken wire’s tension will naturally loosen over time as wood frames settle during drying and weather changes. You should inspect wire tension weekly for the first 30 days after installation. Use a tension gauge or a visual scan to check for sagging between posts. Immediately tighten any loose screws or staples to prevent permanent damage.
Make it a habit to perform annual maintenance by walking the entire perimeter monthly. Focus on corners and areas exposed to high winds because these are prone to detachment or gaps. Consistent tension monitoring helps catch early failures before they become costly repairs. If you find rusted or pulled fasteners, replace them promptly with stainless steel screws and fender washers for durability. Space new fasteners every six to eight inches along post edges. Staying proactive with routine tension checks and annual upkeep will keep your chicken wire tight and functional for years.