What to Put in Your Compost Bin
Wondering how to turn kitchen scraps and yard waste into rich compost? The secret is balancing greens and browns—green materials like fruit and grass provide nitrogen, while brown materials like leaves and cardboard give carbon.
Getting this ratio right and layering your materials properly will help you create nutrient-rich compost faster.
Keep reading for simple tips to start composting effectively.
3:1 Brown-to-Green Ratio: The Formula for Fast Composting
To get your compost pile heating up quickly, aim for a 3:1 brown-to-green volume ratio. This ratio ensures a practical and effective way to balance carbon and nitrogen by weight, which is essential for microbial activity. Microbes thrive within this balance, generating heat needed for decomposition. It also helps stabilize your compost’s pH, preventing conditions that could slow down or stall the process. Using a proper chicken coop can provide a steady supply of nitrogen-rich manure as a green material for your pile. For those new to balancing these inputs, mastering the concept is similar to water bath canning in its reliance on precise ratios for successful preservation. Choosing a watering can with a long spout can help you evenly moisten dry browns like straw without disturbing the pile’s structure.
Use carbon-rich browns like dry leaves, straw, or shredded cardboard to provide structure. These materials create air pockets that promote aeration and prevent your pile from becoming soggy or anaerobic. If your compost feels too wet or smells sour, add more browns to restore the balance. Measure your materials using a bucket, aiming for three parts browns to one part greens. Shredding browns increases surface area, which accelerates microbial action and heats your compost faster, all without producing ammonia odors.
Nitrogen-Rich Greens That Fuel Your Compost Pile
Fruit scraps like banana peels, apple cores, and citrus rinds break down quickly and provide a high nitrogen boost. Garden greens such as fresh grass clippings and leafy trimmings recycle nitrogen efficiently. Adding vegetable scraps, coffee grounds, tea leaves, and aged herbivore manure can significantly increase nitrogen levels in your compost. Kitchen leftovers like stale bread crumbs and crushed eggshells also contribute to decomposition by providing nitrogen sources. Pond algae or diluted urine can heat up a cold compost pile rapidly. Mix these nitrogen-rich greens thoroughly with browns, but avoid piling too many wet grass clippings without drying them first to prevent odors. Incorporating these greens ensures a healthy, active composting process. Finding a perfect watering can near you helps homesteaders maintain the ideal moisture balance for these nitrogen-rich materials. Choosing the best soil for your raised beds complements this composting effort by providing a nutrient-rich foundation for plants. A balanced mix of greens and browns is essential for preventing the pile from becoming too wet or smelly.
The Best Browns for Carbon in Your Compost Bin
Brown materials provide the structure, aeration, and carbon your compost pile needs. To maintain a healthy balance, aim for a 3:1 volume ratio of browns to greens. Autumn leaves are a top choice because they are readily available and rich in carbon. You can store them in bags throughout the year for easy access. Other effective brown sources include shredded newspaper, cardboard, and unbleached paper bags. Seasonal options like dried cornstalks after the fall harvest or sawdust from untreated wood projects also add valuable carbon. Pine needles, straw, and even coffee filters can boost your compost’s carbon content without causing clumping. For the best results, consider the bin’s venting and aeration when selecting the right container for your pile. For instance, proper airflow is critical to successful composting, much like the way roosting bar height affects chicken coop ventilation. For bantams, selecting a coop with proper ventilation is essential to prevent moisture buildup and ensure healthy airflow.
For optimal results, tear cardboard into small pieces to speed decomposition and store dry materials in bins to keep them low in moisture. Layer these browns with your green materials, such as fresh vegetable scraps or grass clippings. At this stage, you don’t need to turn the pile; that comes later, once it begins breaking down.
Layer Your Bin for Airflow and Faster Breakdown
Layering your compost pile correctly enhances airflow and speeds up decomposition. Start with a 4-6 inch thick coarse base of chunky browns like twigs, straw, or corn stalks. This layer creates vital air pockets and improves drainage, setting the foundation for proper air circulation and moisture control. Next, alternate thin 2-3 inch layers of fresh greens with 4-6 inch layers of dried browns. Keep each layer just 1-2 inches thick to promote even aeration and prevent compaction. Sprinkle soil between layers to introduce beneficial microbes, which accelerate breakdown. Lightly moisten each brown layer with water until it’s damp like a sponge, but avoid overwatering to prevent poor airflow. For quicker decomposition, insert perforated PVC pipes vertically into your pile before adding materials to create passive airflow channels. Every few days, poke holes with a bar to reopen any blocked passages, maintaining steady airflow throughout the process.
Speed Up Decomposition and Kill the Stink
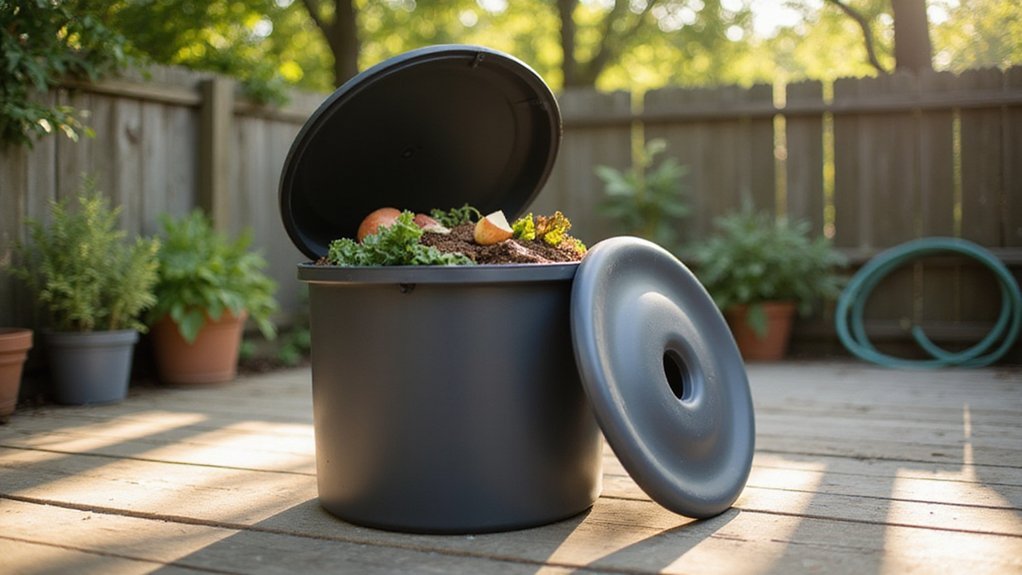
To accelerate decomposition and eliminate odors, focus on maintaining a carbon-to-nitrogen ratio of 25:1 to 30:1. Achieve this by keeping a four-to-one volume of browns, like dried leaves, to greens, such as grass clippings or fruit scraps. Excess nitrogen leads to ammonia smells and slow breakdown, so balance your greens with woody browns for structure. For best results, ensure your storage container uses wide mouth lids for easy access when adding and turning the pile.
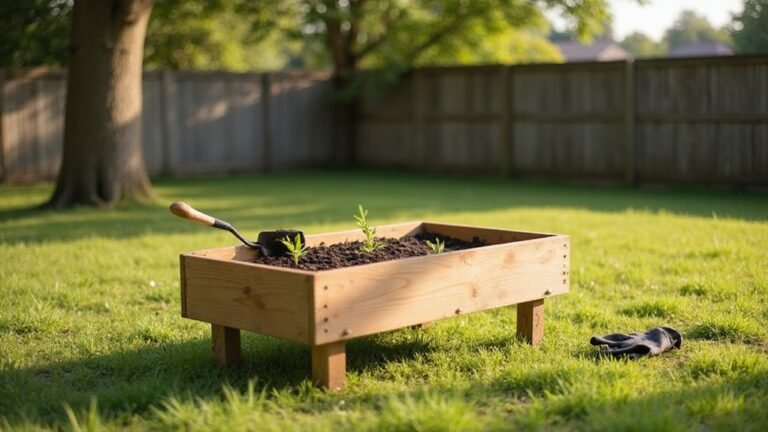
Keep moisture levels between 45% and 60%. Squeeze a handful—only one or two drops should come out. If the pile is too dry, decomposition slows; if it’s too wet, it breeds foul odors. Turn the pile daily when the temperature drops below 50°C after peaking to keep microbes active and the process moving. For best results, construct your pile using a raised bed garden framework to contain materials and improve aeration.
Chopping materials into ½ to 1-inch pieces greatly increases surface area, speeding microbial activity. Use a 3-tine cultivator to prevent compaction and ensure air can reach all parts of the pile. Boost microbial diversity by adding mature compost teas, which deliver hydrated microbes and surfactants. This not only speeds up decomposition but also helps kill odors quickly. Incorporating finished compost adds beneficial microbes to jumpstart the process. Using pressure treated lumber for your bin frame can provide long-lasting structure that resists rot and weather damage.
What Surprising Items Can You Compost?
Your compost bin can handle far more than just kitchen scraps and yard waste. For unique compost additions, you can toss in items like stale bread, crackers, and even moldy cheese—they decompose quickly and provide valuable nutrients. Leftover wine or beer can also go in; the alcohol evaporates, feeding beneficial microbes without harm. Maintaining proper moisture levels is critical for decomposition, so monitoring with a hygrometer for your incubator can help ensure balanced conditions for your compost pile. Additionally, the same principle of providing adequate space and ventilation that is crucial for chicken nesting boxes applies to ensuring your compost pile has proper airflow for healthy decomposition.
Consider adding uncommon materials such as cotton clothing scraps, human hair, or pet fur to boost nitrogen levels. Wooden chopsticks, toothpicks, and natural loofahs contribute carbon. Aquarium plants, algae, and chicken manure enhance microbial diversity and nutrient content. Dryer lint and vacuum dust are rich in carbon, making them suitable for composting. Old spices, jam, and dry pet food can also be composted, provided they are untreated and free from synthetic additives. A homesteader might also consider using a brass watering can for gently applying compost tea to garden beds. Incorporating these surprising items turns waste into nutrient-rich compost that supports healthy, vibrant soil.
What to Never Throw in Your Compost Bin
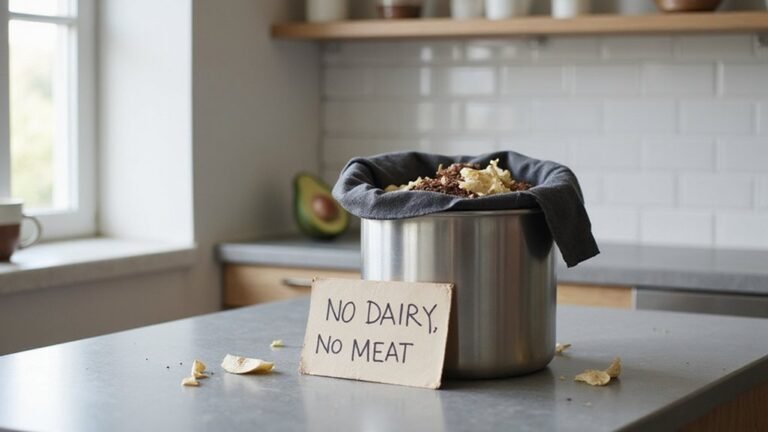
Avoid tossing meat, bones, fish, or dairy into your compost bin. These items attract pests and cause foul odors, leading to contamination of your compost. Pet waste and human waste should also be skipped, as they carry pathogens that are unsafe for home composting. Diseased plants and chemically treated materials don’t belong either because they spread disease and introduce toxins. However, you can safely compost many common weeds if you manage them properly to prevent weed seed survival in your pile.
Stick to household waste guidelines by excluding plastics, synthetic fabrics, waxed cardboard, and glossy paper. These materials do not break down properly and can ruin your compost pile. Fats, grease, shellfish parts, and dairy leftovers should also be avoided, as they invite pests and create foul smells. Homesteaders should also avoid adding large amounts of invasive weed seeds that can survive the composting process and spread in garden soil. Even if you manage your pile carefully, experienced homesteaders often find it safer to exclude meat unless using a specialized hot composting system.
Keep the compost simple by focusing on greens and browns like vegetable scraps, leaves, and paper products that decompose well. Patience is key; steer clear of these troublemakers to maintain a healthy and productive compost bin.