How to Work a Compost Bin for Homesteading
Figuring out how to turn kitchen scraps and yard waste into usable compost can seem tricky at first, but with a few simple steps, you’ll be on your way. Properly working a compost bin helps transform organic waste into rich soil in just a few months.
By the end, you’ll know how to set up, maintain, and troubleshoot your compost pile for steady, healthy breakdown.
Keep reading for the full how-to to turn your waste into garden gold.
Pick the Perfect Spot for Your Compost Bin
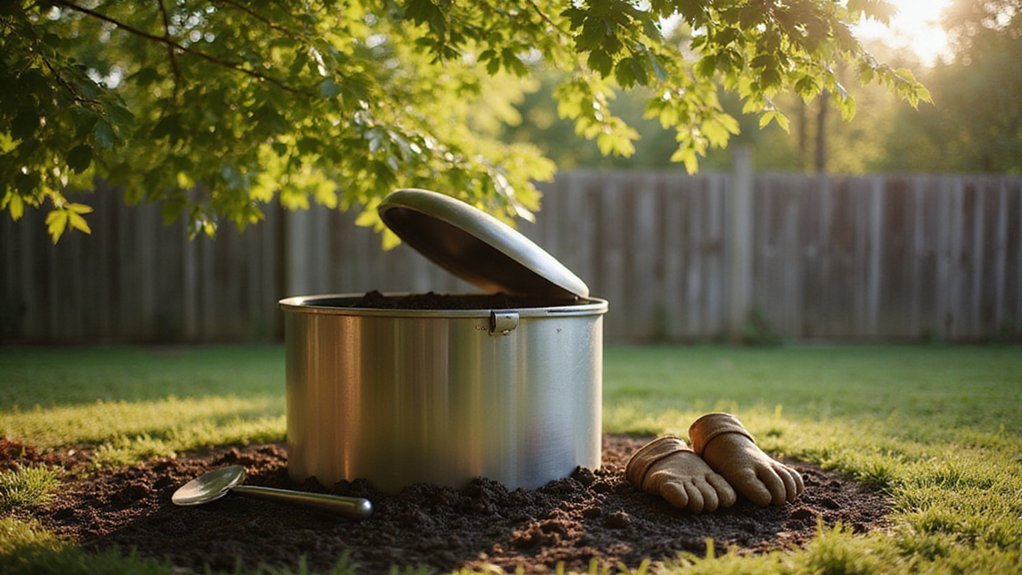
Choose a flat, well-drained spot on native soil for your compost bin. Avoid low areas that tend to stay soggy, as excess moisture can hinder decomposition. For sunlight exposure, select a location with partial shade to keep temperatures and moisture levels balanced. Full sun can dry materials out too quickly, while deep shade may lead to damp, soggy compost in humid climates. Keep the bin at least 10 feet away from your house to prevent odors and pests from becoming an issue. Additionally, place it away from fences and property boundaries to respect neighbors and reduce complaints. Ensure there is 24 to 36 inches of clear space in front for turning materials. Avoid positioning the bin against wooden structures, as constant moisture exposure can cause damage over time. Also, choose an area with some wind protection and easy access throughout the year. A similar site selection approach is used in coop placement reviews to avoid structural damage and maintain airflow. To keep moisture consistent, consider partial shade so the pile doesn’t dry out too fast in direct afternoon sun. For homeowners who want a convenient setup, a tumbler for compost can simplify the turning process and speed up decomposition.
Stick to a 2:1 Ratio of Browns and Greens
Maintaining a 2:1 ratio of browns to greens by volume is essential for efficient composting. Browns, like dry leaves and shredded paper, supply carbon that fuels microbial energy. Greens, such as grass clippings and vegetable scraps, provide nitrogen needed for microbial protein synthesis. Balancing these materials ensures microbial activity remains vigorous, raising the compost temperature to the optimal range for rapid decomposition. Like a wood duck nesting box, the structural balance of your compost pile determines its overall success and function. Following the practical tips from a DIY build guide helps ensure your compost bin is properly aerated and constructed for easy turning.
If your compost smells like ammonia or feels overly wet, you likely have too many greens. To correct this, add more browns, like straw or shredded cardboard, to absorb excess moisture and balance the carbon-nitrogen ratio. On the other hand, if the pile remains cold or appears inert, introducing more greens will boost microbial activity. Mixing the compost weekly distributes materials evenly, ensuring microbes get consistent access to both carbon and nitrogen for steady, hot decomposition.
Keep Your Pile Moist Without Drowning It
To keep your compost pile moist without drowning it, aim for a “wrung-out sponge” consistency. Squeeze a handful: it should hold shape but not drip excess water. Use a spray nozzle to water the pile evenly while turning it, directing water into the center of sections for thorough coverage. Avoid soaking the entire pile at once; instead, add water gradually as you work through each section. Just as with vacuum sealing mason jars, precise moisture control is key to preserving the quality of your stored material. When constructing an enclosure for your pile, consider adding a roof using a slight angle to help direct excess rainfall away from the compost.
During heavy rain, cover the pile with a tarp to prevent waterlogging but make sure to remove it periodically to allow aeration. Turning the pile on cooler days helps prevent rapid moisture loss, and while doing so, rewet dry materials as needed. If the pile becomes too wet, add brown materials like straw to absorb excess moisture; if it’s too dry, incorporate green materials such as grass clippings to restore the balance. Proper moisture control combined with regular turning prevents anaerobic conditions and keeps odors at bay.
How to Fix Smelly or Pest-Infested Compost
If your compost pile starts smelling like rotten eggs or attracting pests, it indicates too much moisture, poor aeration, or an imbalance of materials. To correct this, add dry brown amendments such as sawdust or shredded cardboard to absorb excess liquid and promote healthy decomposition. Thoroughly turn the pile with a garden fork to introduce oxygen, which prevents anaerobic conditions that cause odors. Cover the compost with straw to help trap odors and keep pests at bay. Bury food scraps deeply within the pile and avoid adding meat or oily foods, as these items can attract pests and disrupt the composting process. Sprinkling wood ash or lime can neutralize odors, while ensuring proper drainage keeps the pile dry. Regularly circulate the compost every few days to boost airflow and maintain beneficial microorganisms, which helps eliminate foul smells quickly. For persistent dampness, incorporating shredded prunings can create channels for air and drainage.
Layer Browns and Greens the Right Way
Layer browns and greens correctly for optimal composting. Start with a 4 to 6-inch base of coarse browns like twigs to improve airflow and provide drainage. Next, alternate 2 to 3 inches of greens with 4 to 6 inches of browns, ensuring greens are buried under browns to prevent pests. Finish the pile with a dry brown layer as a cap. Lightly moisten each brown layer—keep it damp, not soggy—to stimulate microbial activity. Between greens, add a thin layer of finished compost to introduce beneficial microorganisms that boost nutrient cycling. Maintaining a volume ratio of about 2:1 or 3:1 browns to greens ensures the microbial community receives a balanced carbon-to-nitrogen ratio, leading to faster and more effective compost breakdown. Using multiple bins allows one pile to mature undisturbed while others are actively filled, preventing disruption of the breakdown process.
Turn Your Compost Weekly for Faster Breakdown
Turning your compost weekly is essential for speeding up decomposition. This frequency keeps microbial activity active and maintains internal temperatures between 130 and 150°F, which is key to breaking down materials faster. If you go longer than four days without turning, oxygen levels drop below 5%, creating anaerobic conditions that lead to foul odors and slower composting. Turning every seven days replenishes oxygen, keeping levels between 10 and 20 percent, and prevents the pile from cooling below 110°F. Use a pitchfork or aerator to create air channels and redistribute moisture, ensuring the compost remains sponge-wet. Avoid turning daily, as excessive aeration can cool the pile too much and delay pathogen destruction. Sticking to a weekly schedule keeps the heat steady and decomposition rapid. For managing your finished compost, consider using mason jars for storing the dry, broken-down material.
Check When Your Compost Is Ready to Harvest
Your compost is ready to harvest when it is dark brown, crumbly, and smells earthy—no sour or ammonia odors. You can test its readiness by feeling the texture; it should be cool and feel like a wrung-out sponge. Perform a squeeze test: it should contain a few drops of moisture but crumble easily when you open your hand. A simple bag test can confirm maturity: after five days, the compost should smell fresh rather than foul, and you should see no visible food scraps. Additionally, radish seeds should germinate within five to seven days, producing healthy green leaves. For further confirmation, check if weeds are growing out of the pile, as this signals the compost is mature and exposed to the elements. When your compost is ready, you can fill a raised garden bed directly with it, layering it with other organic matter for optimal planting conditions. You can compare this readiness to how a flock needs the right number of nesting boxes to ensure comfort and avoid overcrowding. When these signs are present, sift out any unfinished material and return it to the bin for further breakdown.
Apply Finished Compost to Your Garden Soil
Once your compost passes the readiness tests, you can apply it directly to your garden soil. For new beds, spread a 2 to 4-inch layer, then work it into the top 6 to 8 inches of soil to integrate nutrients effectively. For established beds, a 1 to 2-inch top dressing is sufficient; gently rake it in, making sure not to pile it against plant stems to prevent rot. When using compost in containers, mix one part compost with three parts potting mix for overall health, or apply a thin, stem-free top layer to avoid any stem rot issues. Keep an eye on compost acidity; most finished compost is balanced in pH for general gardening use. To activate microbes and settle the material, water lightly after application. Use a fork or tiller to incorporate compost until the soil has a crumbly texture, free of large clumps, to ensure successful results. For an even more integrated nutrient boost, follow a step-by-step build guide to create your own bin compost system. For sealing homemade compost in jars, wide mouth lids provide an airtight fit for storage. To ensure your compost is properly processed at the right temperature and pressure, consider using a pressure canner for safe preservation of soil amendments.