DIY Compost Bin Tumbler: A Homesteader’s Guide
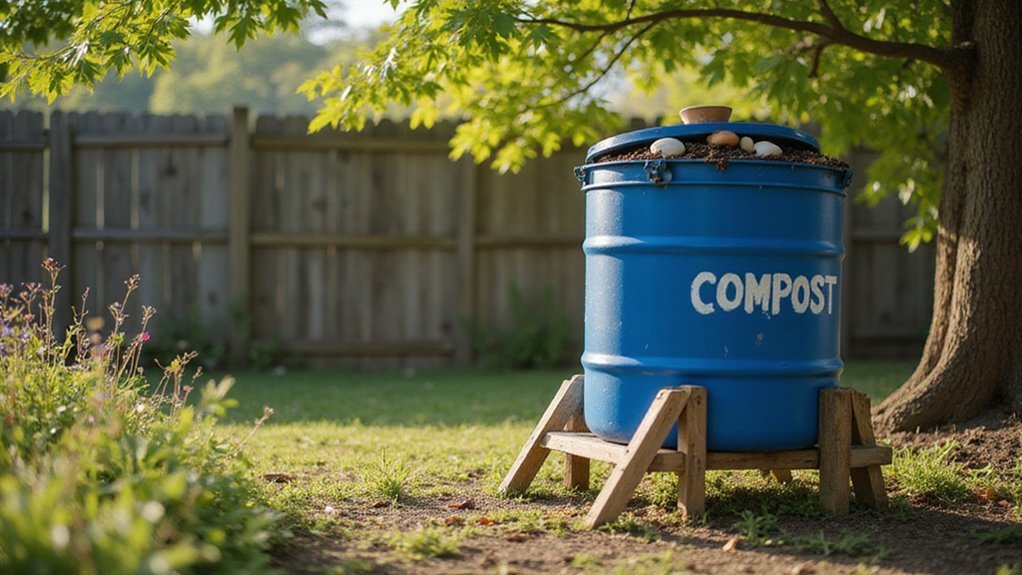
Wondering how to build a simple, effective compost tumbler at home? With just a 45-55 gallon food-grade drum and some basic materials, you can create a mobile, easy-to-use compost bin that speeds up decomposition and reduces odors.
By following a few straightforward steps, you’ll transform scrap waste into rich soil for your garden. The full instructions ahead will guide you through the process.
Prep Your Barrel and Build the Frame for Your Compost Tumbler
Select a 45 to 55-gallon food-grade drum that has not previously contained toxic chemicals or oils. Wash the drum thoroughly with soap and warm water to remove residues. Then, sterilize the interior using a mild bleach solution—about one cup of bleach per gallon of water—and let it sit for several minutes. Rinse thoroughly until no bleach smell remains to ensure safety for composting. Drill a 1/2-inch hole into the exact center of each end of the barrel to serve as the axle openings. Around the sides, create 20 to 30 aeration holes spaced 6 to 8 inches apart to promote airflow, which supercharges the composting process by allowing air to penetrate between particles. For consistent moisture removal, aim for a uniform slice thickness when preparing any organic material you add. Cut a 10 by 12-inch rectangular door opening, then sand the edges to smooth out any rough spots. Attach metal hinges to the door, ensuring they are properly aligned for smooth opening and closing. Secure the door with a galvanized latch to keep it closed during tumbling. For the axle, construct two-tier bearing blocks from 3/4-inch wood, drilling a 1/2-inch hole through each center to accommodate the axle. Regular maintenance of the bearings is essential to prevent friction and prolong the lifespan of your compost tumbler. Like a well-ventilated coop, this design prevents anaerobic conditions that can cause odors and slow decomposition. For those seeking similar efficiency in attracting beneficial wildlife, choosing wood duck nesting boxes with proper ventilation can also prevent harmful moisture buildup.
Mount the Barrel on a Stable Base for Your Compost Tumbler
Start by selecting pressure-treated 2x4s for your base lumber, as these resist moisture and rot. Cut four 48-inch vertical legs and four 36-inch horizontal supports to form a sturdy frame. Assemble two identical side panels, securing the corners with 2.5-inch exterior screws. Reinforce the frame by adding 30-inch cross braces between the side panels, which prevents lateral sway. For a tumbler that endures heavy use, consider matching the barrel capacity to your daily kitchen and garden waste volume for optimal composting efficiency. Understanding the principles of a custom feed trough helps ensure easy access and efficient material turnover in your compost system.
Place both side panels upright, then connect them with the remaining supports to complete the frame. Use a carpenter’s square to check that all corners are square before driving in the final screws. At every joint, use 3-inch heavy-duty screws for maximum stability. Use a stronger A-frame construction than common T-posts for increased durability. For ideal balance and ease of turning, the roosting bar height principles from poultry housing can be adapted to ensure your barrel axle is positioned at a comfortable working level.
Next, slide a 1.25-inch galvanized pipe axle through the pre-drilled holes in the barrel. Carefully lift the barrel onto the frame, feeding the axle ends into flange bearings to allow smooth rotation. Ensure the barrel spins freely without hitting the frame; adjustments may be necessary.
Finally, position the entire frame on level ground. Make sure the ground is even to facilitate smooth, consistent rotation. For added mobility, install heavy-duty casters at each of the base corners, enabling easy repositioning of your compost tumbler when needed.
Cut the Door and Install a Latch for Your Compost Tumbler
To cut a precise door into a plastic drum without compromising its structural integrity, start by marking a 10 by 12-inch rectangle on the drum using a cardboard template to ensure accuracy. Use a jigsaw with a fine-tooth blade to cut along the outline, applying steady pressure for smooth, splinter-free edges. Once cut, smooth all rough spots with sandpaper to prevent injury and ensure a clean finish. After cutting, reinforce the door with aluminum strips on both sides to maintain durability and prevent warping during use.
Next, install the hinges by positioning them approximately 2 inches from the top and bottom edges of the door; proper alignment here is crucial for smooth swinging. Secure the hinges with screws that penetrate both the door and the barrel to create a sturdy attachment. Finally, center the latch receiver on the opposite side of the door and secure it with screws that go through both the door and drum wall. This secure latch setup will keep the door firmly closed during tumbling, maintaining containment and smooth operation.
Set Up Airflow and Drainage for a Faster Compost Tumbler
Drilling 12 to 15 holes of 3/4 inch in diameter in the bottom of the barrel creates effective drainage that speeds up compost decomposition. These holes allow excess moisture to escape, preventing waterlogging and promoting aerobic bacteria activity. Around the sides, create 6 to 10 rings of 1/2-inch holes spaced 4 to 6 inches apart, with each hole placed 1.5 inches from the previous one. This configuration improves airflow throughout the compost, accelerating decay. Use a 1/2-inch hole saw bit for uniformity, but avoid drilling into the door section to maintain the integrity of the opening. To further enhance airflow, assemble an 18-inch PVC pipe with 1/4-inch holes drilled every 1.5 inches. Thread this pipe through the barrel’s base and secure it with end caps to distribute air evenly. When setting up your compost bin, ensure it is placed on supports that keep it raised off the ground—spaced supports rather than solid bricks—to allow proper drainage and prevent water from pooling at the bottom. Keep the bottom holes clear of debris and ensure the site has good drainage for faster, oxygen-rich decomposition. Opening sides controls airflow and internal heat for an efficient composting process.
Maintain Your Compost Tumbler for Odor-Free, Fast Decomposition
Maintaining your compost tumbler effectively helps prevent odors and speeds up decomposition. Keep a 3:1 ratio of browns to greens—cover fresh kitchen scraps with dry leaves or shredded paper. This absorbs excess moisture and stops ammonia smells from escaping. If a sour or rotten odor develops, add more dry browns immediately to balance the mixture.
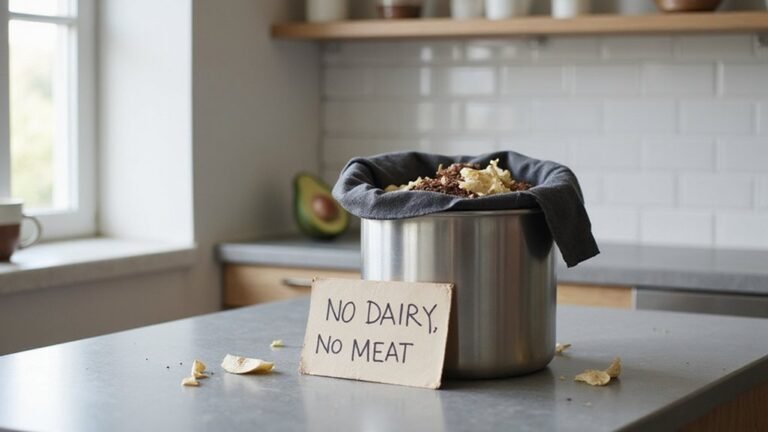
Avoid composting meat, dairy, or oily waste. These attract pests and generate foul scents that are hard to eliminate. Instead, use natural odor suppressants like biochar or zeolite, which absorb smells and improve airflow within the tumbler.
For quicker breakdown, add compost activators rich in nitrogen, such as grass clippings or comfrey leaves. These boost microbial activity and accelerate decomposition. Check the moisture level often; it should feel like a damp sponge. If it’s too wet, add dry browns. If it’s too dry, sprinkle water and mix well.
Turn your tumbler every 2 to 3 days during warm weather or once a week in cooler conditions. This aerates the mixture and promotes even decomposition. After each addition of new material, give the tumbler several spins to incorporate active microbes and prevent compaction, keeping the process odor-free and efficient.