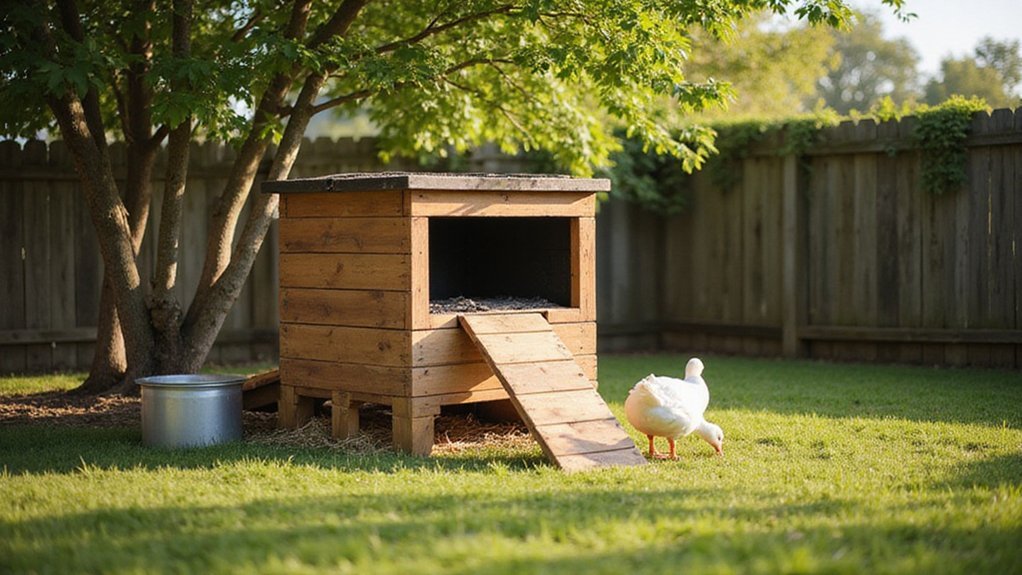
DIY Duck Coop: A Beginner’s Guide
Thinking about building your own duck coop but unsure where to start? The right location and size are key to keeping your ducks happy and safe.
With basic materials and some planning, you can create a durable space that provides shelter, plenty of sunlight, and protection from predators. Read on to discover how to design a cozy, secure home for your ducks.
Choose a Level, Sheltered Site Near Water and a Duck Run
Choose a sheltered site near water that is on high ground to avoid pooling water and ensure proper drainage. This reduces flooding risk and keeps your flock safe during heavy rains. Position the coop within 50 to 75 feet of a reliable water source to minimize walking distance for water collection and keep access manageable during cold weather. Ensure the site gets at least six hours of sunlight daily, preferably with morning sun for warmth and afternoon shade to prevent overheating. Avoid wind exposure and prevailing rain direction to keep your coop comfortable and dry. For those raising ducklings initially, a heated brooder provides the controlled warmth needed for healthy early growth.
Build a predator-proof duck run directly adjoining the coop, providing 100 square feet per six ducks to give enough space for activity and nutrition. Cover the run with predator-proof roofing and design a flat entry to prevent predators from burrowing underneath. Install hardware cloth mesh buried 12 to 18 inches deep around the perimeter, along with an outward-facing apron, to prevent predators from digging under. Secure all locks and latches with wildlife-resistant hardware to keep your ducks safe. For added security, install a motion-activated light to deter nighttime predators, and personalize the area with decorative accents and custom paint to give your setup a unique touch. For additional predator protection, consider using heavy-gauge hardware cloth instead of chicken wire.
Calculate 4 Square Feet of Floor Space Per Duck Inside the Coop
Aim for at least 4 square feet of floor space per duck inside the coop. This minimum ensures each duck has enough room to lie down comfortably without stepping on others. For example, three ducks require a coop with a minimum of 12 square feet, while four ducks need 16 square feet. Providing this space helps keep feeding routines stress-free and water clean. Cramped conditions can cause messes and spillage, leading to health issues. Remember, nest boxes do not count toward this floor space. In climates with outdoor access, 4 to 5 square feet per duck works well. Larger space helps reduce stress during wet weather and allows for a level, pressure-treated floor that boosts comfort. For storing feed and supplies in the coop, consider using plastic mason jars with secure lids to keep contents dry and pest-free. Do not skimp on space—it keeps your ducks happy and healthy. When selecting nest boxes for breeds that lay indoors, nesting boxes for bunnies offer a similar design that can be adapted for duck comfort. A rain barrel stand can elevate your water source to prevent tipping and keep the coop floor drier.
Build a Weatherproof Duck Coop With Pressure-Treated Wood and Concrete Blocks
Start with a concrete block foundation and pressure-treated wood to ensure weatherproof durability. Use ACQ or CA-rated pressure-treated lumber formulated for ground contact. Seal all cut ends with a non-toxic water-based sealant to prevent moisture absorption. For added foundation strength, embed L-shaped metal anchor bolts into mortar joints and arrange blocks in a running bond pattern for stability. Fill hollow cores with compacted gravel to improve thermal resistance and prevent moisture buildup. Cover the top row of blocks with a flashing strip to divert rainwater away from the structure. Install a vapor barrier between the concrete base and the wood floor frame to reduce moisture transfer. Maintain a clearance of at least 3 inches between the wood and soil to prevent rot. These measures provide a robust, moisture-resistant base for your duck coop. For future growth, allocate about 4 sq ft per duck to ensure comfort and allow for expansion as the flock increases. When choosing wooden elements for the structure, consult duck nesting boxes reviews to select appropriate designs that accommodate nesting needs.
Frame the Walls, Add Ventilation, and Install a Sloped Roof
Start by framing the side, back, and front walls with 2x4s and 2x6s. For the side and back walls, create rectangles measuring 4 by 4 feet. Lay these on the ground, screw the corners together, then stand them upright and attach them to the base. For the front wall, use taller 2x6s to build a frame that slopes at approximately 20 degrees, which helps with rain runoff. When positioning the frames, account for this slope to ensure proper water drainage from the roof.
For ventilation, install high up near the roofline, providing at least one square foot of vent space per bird. Cut opposing openings for cross-ventilation and frame these with 2x4s. Cover the openings with hardware cloth to prevent predators while allowing airflow. Keep these vents open throughout the year, never sealing them completely, to maintain good airflow and prevent moisture buildup inside the coop. Similar principles of zero waste apply when sourcing scrap materials for the vents. Use chicken wire instead of hardware cloth if you want a more flexible, budget-friendly option for covering the openings.
To build the roof, start with a layer of plywood cut to fit the frame, then add roofing felt for waterproofing. The roof should pitch at about 20 degrees from the bottom left to facilitate rain runoff. Add an overhang above the vents to prevent rain from entering. Cover the entire roof with corrugated galvanized steel panels, overlapping the edges to ensure water does not seep underneath. Secure the panels firmly for a durable, weather-resistant roof that protects your coop all year round. Additionally, for the birds’ comfort inside the coop, consider determining the right height for roosting bars to match the slope of the roof and keep hens content.
Secure the Coop and Run With Heavy Latches and Wire Mesh
To secure your coop and run against predators, heavy latches and wire mesh are essential. Install predator-proof fencing with ½-inch galvanized hardware cloth on all openings, windows, and vents. Cover the bottom 1 to 2 feet of perimeter fencing entirely, then bury it 12 to 18 inches deep to prevent digging predators from burrowing underneath. If you have chain link fencing, replace it immediately, as raccoons can tear through it easily. For added protection against burrowers, seal the buried trench edges with well-sealed mason jars filled with sand to deter persistent digging. For a similar approach to securing lightweight components in your project, consider using recycled egg cartons as portable storage for small fasteners during assembly. Using raised bed gardens can provide a secure and organized structure for planting near the coop.
Upgrade all locking mechanisms to safety latches that require two hands to open, such as eye-and-hook locks. Avoid simple sliding latches since raccoons can lift and open them. Add padlocks or carabiners to each door for extra security, and test all latches regularly. Use at least two heavy hinges per door to prevent warping or twisting. Cover door jambs with mesh and ensure frames overlap walls by at least 1 inch to eliminate gaps that snakes can crawl through. Fortify the run roof with ¼-inch wire mesh, anchoring posts into concrete if bears are a concern. This layered approach significantly reduces the likelihood of predator intrusion. For a weather-resistant upgrade, consider using HDPE plastic for latches to extend their lifespan against rain and sun.
Layer Straw Bedding Deeply and Add a Heat Lamp for Ducklings
Place the heat lamp about 18 to 24 inches above the ducklings’ brooding area. This height provides enough warmth without risking overheating. Each week, lower the lamp’s temperature by about 5 degrees Fahrenheit until it matches the outdoor ambient temperature. Once the ducklings have feathered out at around 4 weeks, remove the heat lamp altogether. You can also use a top food dehydrator to dry herbs or treats for your ducks. For storing leftover herbs or treats, mason jars can be frozen safely without cracking if left enough headspace. Choosing a raised garden bed cover can also protect your duck’s outdoor foraging area from pests and weather.
Keep water bowls out overnight to prevent bedding from soaking and developing mold or bacteria. Use shallow trays with river rocks or small stones inside to catch splashes and keep the area dry. Replace all bedding weekly to maintain a clean environment, reduce musty smells, and support your ducklings’ health. However, due to ducks spilling more water than chickens, the deep litter method requires more frequent changes to prevent strong ammonia buildup and health risks.