What Compost Bin Works Best for Chicken Coops?
If you want to turn chicken coop waste into safe, nutrient-rich compost without creating a mess, choosing the right system is key.
A three-bin cinder block setup, about 3x3x3 feet for nine chickens, offers the perfect environment for aerobic decomposition by controlling moisture and heat.
Keep it shaded and well-drained nearby for best results.
The rest of this article will guide you through how to set up and maintain it easily.
Why Chicken Manure Composting Needs a Dedicated Bin System
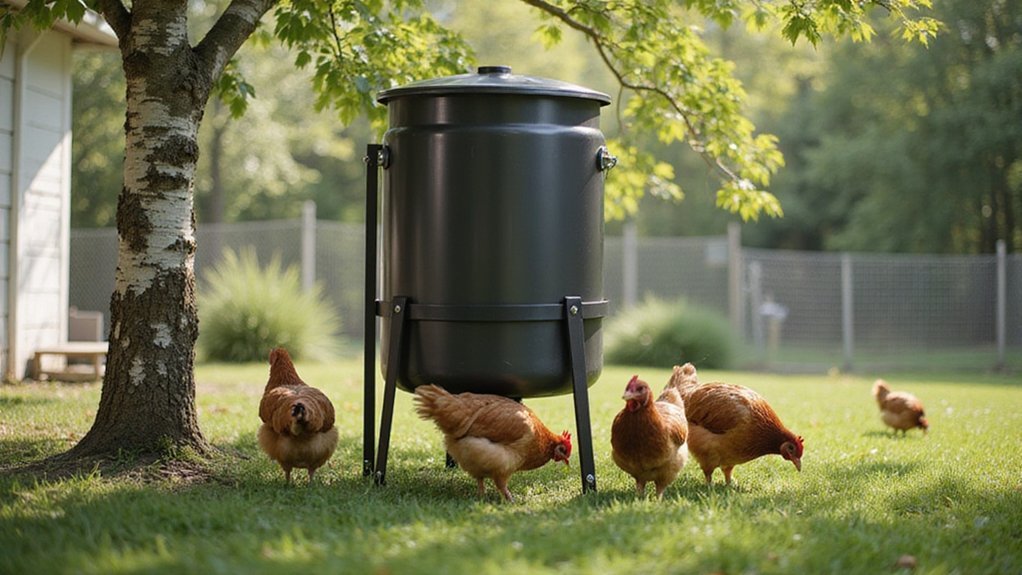
A dedicated bin system is essential for chicken manure composting because it helps control moisture, temperature, and odor. Chicken manure contains roughly 40% nitrogen by dry weight, making it highly reactive and prone to becoming soggy or compacted if not managed properly. Using a specialized bin prevents water from leaching nitrogen into the ground and creates a closed environment that promotes aerobic decomposition. A roofed bin keeps rainwater out, maintaining optimal moisture levels, while insulation helps retain heat during colder months. Turning the compost regularly is crucial to maintain temperatures between 130 and 150 degrees Fahrenheit for at least three days, which is necessary to kill pathogens like E. coli and Salmonella. Without a dedicated, contained system, you risk creating anaerobic pockets that produce ammonia, attract pests, and produce foul odors. Therefore, a purpose-built bin system ensures safe, consistent, and efficient composting, turning chicken manure into a stable, nutrient-rich fertilizer. Adding a cinder block enclosure within the chicken yard allows chickens to scratch through the pile, aiding aeration and mixing while contributing their own poop to the compost’s richness. For ease of regular turning, consider a top compost tumbler that simplifies the aeration process and maintains aerobic conditions. Choosing a well-reviewed chicken coop with an integrated floor system can also help separate manure from bedding, simplifying collection for the bin. For those who prefer a compact solution, a countertop compost bin can be used to collect kitchen scraps before adding them to the outdoor chicken manure pile.
How to Choose the Right Bin Size for Chicken Manure Composting
To determine the right bin size for chicken manure composting, start with your flock size. Allocate one square foot of bin space per chicken. For nine birds, a 3-foot by 3-foot by 3-foot cube is ideal. This size allows the compost pile to generate the necessary heat of 130°F to 150°F for pathogen elimination. If you have more than 20 chickens, scale up to a 5-foot by 5-foot by 5-foot bin to ensure consistent thermal retention. Your bin should hold at least one cubic yard of material, which comfortably contains manure, bedding, and added browns like chipped tree pruning waste. Managing moisture is crucial; aim for a 50 to 60 percent water content, similar to a wrung-out sponge. Incorporate rainwater harvesting if possible to maintain even moisture levels without over-saturating the pile. Using quality glass jars for storing finished compost or dry amendments can help protect your final product. A simple DIY wood compost bin can be built with common tools and materials to achieve these dimensions. Avoid making your bin smaller than 32 inches in any dimension, as a smaller size won’t heat up properly and could impede effective composting. For additional guidance, consider that choosing the best compost bin often depends on features like aeration and ease of turning.
Why a Three-Bin Setup Makes Continuous Composting Simple
A three-bin setup simplifies continuous composting by enabling you to process waste in stages without interruption. You start by filling Bin 1 daily with chicken manure and litter, then transfer its contents to Bin 2 for the first thermophilic heating cycle, which elevates temperatures to 130–150°F. This heat effectively destroys pathogens and promotes microbial diversity. After about two weeks, you move the material to Bin 3 for final maturation, while Bin 1 is ready to accept new waste immediately. This design directly supports easy organization and ongoing homestead projects by providing modular, segregated bays for each stage. Turning the pile once a week from the center to the outside ensures oxygen circulation, preventing odors and anaerobic conditions. For this task, a simple pitchfork or shovel works best to aerate and mix the ingredients effectively. Maintaining moisture at 40–60% through a simple squeeze test encourages microbial activity without making the compost overly wet. This three-stage process stabilizes the compost’s pH, resulting in a neutral, garden-ready product. You can expect to have finished compost from Bin 3 in approximately three months, thanks to this cycling system that continuously processes fresh material without long delays. For consistent moisture management, consider using a floral watering can to apply water evenly to the center of the pile. Applying this thermophilic heating cycle thoroughly breaks down tough organic matter in the chicken manure, ensuring a more uniform final product.
Pallet vs. Cinder Block: Best Materials for a Chicken Manure Bin
Cinder blocks are generally the better choice for a chicken manure bin due to their durability and resistance to moisture. Unlike wooden pallets, which have gaps for airflow but degrade quickly in wet, nitrogen-rich manure, cinder blocks resist rot entirely. They provide a rigid, stable structure that remains intact over time and won’t absorb odors, making maintenance easier. Their solid, dense nature also helps prevent pests from hiding or entering the bin, enhancing Pest control. To optimize airflow, you should space cinder blocks about half an inch apart when stacking. While pallets require a two-bin system for effective turning and are more vulnerable to weather damage, cinder blocks withstand constant moisture with far less maintenance, offering a long-lasting, low-effort solution for your chicken manure management system. Similar to a chamber vacuum sealer that uses a vacuum chamber to remove air and seal bags, cinder blocks create a sealed environment that limits odor and pest entry. For a successful garden bed, using the best soil ensures plants get proper drainage and nutrients. Achieving the same level of practical guidance for water, a copper watering can offers similar durability and resistance to corrosion over time.
Where to Place Your Compost Bin for Easy Coop Access
The best spot for your compost bin is within 3 to 5 feet of the coop door for easy access while scraping. Keep it at least 2 feet away to prevent odors from drifting inside. Place the bin on well-drained, level ground on the same side as your manure drop zone, ensuring wheelbarrow access is unobstructed. Position it near your garden or vegetable beds, ideally within 10 to 15 feet, to make transporting compost convenient. For safety and rodent deterrence, place the bin away from high-traffic areas and at least 10 feet from bird feeders. Avoid full sun; partial afternoon shade helps keep the compost moist. Verify that the bin isn’t underneath the coop’s overhang to prevent rainwater from saturating it. Placing the bin inside the chicken run allows the flock to scratch and aerate the pile naturally. Consider replicating the entrance hole diameter from quality wood duck boxes to ensure predator access is appropriately restricted. For jerky, a food dehydrator maintains consistent low heat to safely dry meat without cooking it. For those who also preserve meat, a vacuum sealer ensures freshness by removing air from stored packages.
How to Hit the 30:1 Carbon-to-Nitrogen Ratio for Chicken Litter
To hit the ideal 30:1 carbon-to-nitrogen ratio when composting chicken litter, you’ll need to blend it with approximately 70-75% carbon materials. Chicken manure is highly nitrogen-rich—sometimes over 50% of the litter’s nutrients—so balancing it with carbon ensures effective composting and prevents odor issues. A key factor is that roosting bars should be placed at a height that allows for easy collection of droppings to incorporate into the compost mix. Begin with wood shavings or straw as your main carbon source; these materials are easy to find and stabilize the mix. To add bulk and thermal insulation, include leaves or wood chips, which help maintain the pile’s heat. A critical step for homesteaders is to layer your compost bin with alternating green and brown materials, which promotes even decomposition and airflow. Choosing between regular and wide mouth mason jars for mixing or storing your compost components can impact how easily you handle these bulky carbon materials. Regular aeration is key—turn the compost weekly to prevent compaction and keep oxygen flowing. This keeps microbial activity robust and prevents the ratio from slipping. Maintain the moisture level like a well-wrung sponge; too wet causes nitrogen leaching, while too dry halts microbial processes. Achieving and maintaining this 30:1 ratio will generate enough heat for efficient decomposition without harming beneficial organisms.
How to Layer Manure and Bedding for the Perfect Pile
Layer your manure and bedding systematically to build an effective compost pile. Begin with a base of 4 to 6 inches of dry pine shavings or wood chips to provide aeration and absorb excess moisture. Next, add a 1 to 2-inch layer of fresh manure, mixing it lightly into the bedding to jumpstart microbial activity. For the best results, choose a durable container like a copper watering can to moisten each layer evenly without oversaturating. Continue alternating layers: 2 to 3 inches of browns such as leaves or straw, then 1 to 2 inches of greens like manure. Water each layer until it has a sponge-like, moist consistency—avoid soaking—this promotes aerobic decomposition. Finish by adding a 3 to 4-inch cap of dry leaves or straw to insulate the pile and help retain moisture. Allow the pile to rest undisturbed for about two weeks to encourage microbial activity and begin breaking down materials. Preserve a portion of the bottom layer to retain the microbial population, which jump-starts future decomposition in the coop. For optimal results, ensure every layer is properly sealed against air gaps to prevent anaerobic pockets and odors.
How to Get Your Pile Hot Enough (130–150°F) to Kill Germs
To effectively kill germs in your compost, you need to heat the pile to a consistent 130–150°F. Achieving this temperature range within 48 hours requires building a pile at least one cubic yard in size. Mixing chicken manure with high-carbon bedding material at a 1:1 ratio helps balance nitrogen and carbon, fueling microbial activity that generates heat quickly. Be sure the pile does not exceed 170°F, as higher temperatures can kill beneficial microbes essential for ongoing composting. Using a tarp to cover the pile helps retain heat, especially in wet climates or urban garden setups. Maintaining the temperature between 130 and 150°F continuously for at least three days ensures pathogens and germs are effectively destroyed. To promote even heat distribution, move the core material to the edges and bring cooler outer material toward the center, repeating this process at least three times. Incorporating eco-friendly packaging materials like shredded cardboard as additional carbon sources can also support proper heat levels.
Keep Your Pile at 50–60% Moisture (and Fix Dry Pockets Fast)
To keep your compost pile at the right moisture level, aim for 50–60 percent moisture. Your material should feel like a well-wrung sponge—moist but not dripping. If water drips when you squeeze, it’s too wet. If no water appears, it’s too dry.
Dry pockets can kill beneficial organisms and slow down decomposition. To fix them quickly, use a spray nozzle to add water gradually, then turn the pile to distribute it evenly. Target dry zones with a watering wand to ensure thorough moistening. Good air circulation helps prevent dry pockets from forming again. Adding compost additives such as damp green material or wet straw can help balance moisture levels fast. Always re-aerate the pile after watering to allow oxygen to reach the inner layers. Check moisture weekly with a squeeze test to keep your compost active and healthy.
A Step-by-Step Turning Schedule for 2- and 3-Bin Systems
To keep your compost turning on schedule, start by turning your initial pile on day 2, then again on day 4 and day 7. The fourth turn happens on day 10, and afterward, you should turn the pile every 4 days. Monitor the internal temperature closely; turn it immediately if it drops below 104°F to maintain optimal decomposition.
For your primary bin, turn the material every 3 to 4 days during the first two weeks. Once you move material to a secondary bin, reduce your turns to once weekly. In your third bin, stop turning entirely after 21 days. Transfer material from bin 1 to bin 2 after 6 to 12 months, then repeat this cycle for bin 2 to bin 3.
Layer greens and browns evenly during each turn to improve aeration. Use rainwater harvesting to keep moisture levels consistent, and install hardware cloth to protect against wildlife. Your compost is ready when its weight drops by over 60 percent and the odor disappears. After turning, the pile often heats to 70-80°F within about one day, indicating that decomposition is active.