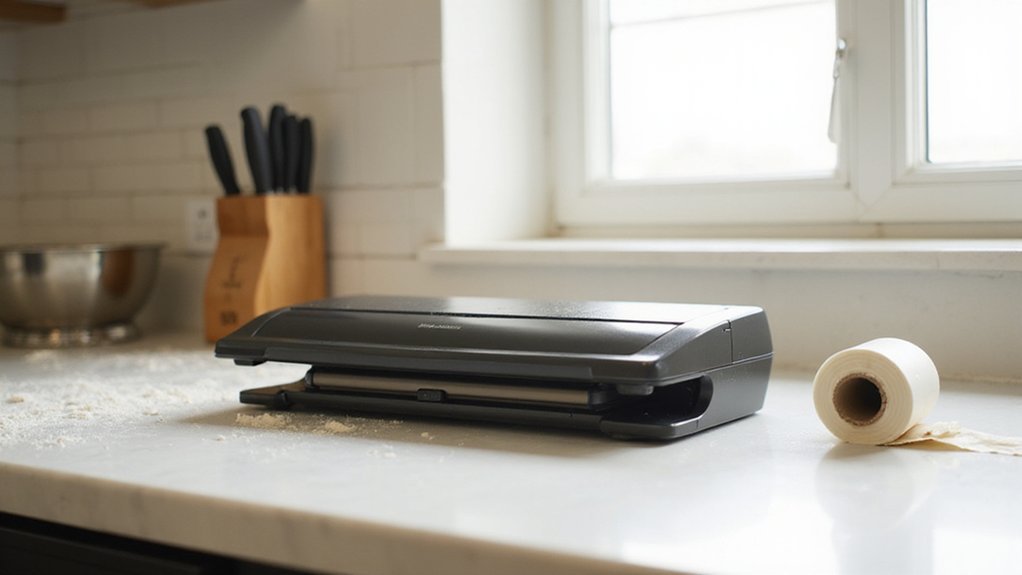
Using a FoodSaver vacuum sealer might seem straightforward, but getting perfect seals every time takes a little know-how. When operated correctly, it keeps your food fresh longer and prevents freezer burn.
Once you master the basics of sealing different types of food, it becomes simple to save time and money. The tips below will guide you through every step for optimal results.
Vacuum Sealer Setup: What to Do Before Powering On
Before powering on your vacuum sealer, verify you have all the necessary parts: the main unit, the drip tray, a refill roll of bags, the power cord, and the jar sealer attachment if it came with one. Check that the drip tray snaps securely into its slot; this prevents messy juices from damaging the machine. Wipe the sealing strip and lid hinges with a damp cloth to remove any dried debris, which can cause issues later. Store your bag roll in a dry, cool place to prevent sticky residue from forming. The unit’s compact design with various accessories, including bags, roll, and hose, is intended to make storage and setup easier. For a larger flock, consider models with larger capacity and durability to accommodate more storage needs. For wood duck conservationists, ensuring the box has a predator guard can help protect eggs.
Next, plug the vacuum sealer into a standard grounded 120V outlet, avoiding extension cords to ensure proper power flow. Before turning it on, confirm that nothing is blocking the vacuum channel. Fully close and lock the lid, then check the indicator light for power. If the light doesn’t turn on, inspect the cord’s integrity. Ensuring the machine is clean and properly aligned from the start helps prevent early malfunctions.
How to Fill and Seal a Vacuum Bag Correctly
Fill the bag to two-thirds or three-quarters full, leaving about two inches of free space at the open end. Arrange items flat to reduce volume and ensure the seal area stays free of food particles and liquids, as moisture can compromise the seal. Choose a vacuum bag thickness suitable for your needs; thicker bags may require a higher sealing temperature for a strong bond. Wrap sharp objects like bones in paper towels to prevent punctures. Check the integrity of your seal visually and perform a firm pull test—if the bag stays sealed, you’re good to proceed. Avoid overfilling, which can prevent the sealing strip from closing completely and impair vacuum effectiveness. Once these steps are complete, you can move on to running the vacuum seal cycle. Ensure items are completely dry before packing to maintain storage efficiency by reducing volume.
Step-by-Step Guide to Running a Vacuum Seal Cycle
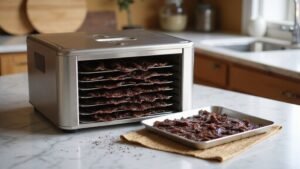
To run a vacuum seal cycle correctly, start by closing the chamber lid until it locks securely. Then, press the vacuum button to begin air removal. Keep an eye on the pressure gauge as it drops; the pump typically runs for about 30 to 60 seconds. Ensure your vacuum bag is of high quality—any tears or holes can compromise the seal. Also, make sure the chamber size is adequate so the bag can fit without touching the lid or internal parts, which can interfere with the sealing process. For a seal-only cycle, you can activate vacuum for only 5-6 seconds to quickly resize pouches before sealing. Homesteaders often use a pressure gauge to monitor the vacuum level during operation. For longer storage, consider using the same dehydrating process that ensures jerky is fully dried before sealing. Following expert advice on maximizing food freshness can help extend the shelf life of pantry staples.
Once the vacuum phase is complete, the machine automatically heats the seal bar to fuse the bag’s open end. Watch for an even contact between the seal bar and the bag opening. Do not interrupt this sealing step. You will hear a beep or see a light indicating that the sealing process is finished. When that happens, you can carefully open the lid and remove your sealed package.
How to Set the Moisture Setting on Your Vacuum Sealer
When sealing moist foods like meats or soups, adjusting the moisture setting on your FoodSaver is essential. Locate the button labeled “Moist” and activate it before starting the sealing cycle. This setting reduces the vacuum time, which helps prevent liquids from reaching the seal bar and causing messes or leaks. Using this option gives you better moisture control, resulting in a tighter, more reliable seal. For dry foods such as grains or nuts, switch back to the “Dry” setting to achieve full suction and optimal preservation. For storing dry goods long-term, mason glass jars provide an excellent container option when used with a vacuum sealer attachment. If you’re sealing liquids like soups or stews, consider pre-freezing them for 30 minutes first. Then, use the “Moist” setting for a smooth, leak-free seal. Proper adjustment of the moisture setting not only improves sealing precision but also extends the lifespan of your vacuum sealer by reducing strain and mess. Additionally, for items like roasted hatch green chilies, setting the vacuum sealer to “gentle pressure” helps avoid crushing the chilies during the process. For homesteaders who also maintain a garden, choosing a watering can with a fine sprayer can prevent soil disturbance when watering delicate seedlings. For those filling raised beds, selecting the best soil ensures proper drainage and nutrients for healthy plant growth.
When to Use the Manual Seal Function on Your Vacuum Sealer
Use the manual seal function whenever your FoodSaver struggles with automatic sealing. This gives you direct control over the process, which is especially useful for liquid-heavy foods like marinated meats or tomatoes, where juices can cause automatic failure. Thick or multi-layer bags also benefit from manual sealing to ensure a complete closure. If you’re processing foods that need immediate sealing—such as in batch preparations or time-sensitive tasks—using manual seal bypasses delays caused by automatic sensors. Additionally, consider how compostable materials require similar attention to moisture control for effective decomposition. For consistent long-term results, selecting a high-performance model with reliable drying technology can further prevent moisture-related sealing issues.
Activate the manual seal when you see a red light or if the automatic cycle fails after about 15 seconds. It’s particularly helpful for frozen foods with ice crystals or cooked pasta with residual moisture. The manual seal guarantees an airtight closure without waiting for the machine’s sensors, preventing ruined bags and wasted food. Ensuring the entire edge of the bag is dry and free of debris is critical for a strong manual seal, as moisture or residue can prevent complete closure. For homesteaders, clean jar rims are equally critical when vacuum sealing mason jars for long-term storage.
Common Vacuum Sealer Mistakes and How to Fix Them
To prevent common vacuum sealer mistakes, pay attention to bag filling and sealing techniques. Always leave at least three inches of headspace at the top of the bag. This space allows the seal to compress evenly, ensuring a strong bond and preventing leaks. Similarly, building a chicken waterer requires precise assembly to avoid water leaks. Overfilling the bag can cause incomplete seals because the sealing strip may not make proper contact.
Liquid contents expand during vacuuming, so providing extra space helps accommodate this, reducing the risk of leaking or burst bags. Before sealing, wipe the inside lip of the bag with a paper towel to remove any debris or moisture, which can compromise the seal. Regularly clean the gasket and seal bar with a damp cloth to keep suction strength optimal and food particles out of the seal. For long-term storage, consider using textured bags to improve air channel performance and prevent seal failure.
For moist foods, pre-freeze for one to two hours to minimize juice interference during sealing. Gently stretch the bag flat along the vacuum channel to eliminate wrinkles, ensuring complete air removal and a secure seal. Wait approximately 20 seconds between seals to prevent overheating, which can trigger error messages and halt the process. For canning applications, using Ball Mason jars with your sealer’s jar attachment provides an airtight alternative for preserving dry goods. By following these steps, you can avoid common pitfalls and maximize the effectiveness of your vacuum sealing.
How to Clean Your Vacuum Sealer for Long-Term Use
Before cleaning, unplug the vacuum sealer and allow it to cool for at least 20 seconds. Remove the housing by pressing the gray release buttons, then lift out the drip tray and bag detection tray tabs. Wash these parts in warm, soapy water or place them on the dishwasher’s top rack. For deep cleaning, mix equal parts warm water and vinegar in a vacuum bag, then run the sealer to draw the mixture into the pump for odor removal. Ensure all components are completely dry before reassembling. Use a Q-tip to gently wipe the metal sensors. Reattach all parts securely, making sure the foam gasket stays in place. Finally, run the sealer a few times without a bag to eliminate residual moisture or odors. For homesteaders planning to preserve various meats, understanding the process of straight run chickens can help optimize your food storage workflow. After reinstalling all parts, confirm that the foam gasket stays correctly positioned to maintain proper sealing pressure. For additional storage protection, consider using a protective raised bed cover to shield your sealer from dust when not in use. For those storing large cuts, choosing a model with a stronger suction pump ensures maximum freshness retention.
Best Practices for Storing Vacuum-Sealed Food
To prevent spoilage, store vacuum-sealed food at 40°F or below in the fridge and 0°F or lower in the freezer. Bacteria can multiply quickly even in low-oxygen environments, so maintaining these temperatures is essential for food safety. For moist or liquid-containing items, pre-freeze for 1 to 2 hours before sealing to prevent liquids from compromising the sealing material. When sealing bags, leave 3 to 4 inches of headspace at the top to ensure a secure and airtight seal. Store perishables in the coldest part of your refrigerator, avoiding the door where temperatures fluctuate. In the freezer, lay bags flat in a single layer to promote quick and even freezing. Avoid overcrowding shelves to ensure cold air circulates freely. For dry pantry foods, keep them in a cool, dark, and stable environment to prolong freshness. Following these guidelines helps your vacuum-sealed food stay fresh, safe, and free from waste.