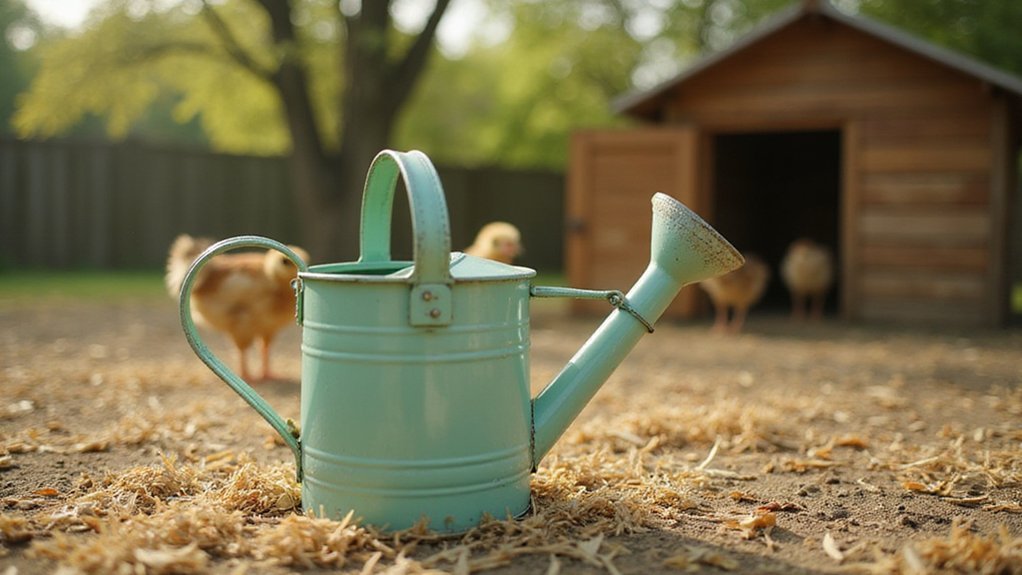
Mini Watering Can for Chicks: A Guide
Worried about giving your chicks a safe, easy way to drink water? A small, shallow watering can—usually around 1 quart—works best to prevent drowning and keep water fresh.
Placing it close to their heat source and cleaning it regularly helps them stay healthy and hydrated as they grow.
Keep reading for simple tips on how to set up the perfect watering station.
Why a Mini Waterer Works for Baby Chicks
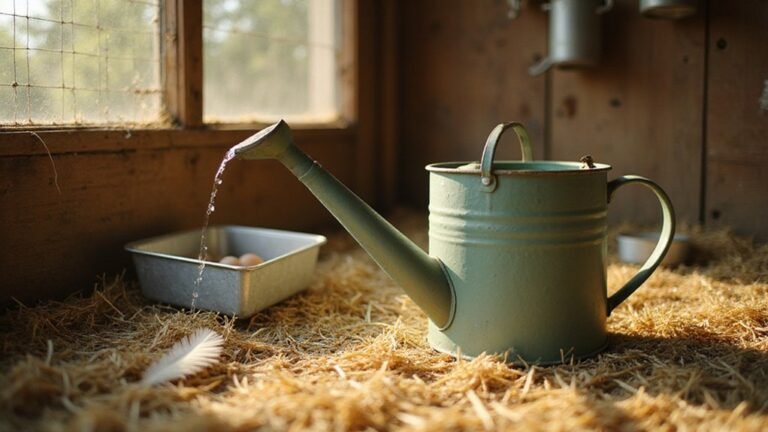
A mini waterer with a capacity of about one quart works best for baby chicks during their first few days. This size keeps the water level just below your chicks’ eye height, which is essential for their safety. Since day-old chicks are unable to swim, deeper water creates a drowning hazard. The shallow design prevents this risk and makes it easier for chicks to access water without struggle. Its small base also matches their foot span, reducing the chance of tipping over. Although you’ll need to refill it approximately every 12 to 18 hours, frequent refills ensure fresh water is always available and help prevent bacterial growth. Providing constant access keeps your tiny flock hydrated while avoiding overwhelm. For later growth, a durable large bird coop can provide ample space for your chickens. Traditional waterers are inexpensive and simple to operate, typically costing $5-$10 and requiring no complicated setup. For a long-term solution, consider upgrading to a sturdy chicken coop that protects your flock from predators and weather. Similar to vacuum sealer bags that maintain freshness by removing air, a clean waterer keeps your chicks healthy by preventing contamination.
Pick the Right Size Waterer for Your Flock
Choose a waterer size that matches your flock’s number of birds. A 5-gallon unit supports up to 10 hens for several days, while 20–30 birds require the same size to be refilled every two days. For chicks, select a shallow basin with a rim at shoulder level to prevent drowning, and ensure the basin is wide and stable to avoid tipping. A small cup diameter helps reduce spillage, keeping the area cleaner. Consider the waterer material—non-toxic, durable plastic or metal ensures easy disinfection on a weekly basis. Although waterer color might seem minor, darker shades can warm the water slightly by absorbing heat; however, functionality remains the priority. Always choose a size that can be refilled every other day, especially since adult hens typically drink 1 to 2 pints daily. A similar principle of using repurposed materials can be applied to construct a stable, shallow waterer from a cleaned egg carton section for tiny chicks. If you keep more than 10 birds, top chicken brooders often include integrated waterers designed for chick safety and ease of maintenance. Using multiple units can prevent bottlenecks and ensure consistent access to clean water. For those seeking a long-term solution, raised bed garden materials like rot-resistant cedar or galvanized steel can also be repurposed to build durable, elevated waterer stands.
How to Place the Waterer So Chicks Find It Fast
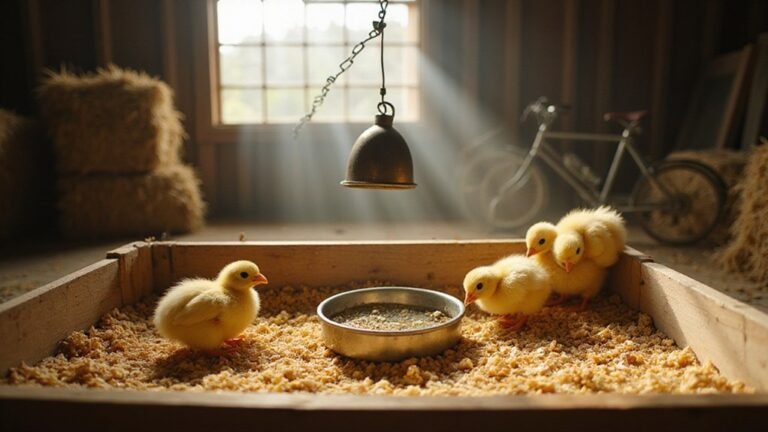
Placing the waterer within 24 inches of the heat lamp during the first week helps chicks find it quickly. Since cold water discourages drinking, keeping the water near the warmth encourages immediate access. Chick huddles form right under the lamp, making that spot the easiest for chicks to locate their water source. To teach them what the water is, gently dunk each chick’s head in the water before placement. Then, position them directly under the heat lamp to reinforce the location. After the first week, gradually spread waterers around the brooder to promote movement. Keep the waterers close enough to the heat source so chicks can find them easily. For long-term freshness of supplemental feed, vacuum sealers for meat can also be used to seal chick treats and prevent spoilage. Use one drinker for every 50 chicks, placing them slightly away from feeders to prevent contamination. A similar spacing consideration applies to raised bed gardens, where proper distance between beds allows for easy access and air circulation. This setup ensures they start drinking fast and without confusion. For optimal hygiene in the brooder, vacuum bag sealers can preserve food treats to keep them fresh and free from contaminants. Chick water consumption doubles or triples during high temperatures, so proximity to the heat lamp is critical for preventing dehydration.
Set the Water Level Between Eye and Back
Set the water level so it falls between the chick’s eye and the back of its neck. This position ensures the water isn’t too high or too low, preventing chicks from straining or tipping the drinker. For bell-type drinkers, keep the water near the lip during the first 24 to 72 hours to encourage initial drinking. After that, reduce the water level to about 0.75 inches below the lip. For cup drinkers, align the water level with the chick’s back height. This placement allows chicks to drink comfortably by maintaining natural postures and prevents water spillage. Proper water level adjustment helps keep feet flat on the floor, reducing stretching or awkward positions. Similarly, choosing a well-designed wood duck nesting box provides essential protection and drainage for ducklings. Just as with countertop compost bins, keeping drinker levels right avoids mess and supports effortless use. Selecting the best materials for easy maintenance also involves choosing compostable bags that fit well within your system. Ultimately, maintaining this eye-to-back water level makes it easier for chicks to hydrate effortlessly and comfortably, supporting their growth and health.
Keep Water Clean and Fresh All Day Long
Regularly changing your chicks’ water at least twice a day keeps it clean and fresh. If you notice soiling or debris, change it sooner. Start by cleaning the waterers with a mild detergent and rinsing thoroughly to remove any residue. Refill immediately to prevent the water from becoming stale or contaminated, and avoid leaving waterers dry for extended periods. To prevent algae growth, position waterers in shady spots or use opaque containers that block sunlight. Once a week, soak the equipment in a solution of one ounce of chlorine bleach per five gallons of water for fifteen minutes. Alternatively, use a vinegar solution diluted one part vinegar to three parts water. Rinse the waterers completely to ensure no residues remain. Elevate waterers on blocks or screened platforms to keep litter out of the drinking area, and add marbles to trays to prevent tiny chicks from dipping their heads into the water. For microbial control, consider adding hydrogen peroxide at 25 to 50 parts per million or a tablespoon of apple cider vinegar per gallon of water. Maintain this routine consistently by checking water clarity multiple times each day; doing so will guarantee your chicks always have access to fresh, clean water. For a durable and airtight option, consider using mason glass jars with lids for dispensing water to your chicks. Properly designed coop ventilation is also critical for preventing moisture buildup that can compromise water freshness and chick health. You can also apply the same bin composting method to repurpose old water containers into nutrient-rich soil amendments for garden plants.
Raise the Waterer as Chicks Grow
Raise the waterer gradually as your chicks grow to ensure proper access and minimize spillage. Start with the waterer lip level with their eyes during days 1 to 3. This height allows small chicks to drink comfortably without difficulty. From days 4 to 7, raise it to mid-back level, making sure they can still reach easily as they grow. Between days 8 and 14, align the waterer with their back, easing drinking and reducing messes. From days 15 to 42, maintain the waterer at full back level for optimal access. The self-refilling system ensures a consistent water supply as chicks drink, reducing manual refilling frequency. Just as the number of nesting boxes per chicken prevents crowding, proper waterer height prevents chick exclusion. Similar to chickens needing a comfortable resting height for roosting bars, chicks require carefully adjusted waterer heights for proper access. For consistent results, follow a methodical step-by-step build guide when setting up any new waterer or platform adjustments.
Use a sturdy platform or hanging system to make regular adjustments simple. Always keep the old waterer in place during each shift so the chicks can find the new one easily. After each change, monitor the flock for 2 to 4 hours to confirm that all chicks are drinking. Proper height management prevents small chicks from being excluded and reduces spillage, helping keep bedding dry and disease-free. Regular adjustments and vigilance support healthy growth and reduce mortality.
Avoid These 5 Common Mini Waterer Mistakes
Open dishes are a major mistake because chicks can drown or contaminate the water. Instead, use nipple drinkers or bell drinkers designed for young poultry. Place waterers within 3.3 feet of hatch sites to prevent dehydration, as chicks tend to stay close to their hatch area. Controlling water temperature is crucial; never offer cold water as it can chill chicks and increase mortality rates. Keep the water between 20°C and 25°C for optimal health. Proper drinker height is also key—set nipple drinkers at eye level for the first 48 hours, and position bell drinkers with the lip even with the chick’s back during the first week. Incorrect height can cause wet litter and spillage, leading to health issues. Additionally, poor water hygiene from infrequent water changes encourages bacterial buildup and disease, so water must be changed at least twice daily. Lastly, ensure water flow is appropriate—use low pressure to produce a visible droplet that attracts chicks. Proper flow encourages drinking and prevents water wastage. Avoid these mistakes to keep your flock properly hydrated and healthy.
Modify a Store-Bought Waterer for Better Flow
To improve water flow in a store-bought waterer, start by removing the factory-installed plastic disc to prevent clogging. Drill three 1/8-inch holes in the saucer bottom, aligning them with the bucket’s drainage ports for better drainage. Smooth rough edges with a reamer to avoid damage or leaks. Before drilling, check where to watch Chicken Run for additional setup tips. For raised garden beds, consider using a raised garden bed cover to protect plants from excess rain and pests.
For automatic refilling, take out the original float stopper and craft a float arm using 1/4-inch brass tubing. Secure it in place with a 10-32 bolt and nylon washer, then set the height so the water remains at 1.5 inches. This setup ensures a steady and consistent water level.
To prevent leaks, replace the standard cap with a gasketed lid. Add a silicone ring around the edge for a tighter fit, and lock it with a 3/8-inch screw and wing nut. Perform a seal test by submerging the lid underwater—if water doesn’t seep through 95 percent of the seal, your modifications are successful. Because rust from metal components can compromise water quality and shorten the waterer’s lifespan, applying silicone grease to the O-ring and gasketed lid will maintain a better seal and protect against corrosion.
When to Switch to a Permanent Watering System
You should switch to a permanent watering system by day 21. During the first week, keep temporary waterers like small square founts in place to ensure chicks have easy access to warm water at around 98°F. Gradually introduce permanent nipple drinkers starting around day 2, but do not remove backup water sources until chicks are fully stabilized. Aim for one nipple per 8 to 12 birds and adjust the height weekly—initially at eye level, then raised to promote a 45-degree neck stretch for easier drinking. Monitor chick behavior closely: they should drink before eating and have a well-filled crop, indicating proper hydration. Maintain the water system diligently by cleaning all units daily with warm water or a poultry-safe sanitizer to prevent biofilm buildup. Check new nipples regularly for leaks or blockages to ensure continuous water flow. Once chicks are habitually drinking without distress by day 21, you can remove the temporary waterers completely.