How to Increase Humidity in an Egg Incubator
Struggling to keep the right humidity levels in your incubator? If your hatch rate feels off or eggs look dry, adjusting moisture is likely the fix.
You can increase humidity by adding warm water inside the incubator or using damp sponges and towels near heat sources without touching the eggs.
Keep reading for simple tips to master humidity control.
Why Humidity Makes or Breaks Your Hatch
Humidity directly influences eggshell permeability and transpiration regulation, which are crucial for successful hatching. You should aim for about a 13% to 15% weight loss over 21 days to ensure proper development. If humidity drops below 45%, the egg loses too much water, causing the air cell to enlarge and dehydrating the chick—this can trap it inside the shell. Conversely, keeping humidity above 60% too early in incubation restricts evaporation, resulting in an undersized air cell. This prevents the chick from rotating into the proper position for hatching. Essentially, you are managing the growth of the air cell by controlling the moisture loss. Providing a well-ventilated coop design can also help regulate humidity levels throughout the incubation area. Using a wood duck nesting box as a model can inspire similar airflow considerations for your incubation setup. Selecting pressure treated lumber for your incubator frame ensures durability in these constantly moist conditions.
Candling every week allows you to monitor progress against standard charts, ensuring your humidity levels are on track. During the first 18 days, maintaining humidity between 45% and 55% encourages adequate moisture loss. Then, during lockdown, increasing humidity to 65-75% helps create a more supportive environment for hatchlings. Failing to adjust humidity correctly can result in a compromised hatch, with chicks either trapped or unable to position themselves properly. To raise low humidity, add slightly warm water to the incubator’s channels or via a sponge or paper towels.
6 Household Items That Boost Incubator Humidity Immediately
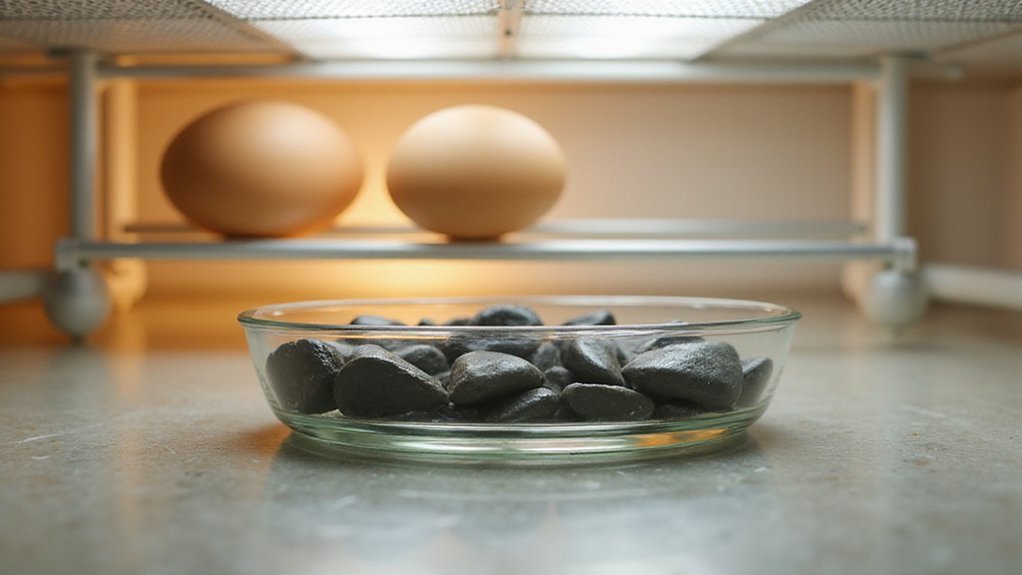
If you’re without a humidifier, you can use several common household items to instantly increase moisture levels in your incubator. Folding a clean paper towel lengthwise, dipping one end in warm water, and placing the dry end near the airflow creates a wick that releases moisture without splashing. Shallow cake pans filled with warm water and positioned near the heat source speed up evaporation. Stacking these pans vertically maximizes surface area for moisture transfer. Wet sponges or foam strips placed into water trays expand the evaporative surface, providing consistent humidity. Damping a cotton towel and draping it over dishes maintains steady moisture. Remember to replace paper towels daily and keep an eye on all materials to prevent mold buildup, just as you would inspect dehydrating food at home for spoilage. For a more professional setup, consider using a top wire rack to elevate the pans and maximize airflow for even moisture distribution. Positioning your moisture sources at an appropriate height mimics the effect of roosting bars to encourage uniform humidity distribution across all eggs.
Use Sponges and Towels to Evaporate More Humidity for Your Eggs
Using sponges and towels is an effective way to increase humidity around your eggs through evaporation. To do this, cut clean sponges into strips and saturate them with warm water. Position the sponges above the water level to prevent them from drowning and avoid direct contact with the eggshells to reduce mold risk. Ensure you seal the mason jars used for water storage to prevent leaks and maintain consistent humidity. Fold paper towels into a self-wicking system by inserting one end into a water tray and spreading the rest flat. Place these near heat sources for faster evaporation, but ensure they do not touch the eggs. Spreading towels wide at egg height inside the egg chamber enhances moisture distribution. Combining sponges and towels in shallow trays can amplify humidity, provided air vents remain unobstructed. For added moisture, insert cut sponges into the bottom chambers to absorb water from the incubator’s water canals and increase evaporation. Check moisture levels every 12 hours and replace towels daily for consistent conditions. Using natural, cellulosic materials helps avoid chemical release and maintains a safe environment for your eggs. For best results, pre-sterilize all sponges and towels using boiling water to eliminate bacteria before placing them inside the incubator.
Add Warm Water to Your Incubator Without Shocking the Eggs
To add warm water to your incubator without shocking the eggs, start by ensuring the water temperature matches the incubator’s internal environment, around 100°F. Lukewarm water is ideal, as water that’s too cold drops the temperature below 97°F, risking developmental delays. Hot water exceeding 102°F can cause overheating and harm the eggs. Use external fill ports or vents to add water without opening the lid; if these aren’t available, insert silicone tubing through vent holes and seal gaps with cotton to prevent temperature fluctuations. For long-term water storage needs, consider using high-quality vacuum sealer bags to store clean, pre-measured distilled water portions for each addition. Control the amount of water added carefully: begin with ¼ to ½ cup, then increase to about 2 ounces during the final three days. Always use warm distilled water to maintain hygiene and keep humidity levels stable. For long-term storage of distilled water, a vacuum sealer top rated will ensure the purity remains intact between uses. Add water at the same time each day and immediately check your gauges afterward. Make sure the water temperature remains within 99 to 100°F to avoid sudden shocks that could harm the embryo development. Using containers sourced from wholesale mason jars can help maintain consistent water volume for each refill.
Track Your Humidity Without Overcorrecting (and When to Stop Worrying)
Monitoring humidity trends over 24-hour periods and weighing eggs every few days helps you objectively verify moisture loss without overcorrecting. Instead of reacting to each small fluctuation your hygrometer displays, focus on the overall trend. Regular sensor calibration using a salt test ensures your readings remain accurate and not drifting, which keeps your data meaningful. Carefully selecting mason jar types can help maintain consistent humidity levels within the incubator. You’ll know to stop worrying when your humidity stabilizes within the 40-60% range and egg weight loss aligns with your target line. Once both conditions are confirmed, no further adjustments are necessary. For the best results, treat your incubator environment with the same care as a Haws watering can to ensure consistent and gentle moisture delivery. For a similar approach to creating a stable environment, consider how step-by-step guides for canning emphasize controlling air and moisture levels to prevent spoilage.
Normal daily humidity swings of 2-5% are common and should not cause concern. Act only if deviations exceed 10% and persist for more than six hours. Cross-reference your hygrometer readings with egg weight data before making any changes to avoid overcorrecting based on potentially faulty sensor information. Using this dual approach helps prevent unnecessary adjustments and keeps your hatch process on track.
What Humidity Level Your Eggs Need During the Final 3 Days
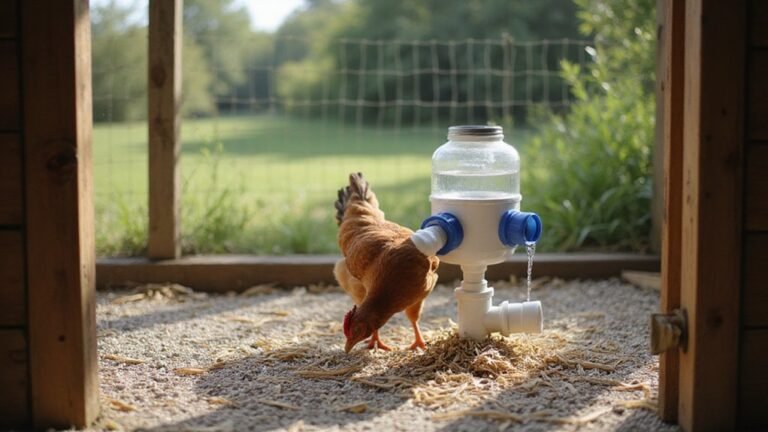
During the final three days of incubation—often called lockdown—you need to raise humidity to 60-70% RH to prevent chicks from sticking to the inner shell membrane. Maintaining this humidity range helps reduce eggshell adhesion, which happens when humidity drops too low. Use humidity charts to ensure your wet bulb temperature hits 90-97°F, correlating to 70-75% RH during hatching. It is critical not to let humidity fall below 60% or go above 80%. If chicks are struggling to rotate within the shell, increase moisture by placing a wet sponge or using an atomizer. Be cautious about over-humidifying—exceeding 80% RH can drown developing chicks. Invest in one of the top hygrometers for incubators to measure this delicate balance with accuracy. Drain excess water if needed and stick to the target range to ensure a safe, healthy hatch. For a reliable humidity boost during lockdown, consider building a DIY PVC waterer to hold additional moisture near the incubator. In a similar way, adding composted plant material can help maintain stable moisture levels in the air around your setup.