Chicken Coop DIY Kit: A Beginner’s Guide
Thinking about building a chicken coop but worried about the complexity or cost? A DIY kit can make it easier and more affordable, typically costing between $600 and $1,200 for a basic 4×6 or 6×8 size.
Plus, with some effort, you can save 40 to 60 percent compared to hiring a builder.
Keep reading to see exactly what’s involved and how you can get started.
What’s Inside a Chicken Coop DIY Kit?
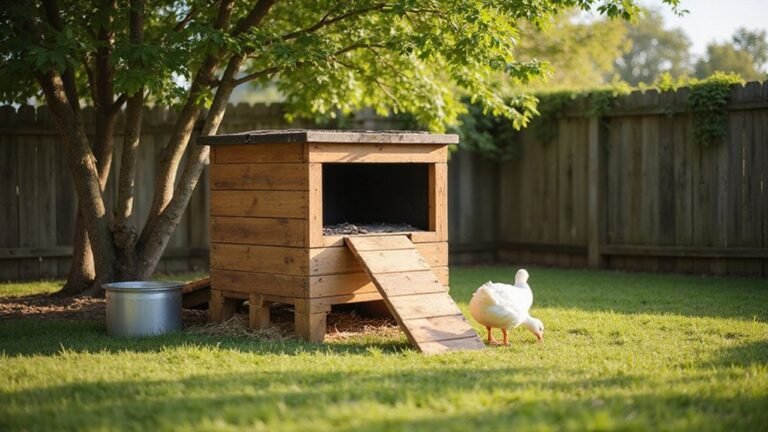
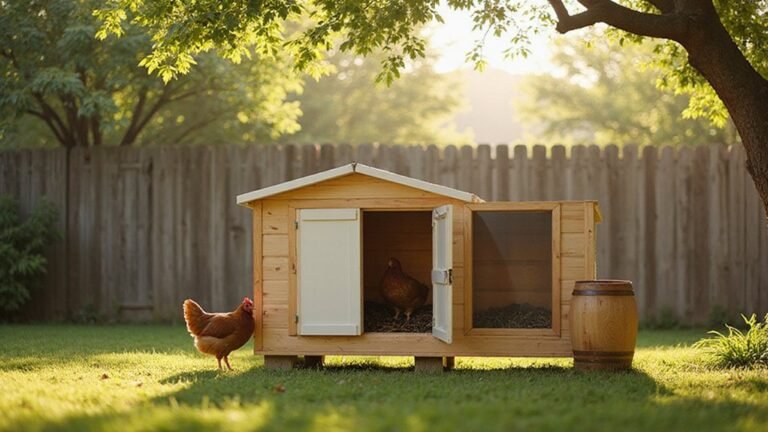
A chicken coop DIY kit includes everything you need to build a functional coop, focusing on framing and interior fixtures. You get pre-cut 2×4 lumber for the structural frame, along with pre-sheathed plywood panels that form the walls and roof. Additionally, 18 galvanized angle brackets are provided to secure joints and ensure stability during assembly. The base is assembled using included base plates and bent plates for added support. For a top-rated design, you can compare features with pre-built models that emphasize predator protection.
For roofing, the panels feature mitered ends cut at 25 degrees, which creates the proper pitch for rain runoff and weather durability. Inside, the kit includes two plywood sheets with pre-cut slots designed to fit a standard nesting box, housing up to four hens comfortably. Dividers help separate individual nesting spaces, and lids attach with screws for straightforward cleaning access. Roosting bars measuring 2 inches wide are included, though a 4-inch width is recommended for optimal comfort. For watering your flock, you might consider using a watering can planter to keep a small herb garden near the coop.
Proper ventilation is critical; the kit provides means to attach hardware cloth or wire mesh over window openings to keep predators out while allowing airflow. Entry doors are framed with sturdy gate latches and hinges, and sheathed with 7/16-inch plywood for durability and weather resistance. For easier finishing, painting before assembly is recommended to improve efficiency and coverage. This comprehensive kit contains all essential components for building a safe, functional chicken coop. For those also interested in waterfowl, wood duck nesting boxes require different dimensions and placement strategies to attract cavity-nesting birds.
Total Cost of a Chicken Coop Kit (Start to Finish)
The total cost of a chicken coop kit from start to finish ranges typically between $250 and $2,000. However, the kit itself usually accounts for only a small portion of that total. You’ll need to budget extra for insulation and ventilation options, which are rarely included in standard kits. For a basic 4×6 coop, expect to spend around $600 to $900, covering predator-proofing, feeders, and waterers. A more premium 6×8 kit with additional supplies can range from $800 to $1,200.
Remember to factor in labor costs, which means investing about 20 to 40 hours of your own time. This DIY approach can save you approximately 40 to 60 percent compared to hiring out the work. Winter bedding like wood shavings adds another $5 to $10 per bag, depending on the size of your flock. High-quality coops, designed to last 15 to 20 years, tend to be more cost-effective in the long run, whereas cheaper materials may need replacing sooner. For instance, one builder’s total lumber cost was $387 for structural wood and plywood.
Additional expenses may include supplemental gear such as nesting boxes, feeders, or automatic watering systems, adding roughly $100 to $200. Your overall expenses will vary based on the size of your coop, desired features, and whether you choose to add a run or automation systems. Planning ahead ensures you cover all essentials without unexpected costs sneaking in.
The 7 Tools You Need for a DIY Coop Build
You need seven essential tools for building your DIY coop, covering framing, fastening, measuring, and finishing tasks. A circular saw is key for making straight cuts in 2x4s and plywood, ensuring clean and accurate pieces. A battery-powered circular saw offers superior portability and eliminates the need for extension cords. For those who prefer a simpler, enclosed system, consider a top-rated compost tumbler for recycling organic waste from your coop. A jigsaw is useful for cutting curved openings and ventilation holes, allowing for precise and custom shapes. For driving screws and bolts, a cordless drill or driver simplifies assembly and offers portability, so you can work anywhere without tangled cords. When selecting your materials, it helps to compare quality, performance, and value across different coop designs to ensure a durable build.
A staple gun is perfect for securing chicken wire to the frame and attaching roofing paper, making it quick and efficient. Measuring tools like a tape measure are vital for accurate dimensions, while a speed square helps you mark and verify perfect right angles. A level keeps your walls and floors straight, preventing future structural issues. Lastly, a hammer is handy for nails, shingles, and trim, making finishing touches straightforward and reliable.
5 Simple Stages to Assemble Your Chicken Coop Kit
Start by laying a sturdy foundation and assembling the frame using pressure-treated wood, which resists rot and extends the coop’s lifespan. Begin with the base, ensuring it is level and square to support the entire structure. Attach the frame pieces securely with nails or screws, following the manufacturer’s instructions to avoid wobbly walls later.
Next, install the flooring and wall studs to create a solid enclosure. The flooring should be raised slightly if you live in a damp area to prevent water damage. Wall studs are spaced evenly—usually 16 inches apart—to provide a sturdy framework for attaching siding and insulation. Make sure all connections are tight to ensure the overall stability of your chicken coop. When attaching the front panel, brace it with screws from underneath and top, positioning it on the lip of side walls.
Where to Place Your Coop for Drainage and Safety
Place your coop on elevated, well-drained ground with a slight incline to ensure proper drainage and prevent flooding. Dig a trench 12 to 18 inches deep and install perforated pipe for gravity drainage, aiming for a 1-inch drop every 10 feet to promote efficient water runoff. Keep the coop at least 10 to 25 feet from your house to allow easy access and minimize odors, and position it east or southeast to benefit from morning sun and afternoon shade for a comfortable environment. Use a raised garden bed soil blend around the coop perimeter to improve drainage and support nearby plant growth.
For safety, avoid placing the coop near trees where falling branches could cause damage or injury. Clear dense brush and overgrowth within 3 feet of the structure to eliminate predator hiding spots. Additionally, surround the coop with gravel and install PVC pipes for roof drainage, extending about 10 feet away from the building to prevent water pooling around the foundation. Proper drainage and thoughtful placement will keep your coop dry, safe, and productive year-round. Consider the height of roosting bars to ensure your chickens can rest comfortably and safely inside the coop. For preserving your green bean harvest, a pressure canner ensures safe and effective processing.
Predator-Proof Your Coop: Bury Mesh 12 Inches Deep
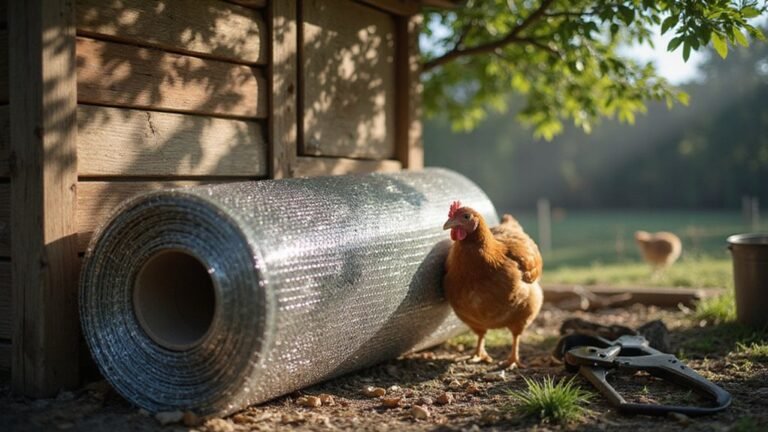
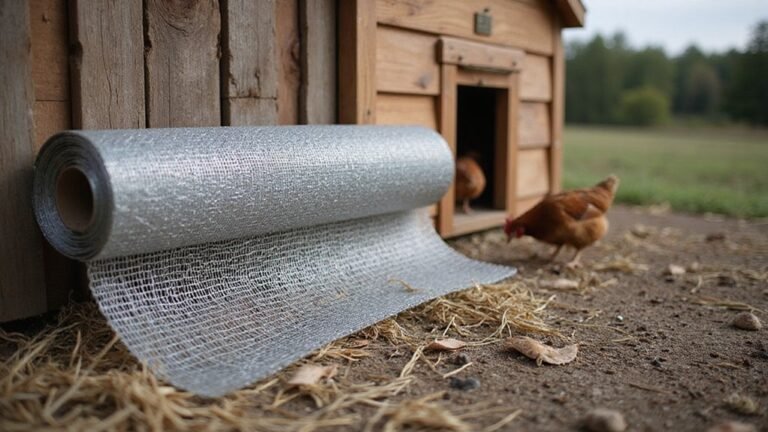
To predator-proof your coop effectively, you need to bury mesh at least 12 inches deep around the entire perimeter. Start by digging a trench that’s 12 inches deep, wide enough to accommodate a vertical sheet of 1/2-inch hardware cloth. Slide this mesh into the trench, ensuring it extends downward and overlaps the soil. Attach the excess mesh to the coop frame, overlapping seams by 4 to 6 inches, and secure each with hog rings or zip-ties. For extra security, create a horizontal apron by laying a strip of mesh outward 18 to 24 inches from the base wall, burying it 2 to 4 inches deep, and covering it with soil. This double-layer method is especially effective at preventing tunneling attempts. Make sure to fasten everything securely using heavy-duty staples or screws with washers every 4 to 6 inches along the top edge, since weak points can compromise the entire barrier. You can also reinforce the mesh joints with reliable seal integrity similar to how high-quality vacuum sealer bags ensure no air leakage. Consider using infrared heat lamp bulbs to provide supplemental warmth during cold nights without creating fire hazards. Also refer to top vent options for adding ventilation that does not create new points of entry.
Why Pressure-Treated Lumber Makes Your DIY Coop Last
Pressure-treated lumber is the best choice to make your DIY chicken coop last. The chemical preservatives infused into the wood help prevent rot and decay caused by moisture and humidity, which are common in coop environments. This treatment also creates a barrier that insects such as termites and carpenter ants cannot penetrate, providing ongoing pest resistance. Modern copper-based treatments are safe for chickens once the wood has fully cured, ensuring your flock’s health. Additionally, pressure-treated lumber resists warping, cracking, and splitting over time, maintaining structural integrity for more than 20 years. For optimal protection against weather extremes, consider adding a protective cover over the coop roof. Although it costs a bit more initially, investing in pressure-treated wood saves you money on repairs and replacements in the long run—your coop stays safer and sturdier for the many years your chickens are alive. For optimal chick rearing, consider pairing your durable coop with a brooder box that offers similar longevity and safety features. To move heavy materials like soil and gravel during coop construction, a garden wheelbarrow can save you significant time and effort.
Match Your Coop Kit’s Dimensions to Your Flock Size
To prevent overcrowding, match your coop kit’s dimensions to your flock size. For six standard hens, provide 18 to 24 square feet of coop space. This ensures each bird has enough room to move comfortably and reduces stress. For ten hens, scale up to 30 to 40 square feet. Remember to include a run of about eight to ten square feet per bird outside the coop to keep your flock happy and active. Storing feed in mason glass jars with lids helps keep it fresh and free from pests.
Proper ventilation is essential for healthy hens. Aim for one square foot of vent area per ten square feet of floor space. Place vents high on walls near the roof to avoid drafts that can chill the flock. Your nesting boxes should follow the rule of one per three to four birds, with each box measuring at least 12 by 12 by 12 inches. You can similarly install a rain barrel spigot for easy access to water near the run. When designing for bantams, cut indoor space to about two to three square feet per bird and outdoor run to five to six square feet to accommodate their smaller size. Measure carefully before building to ensure your flock’s comfort and health.
5 Beginner Mistakes That Attract Predators or Rot
To effectively protect your flock from predators and rot, use ½-inch hardware cloth instead of chicken wire. Bury the cloth 12 inches deep with an outward L-shaped skirt to prevent diggers like raccoons from tunneling underneath. Install two locks on each door to thwart quick manipulation by raccoons. Seal any gaps larger than ½ inch with caulk or hardware cloth to block entry points for weasels and to prevent moisture from seeping in. Cover ventilation openings, especially those near the ground, to keep snakes out. Store feed in galvanized metal bins with tight-fitting lids, and remove leftovers before dusk each day. Overhead, install wire mesh crisscrossed at two-foot intervals to deter hawks from swooping onto your flock. These measures work together to keep predators away and prevent rot, ensuring your coop stays safe and sound. Remember that predators tend to return once initial access is gained, especially after an attack, so repair any breaches immediately. When selecting mesh for the buried skirt, choose ½-inch hardware cloth to stop even small weasels from squeezing through. For watering tasks around the coop, choose a robust metal watering can with a galvanized steel construction to resist rust and withstand outdoor conditions. For managing waste like old bedding or spoiled feed, a well-sealed compost bin can prevent rot and mask scents that attract predators.