Figuring out the right waterer size for your chicks can feel overwhelming. A 2-gallon waterer is a common choice that can support up to 100 chicks during brooding with daily refills.
But how much they need varies as they grow and the weather heats up. Keep reading to learn how to keep your chicks hydrated and healthy with the right setup.
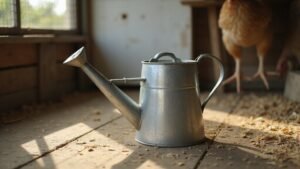
How Many Chicks Can a 2-Gallon Waterer Support?
A 2-gallon waterer can support about 100 chicks during the brooding period with daily refills. This capacity is based on the general guideline of providing one quart of water per 25 chicks, which scales up neatly to its 2-gallon size. For those raising wood ducks, using a wood duck nesting box can help ensure proper housing for brooding. If your flock remains under 100 chicks and you plan to refill daily, the 2-gallon waterer is sufficient. However, if you have more than 100 chicks or prefer to skip refilling every day, you will need additional waterers. When selecting your setup, remember to consider the best chicken coops for your flock’s housing needs as they grow. Keep in mind that this support capacity assumes daily refills. If you plan to refill less frequently, the effective capacity drops. For example, with infrequent refilling, your 2-gallon waterer might only sustain around 50 chicks over several days. Therefore, match your waterer capacity to your schedule, ensuring your chicks stay hydrated without overtaxing the waterer’s limits. Proper hydration also supports healthy growth, much like how quality soil can improve the success of any raised garden bed.
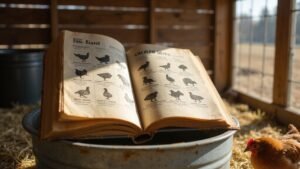
Match Daily Water Needs to Your Chick Count
Matching your chick count to their daily water needs depends on their age and size. For chicks aged 1 to 7 days, each requires about 1 to 2 ounces of water per pound of body weight daily. A 2-gallon waterer can comfortably hydrate up to 15 chicks at this stage. As they grow into 1 to 4-week-olds, their water intake increases to 2 to 3 ounces per pound, supporting roughly 10 birds with the same water volume. A DIY chick feeder can also help ensure even access to water alongside feed. Choosing nipple chicken waterers can reduce spillage and keep the water cleaner for longer.
During hot summer weather, each chick needs approximately 300 milliliters of water daily. This higher demand can reduce the number of chicks your waterer can accommodate safely. Always adjust your flock size based on their age, the season, and feed intake since chicks drink twice as much as their feed weighs. Overloading your waterer can lead to dehydrated birds, so ensure every chick has adequate access to water to keep them healthy and active. For those looking to preserve excess fruit during summer, a food dehydrator is ideal for making fruit leather.
How to Clean Your 2-Gallon Waterer for Safe Drinking
Disassembling and thoroughly cleaning your 2-gallon waterer is essential for maintaining safe drinking water for your chicks. Start by completely taking apart the waterer and disposing of any remaining water outside the coop. Rinse each component—reservoir, base, and cap—with warm water to remove loose debris. Using rags instead of brushes helps prevent debris from entering the waterer, which is a key safety measure. As with any homestead tool, selecting a model with fewer crevices can mimic the practical guidance found in durable designs to simplify your cleaning routine. For optimal results, consider models with mesh screens that prevent debris buildup, mimicking the airflow-focused design of top jerky dehydrators.
Next, scrub all parts with mild dish soap, paying particular attention to corners and crevices where biofilm and algae can hide. For stubborn algae buildup, soak the parts in a diluted bleach solution—one part bleach to ten parts water—for 10 to 15 minutes. This ensures thorough sanitation without risking chemical residue. It is worth noting that choosing a waterer with high quality materials can significantly reduce the frequency of cleaning needed.
After bleaching, disinfect your waterer naturally by spraying it with a mixture of white vinegar and water. Be sure to rinse all components well after any cleaning or soaking process to eliminate traces of bleach or vinegar. Allow each piece to air dry completely on a clean towel—never use a cloth that might leave lint—to prevent recontamination. Following these steps will keep your waterer hygienic and safe, providing your chicks with pure, clean water every day.
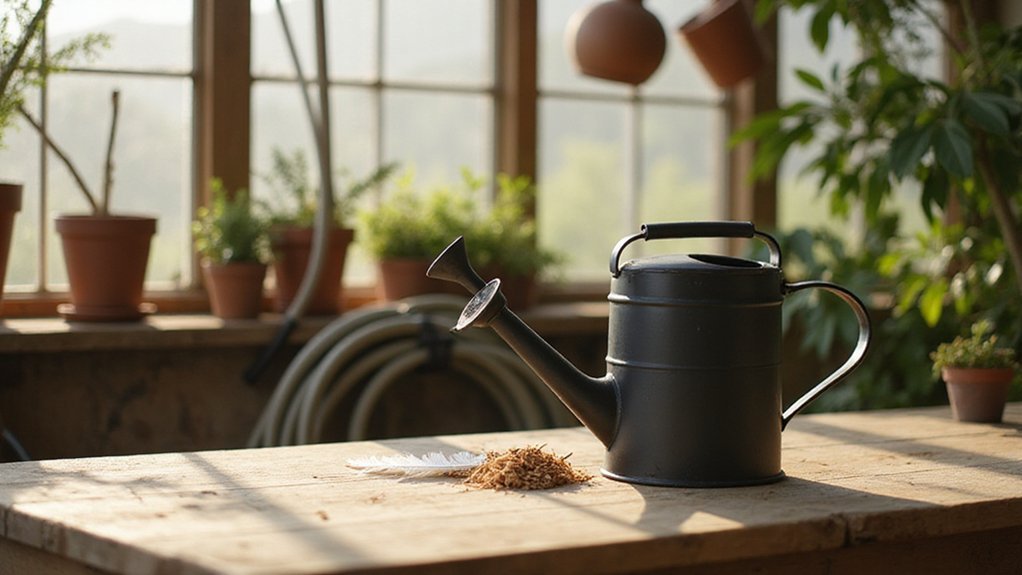
Placement Tips: Shade, Stability, and Temperature Control
Position your waterer in a shaded area to keep the water cool. Direct sunlight causes evaporation and promotes bacterial growth, both of which can harm your chicks. Shade helps maintain water temperature within the optimal 50-70°F range, encouraging more frequent drinking. For extra ease of cleaning and maintenance, consider a model with a removable inner bucket, which simplifies scrubbing and refilling. Check the water temperature daily, especially during hot weather, and add ice if necessary to prevent it from getting too warm. Choosing lids with a reliable seal helps keep contaminants out and water fresher for longer.
Ensure the waterer is set on a firm, level base to promote stability and prevent tipping. A sturdy, flat surface such as a concrete slab or a piece of wood keeps the waterer upright during windy conditions or active chick behavior. Elevate the waterer on a solid platform to keep it off bedding, which helps maintain cleanliness and reduces contamination. Additionally, positioning the waterer near the roosting bars can help chicks learn to associate that area with safe hydration.
Stable legs and a well-balanced setup are essential to avoid spills and ensure chicks always have access to fresh water. Regularly monitor the placement to account for temperature changes and weather shifts, adjusting as needed. Proper positioning keeps water clean, cool, and accessible, supporting your chicks’ health and hydration.
Extend Your Waterer’s Life With Simple Maintenance
Regular inspection of your waterer’s components is essential for its longevity. Look for cracks, corrosion, or blockages early to avoid more significant repairs later. After each use, empty and dry the waterer to prevent mold and standing water, which can cause damage over time. Keep the temperature regulated by placing it away from heat sources to reduce thermal stress that can weaken materials. Apply a water-safe sealant to minor leaks and tighten loose fittings to reinforce the structure. Clean the reservoir with mild soap and warm water, and soak nozzles in vinegar to dissolve mineral buildup. Rinse everything thoroughly and allow it to air dry completely before reuse. Replace any cracked hoses or damaged seals immediately to prevent leaks and contamination. If your waterer’s sprinkler holes are small, enlarging holes with a drill or heated nail improves flow and prevents clogging from debris. Refill your waterer daily and seasonally flush the main line to remove sediment buildup. In colder climates, add insulation or heated bases to prevent freezing, extending your waterer’s lifespan through simple, consistent maintenance. For those also managing feed, the same dehydrator principles that preserve fruits and vegetables can be applied to drying clean herbs for your chicks. You can also ensure your water supply stays clean by using construction sand as a base material in the coop to absorb moisture and reduce mud. Following a simple DIY chick waterer build guide can help you customize a durable system that matches your flock’s needs.