How Does a Food Dehydrator Work for Homesteading?
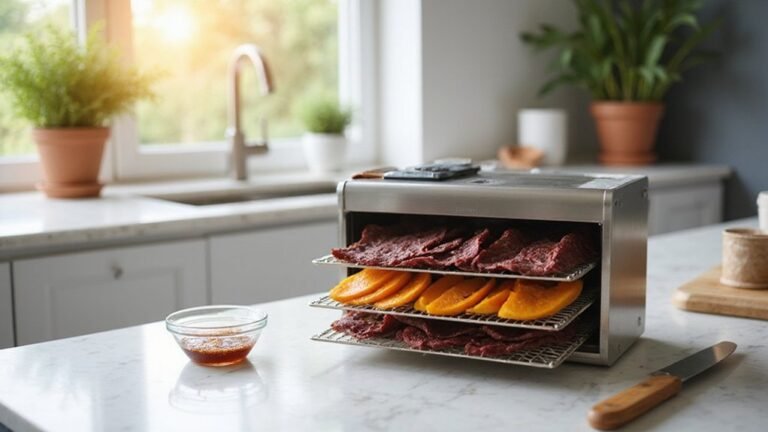
If you’re wondering how a food dehydrator works to preserve your harvest, you’re in the right place. It uses gentle heat and steady airflow to remove moisture from produce.
This process turns fresh fruits and vegetables into long-lasting snacks. The removal of moisture prevents mold and bacteria, so your preserved foods stay good for months.
Keep reading to learn how to master this simple method.
What Makes a Food Dehydrator a Homestead Essential?
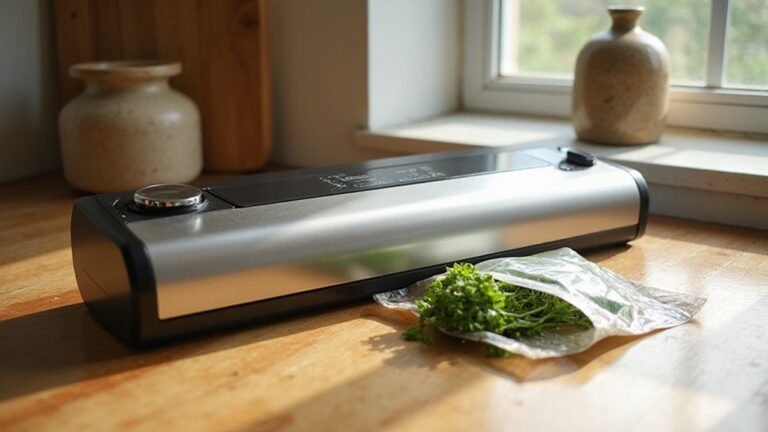
A food dehydrator is essential for a homestead because it allows you to preserve surplus produce by removing moisture that bacteria, mold, and yeast need to grow. This process turns fresh fruits, vegetables, and meats into long-lasting snacks and pantry staples without refrigeration. Dehydrating food extends its shelf life from days to months, giving you a reliable way to store your harvest throughout the year. It also helps you prevent spoilage and waste—items that might otherwise rot can be turned into nutritious, preserved food. Additionally, using a dehydrator reduces your household’s energy consumption since it replaces the need for constant refrigeration or freezing. Instead of relying on costly appliances like freezers, you simply dry your food and store it in a cool, dark place, cutting down on electricity bills and household expenses. Choosing a top reviewed coop for your flock can similarly enhance efficiency by providing durable, predator-proof housing that reduces maintenance efforts. A compost tumbler offers a similar advantage by efficiently recycling organic waste into nutrient-rich soil, minimizing kitchen scraps that attract pests. This method gives you more control over your food supply, ensures freshness, and supports sustainable, self-sufficient living. For proper storage of dried goods, using the best vacuum sealer bags can further extend shelf life by preventing moisture and air from re-entering the packaging.
Why Low Heat and Airflow Remove Moisture Without Cooking
Low heat combined with steady airflow effectively removes moisture without cooking your food. Keeping temperatures between 95°F and 165°F gently warms the air, promoting moisture migration from the interior to the surface without triggering cooking processes. As the moisture moves outward, the continuous airflow absorbs and carries vapor away, maintaining a dry environment suitable for evaporation. The fan then pushes humid air out of the drying chamber, preventing moisture buildup. This slow and controlled process, often spanning 6 to 15 hours, avoids rapid exterior heating that can cause case hardening—where the outside dries too quickly and traps moisture inside. By allowing even evaporation, you preserve textures, nutrients, and flavors. Up to 95 percent of water content can be removed this way, which significantly reduces the risk of microbial spoilage while keeping sensitive nutrients and enzymes intact, maintaining the food’s raw qualities and extending shelf life without refrigeration. For long-term storage, combining dehydrated foods with a vacuum sealer further protects against oxidation and moisture reabsorption. Choosing a dehydrator with horizontal airflow can further improve drying consistency by preventing flavor transfer between trays. Homesteaders can also apply this drying method to prevent weed seed germination, ensuring compost remains safe for garden use.
How Vegetable, Fruit, Herb, and Meat Temperatures Differ
Herbs should be dried at a gentle temperature between 95°F and 115°F to preserve their aromatic oils and flavor. Veggies and fruits dry best at 125°F to 140°F, a range that balances moisture removal with texture preservation and reduces the risk of case-hardening. For meats and jerky, you need to reach at least 160°F initially to kill pathogens before drying. Fruits handle temperatures from 125°F to 135°F, which helps manage their sugar content without burning, while vegetables can be dried up to 145°F for optimal results. Selecting the right wood for your garden beds involves comparing the top options to ensure durability and insect resistance. You can also apply a quality soil mix to your raised beds for better plant growth and drainage. Each category’s specific temperature ensures you achieve quality drying without sacrificing flavor, texture, or safety. This process of temperature management is similar to attaching hardware cloth to wood, as both require careful technique and material-specific adjustments for the best outcome.
Prep Your Harvest for Faster, Safer Drying
To prepare your harvest for faster, safer drying, start by selecting only the highest quality produce. Look for firm, ripe fruits and vegetables free from bruises, mold, or insect damage. This ensures better flavor retention and reduces the risk of microbial contamination. Wash the skins thoroughly to remove dirt and surface bacteria.
Slice each item to an even quarter-inch thickness for consistent moisture removal. Uniform slices dry more evenly and efficiently, preventing over-drying or remaining moisture that can lead to spoilage. For fruits prone to browning, pretreat them in a vitamin C solution for about three minutes, then drain and pat dry completely.
Vegetables that tend to lose color or texture benefit from blanching. Submerge them in boiling water for a short period, typically 30 seconds to one minute, then immediately transfer them to an ice bath. This process reduces drying time by up to 30 percent and helps lock in brightness and flavor.
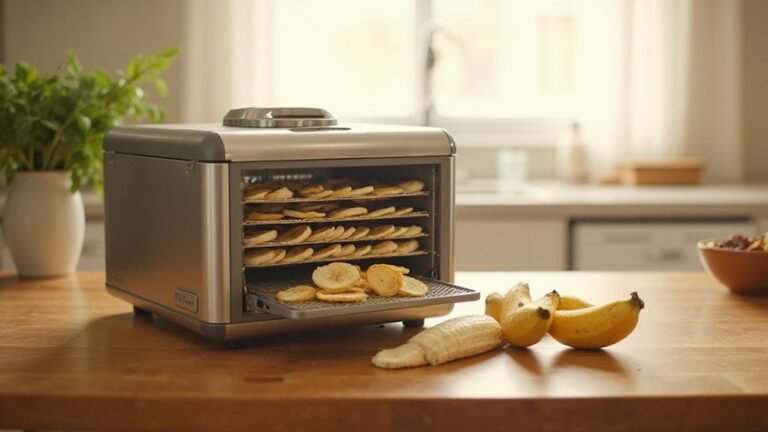
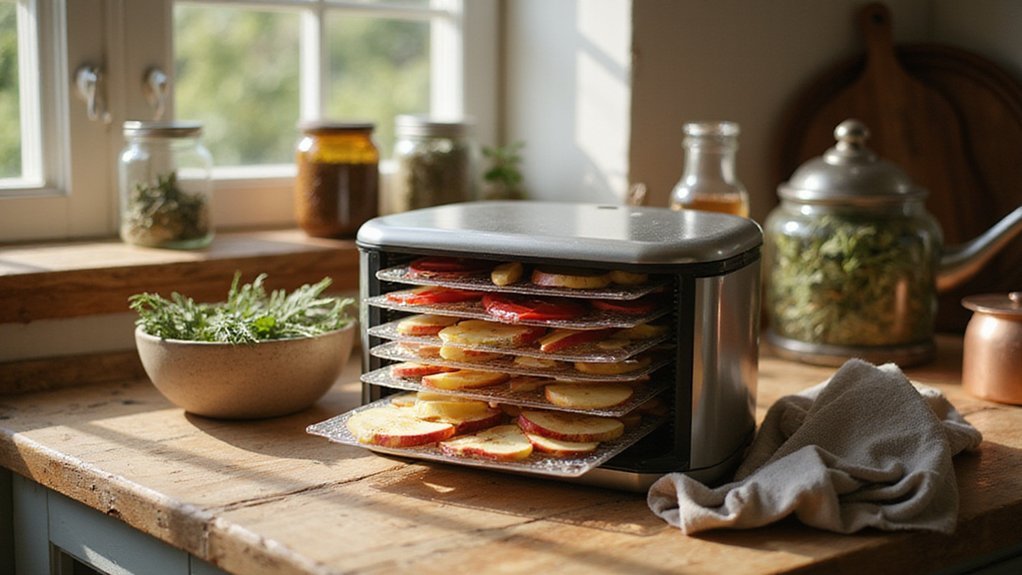
Finally, remove all surface moisture by patting the slices dry with paper towels. Arrange them in single layers on drying trays, making sure they do not touch or overlap. Proper spacing allows air to circulate freely around each piece, which speeds up drying and prevents spoilage. For optimal airflow and safety, consider using a brooder box to keep your drying trays warm and protected from pests.
Solar vs. Electric Food Dehydrators: Which One Fits You?
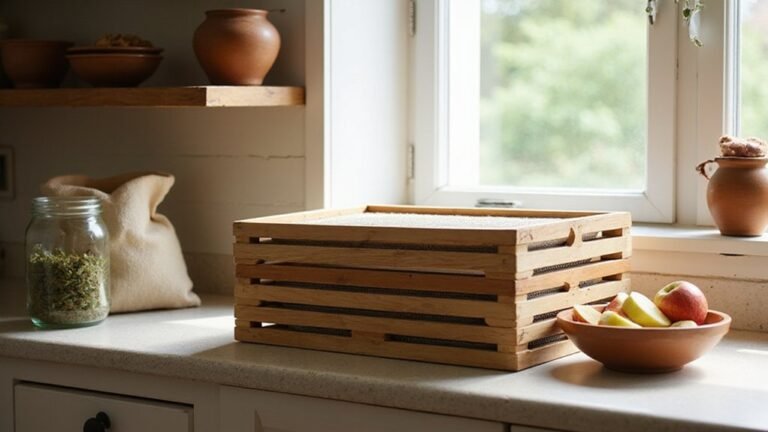
Solar dehydrators are a great choice if you prioritize eco-friendliness and low operating costs. They use no electricity at all, relying solely on the sun’s heat to dry your harvest. This means you gain energy independence and reduce your carbon footprint. You can also build solar dehydrators from reclaimed or inexpensive materials like old wood and glass, keeping costs minimal and sustainability high. For a more permanent and efficient structure, you might consider comparing the best chicken coop with run designs, which similarly prioritize durability and value. A well-built solar dehydrator can also benefit from proper airflow design to maximize drying efficiency, just as a raised garden bed requires careful layering for optimal soil health. Following an easy DIY guide for constructing your own dehydrator can help ensure stable airflow and effective heat retention.
However, solar drying depends heavily on weather conditions. Sunny days are essential, and the process typically takes from one to three days, depending on the weather and the thickness of your slices. Solar dryers also require active oversight to ensure even drying and to prevent overexposure or spoilage in sudden weather changes.
In contrast, electric dehydrators provide a faster, more predictable drying process. They can dry the same amount of produce in as little as five hours, regardless of weather or humidity. Electric units offer consistent heat and airflow, making them ideal if you need reliable results regardless of climate. They usually come with adjustable temperature controls and timers, giving you more control over the process.
Your choice ultimately depends on your environment and priorities. If you live in a sunny, dry area and want an eco-friendly, low-cost solution, solar dehydrators fit well. If you need speed, reliable results, and don’t mind using electricity, an electric dehydrator is the better option.
3 Tests to Confirm Your Dried Food Is Shelf-Stable
Performing a texture test is essential to ensure your dried food is shelf-stable. Fruits should feel leathery and pliable without being sticky—if they stick to your fingers or teeth, they still contain too much moisture. Vegetables need to shatter or crumble when snapped; if they bend instead, there’s likely excess internal moisture that could lead to spoilage. Proper ventilation and material selection in a DIY chicken coop also help regulate humidity to prevent mold and rot. Similar principles apply to wood duck nesting boxes where proper moisture control is critical for preventing rot and ensuring long-term durability. For a DIY approach, constructing a chicken wire ghost involves similar attention to wire framing and structural moisture barriers to prevent rust and sagging over time.
For jerky, the ideal texture is a crack when you bend it, but it shouldn’t break in half. The crack indicates the moisture level has dropped below the critical threshold, preventing bacterial growth. Always handle small samples carefully to avoid damaging the texture during testing.
After you’ve completed the texture check, open a sample after one week to examine for spoilage signs. No off-odors, mold growth, or color changes mean your dehydration process is successful. These tests help you confirm that your dried foods are safe for long-term storage without risking pathogen development or premature spoilage.
How to Condition and Store Dried Foods Long-Term
Once your dried foods pass the texture and shelf-stability tests, you should condition them by cooling completely on trays. This step allows any residual moisture to escape and helps prevent mold during storage. After cooling, loosely pack the dried items into clean glass or plastic jars, filling each only about two-thirds full. This empty space promotes air circulation, which is essential for long-term preservation.
Shake the jars gently once a day for 7 to 10 days. This process redistributes moisture evenly, preventing mold growth and ensuring a uniform moisture level throughout the product. During this period, regularly check the lids for condensation. If you notice stickiness or moisture under the lid, it indicates excess moisture in the food and requires re-drying before resealing.
For long-term storage, keep the jars in a cool, dark, and dry environment below 15°C (60°F) with humidity under 60%. Use airtight containers like glass jars with tight-sealing lids to prevent moisture ingress. Label each jar with the product name and the packing date. Dried fruits can typically be stored for up to one year, while vegetables and meats should be used within six months. To maintain freshness and safety, follow a first-in, first-out system, utilizing older jars before newer ones, and discard any food showing signs of mold or spoilage.
5 Common Drying Mistakes (and How to Fix Them)
Overcrowding trays is a common mistake that can interfere with proper drying. When pieces are packed too closely together, airflow is blocked, causing uneven moisture removal. To fix this, leave gaps between food pieces and arrange them in a single layer. This ensures each piece is exposed to consistent airflow, leading to evenly dried results. Homesteaders should also consider rotating the trays during the drying process to ensure uniform air circulation. Proper spacing reduces drying time and maintains food quality. Using a lower temperature for high-moisture fruits prevents darkening and preserves color for better visual results.
Pro Tips to Maximize Every Dehydrator Session
Choosing the right tray arrangement is essential for efficient dehydration. Load trays in single layers without overlapping to ensure even airflow and thorough drying. Heavier items should be placed on lower shelves for stability and better weight distribution. Stacking items too close can trap moisture and extend drying times, so spacing is key. Rotating trays every two hours helps promote uniform dehydration throughout the entire batch. Because different trays near fans dry faster, always rotate trays to compensate for hot spots and tray placement differences. Using a wire rack can help elevate items for improved air circulation, similar to baking chicken wings to perfection. Always allow dried goods to cool completely before sealing in sterilized jars to prevent moisture buildup, which can lead to spoilage. Storing dried foods in wide-mouth mason jars makes it easy to access and re-seal your preserved ingredients. Proper organization and rotation not only speed up the process but also maintain the quality of your dried foods. For long-term storage, wide mouth lids provide an airtight seal that protects against humidity and pests.