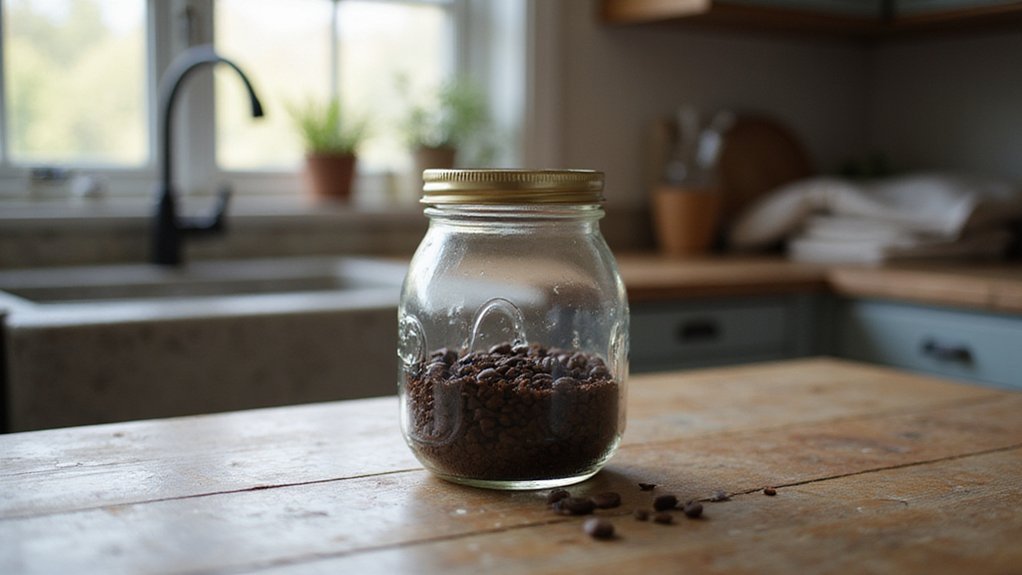
Are Mason Jars Airtight for Homesteading?
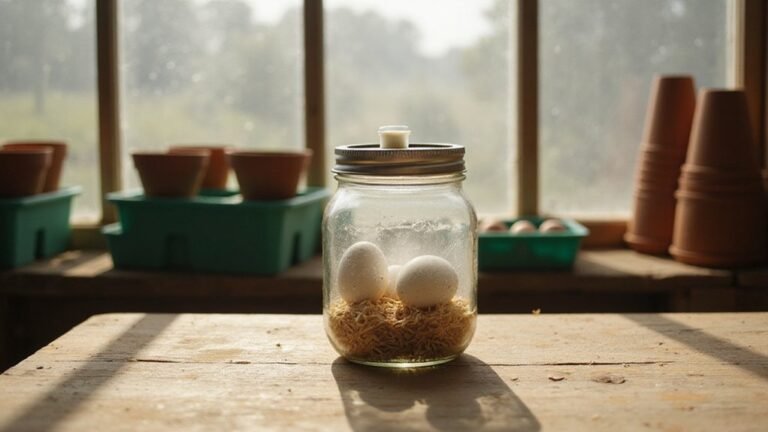
Wondering if Mason jars truly keep your food airtight for homesteading? The good news is that when sealed correctly, they can create a reliable vacuum, keeping your preserves fresh.
That tight, concave lid and secure band are key to ensuring a good seal. Keep reading to learn how to master the process and avoid common pitfalls.
What “Airtight” Actually Means for Mason Jar Storage?
Airtight for mason jars actually means impermeability—the ability to block gases like oxygen and moisture from entering or escaping. It doesn’t mean zero air inside the jar but that external air cannot exchange with the interior environment. This seal depends entirely on the components: a rubber gasket must sit tightly against the glass rim, and the lid must fit securely without gaps. Cracks in the lid or loose rings immediately weaken the seal, allowing oxygen and moisture to seep in and cause spoilage. Similar to wood duck nesting boxes designed to block predators and weather, the jar’s components work together to create a secure barrier.
When you tighten the lid, some air remains inside—your goal isn’t to remove all the air but to prevent additional air from entering. This internal air can help preserve dry goods, grains, or freeze-dried foods by keeping out dust, moisture, and pests over time. Proper sealing ensures the contents stay fresh longer, but the integrity of the seal is critical. Regularly check gaskets and rings for signs of wear or cracks, as these are common points of failure that compromise the airtight quality.
How Mason Jar Lids Create an Airtight Vacuum Seal
The mason jar lid forms an airtight vacuum seal through a perfectly fitted mating surface and pressure. The jar’s rim features a precisely shaped ridge that aligns seamlessly with the lid. When you tighten the metal band, the lid sits flush against the glass, eliminating gaps where air could potentially enter.
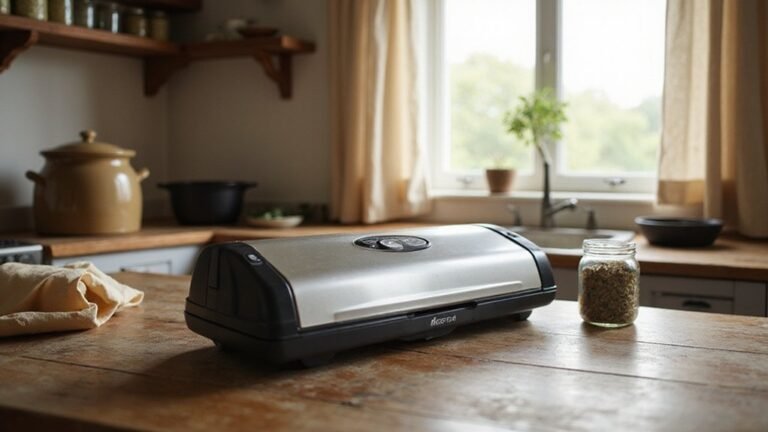
This smooth mating surface ensures that the sealing compound creates a continuous, unbroken seal. Once you use a vacuum sealer to remove air from inside the jar, the internal pressure drops. This lower pressure causes the lid to be pulled tightly down onto the rim, effectively locking it in place. For a consistent seal, the vacuum sealer must generate sufficient pressure to pull the lid firmly against the rim. Properly inserting the silicone umbrella into the hole puncher-created opening ensures a functional vacuum port. For best results, homesteaders should always inspect the jar’s rim for chips or cracks before sealing. A reliable chicken coop design similarly depends on a tight, gap-free structure to protect the flock from drafts.
To verify the seal, press down on the center of the lid. If it doesn’t move or give, you have achieved an airtight vacuum. The metal band keeps everything firmly held during cooling and storage, ensuring your contents remain sealed and fresh.
The #1 Mistake That Ruins Your Mason Jar Seal
The number one mistake that ruins your mason jar seal is improper headspace. For best results, aim for: 1/4 inch for jams, 1/2 inch for fruits, and 1 inch for meats. Shooting for the correct headspace allows vacuum to form properly during processing, creating an airtight seal. Underfilling leaves excess air trapped inside, which prevents vacuum formation and risks spoilage. Overfilling forces food directly against the lid, which can break the seal altogether. Using measuring spoons or estimating often introduces errors of up to half an inch, compromising your seal and storage safety. To avoid this, invest in a calibrated headspace tool to ensure consistent, precise measurements every time. A similar principle to managing precise headspace applies when constructing a raised bed garden, as maintaining consistent soil depth ensures proper drainage and root growth for your homesteading crops.
How to Test Your Mason Jar Seal at Home
To test your mason jar seal at home, start by performing a visual check after 24 hours of cooling. Look at the lid at eye level; a convex bulge indicates a failed seal, while a concave curve means success. Press down gently in the center of the lid—if it moves, pops, or is noticeable, the jar hasn’t sealed properly. Tap the lid with a metal spoon: a clear, high-pitched ring suggests that the seal is airtight, while a dull thud indicates failure. For a final test, remove the jar’s band and lift the jar by the lid alone. If it holds without slipping, the seal is secure. Additionally, inspect the rim for moisture, food, or any debris, as these can compromise the seal. Proper sterilization, such as boiling the jars for ten minutes, is a key step to prevent contaminants from interfering with the seal. Listening for the rushing air sound upon opening can also verify a properly sealed jar. For long-term homesteading, choosing high-quality plastic mason jars ensures the lid remains durable and leak-free during repeated use. Using a pressure canner for meat ensures the high temperatures needed to achieve a reliable seal and safe preservation. Mastering these tests ensures your jars are airtight, whether you plan to use them for decorating, gifting, or long-term storage.
Which Dry Goods Need Oxygen Absorbers in Mason Jars?
Oxygen absorbers are needed in mason jars when storing dry goods prone to oxidation or rancidity, such as refined flours, whole grains, dehydrated vegetables, dried onions, and powdered vegetables. White flour stored over three months benefits from absorbers to prevent off-flavors caused by oxidation. Dehydrated onions and powdered vegetables also require absorbers to maintain flavor and color during long-term storage. For optimal raised bed soil, selecting a balanced mix with compost and peat moss is key, but this does not apply to jar storage.
For bulk spices stored longer than three months, oxygen absorbers can help preserve quality by reducing oxidation. However, do not use absorbers with sugar, salt, or baking soda, as these do not oxidize and therefore do not need oxygen removal.
Always check moisture levels before using absorbers. Items with over 10% moisture are unsafe to store because they increase the risk of botulism. A single 50cc oxygen absorber is sufficient for quart-sized jars, while half-gallon jars generally need about 300cc for effective long-term preservation. Refined white rice can be stored for up to two years without absorbers if kept dry and free from pests.
When to Keep the Rings On or Off for Storage
Remove the rings after jars have cooled for 12 to 24 hours for long-term storage. Leaving the rings on traps moisture, increases the risk of rust, and can hide signs of a failed seal or gas buildup. Without the rings, you can easily spot if a lid has popped or if a jar has spoiled. For short-term fridge storage or when jars are unsealed, keep the rings on to hold the lid securely and prevent pests from getting in. If you plan to reapply rings, ensure everything is completely dry beforehand. Reusing rings for decorative uses, like hanging jars or making lanterns, works well, but do not rely on them to maintain the seal. For maintaining a well-organized homestead, consider using a high-quality watering can for your garden tasks to complement your efficient storage practices. Removing rings after sealing eliminates the need for storage of rings on jars and prevents rust or corrosion. For a more durable storage solution, consider top roost options for your chicken coop to keep your homestead organized. For enriching your garden soil, spent coffee grounds can be effectively composted in a dedicated compost bin designed to handle high-nitrogen materials.
Does Jar Size Affect Airtightness?
Jar size does not impact the airtightness of mason jars. The seal’s effectiveness depends solely on the lid-to-rim fit, not on the container’s volume. Whether you use a 4-ounce or a 32-ounce jar, a standard 70mm lid provides consistent gasket compression. Laboratory tests show that vacuum retention remains the same across all sizes, meaning any standard jar can achieve an airtight seal. However, larger jars require more frequent opening to access contents, which can lead to increased air exchange over time. Smaller jars, such as 4- or 6-ounce sizes, are better for minimizing repeated exposure since you can use single servings. Select your jar size based on how often you need to open it, rather than assuming bigger jars are more airtight—they simply aren’t. This principle of consistent sealing mirrors findings from bird nesting boxes where the lid-to-rim fit is critical for performance, much like how top nesting boxes rely on precise fit for optimal functionality. Choosing the right size is similar to selecting a compost bin where the fit dictates overall function regardless of capacity.
Why Mason Jars Lose Their Seal (and How to Fix It)
Even a perfect-fitting lid can fail if the seal isn’t properly maintained. Seal deformation often results from rim nicks, scratches, or overtightened bands that put stress on the gasket. Gasket deterioration occurs when you reuse old lids or expose jars to high heat or humidity above 70°F. Mistakes during processing, such as not applying enough pressure or cooling too quickly, can also break the vacuum. Additionally, storing near heat can cause air expansion inside the jar, which loosens the seal over time. To check if your jar has lost its seal, press the lid center after 12 to 24 hours. If the lid pops up or makes a clicking sound, the vacuum has escaped. Inspect the jar closely for leaks or cloudiness, and discard any jars with sour or off odors. When resealing, transfer the contents to a new jar with a fresh lid and band, rather than reusing old lids. Always clean the rims before sealing and avoid tightening the bands after cooling to prevent stress on the gasket.
How to Store Mason Jars for Long-Term Freshness
To store mason jars for long-term freshness, keep them in a cool, dark place where temperatures stay between 50 and 70°F. Ideal locations include a basement or pantry. Ensure jars are at least six inches above the ground to prevent moisture contact and deter pests. Avoid storing jars in places where temperatures can exceed 95°F, as excessive heat can compromise seals and spoil contents. Use labels on jars to track expiration dates and rotate your stock annually to maintain freshness. Before sealing, wipe jar rims to remove any residue and tighten bands to fingertip-tight. After processing, let jars cool undisturbed for 12 to 24 hours. Once cool, press the center of each lid—if it pops back, the seal is compromised, and the jar should be refrigerated or reprocessed. For dry goods stored in jars, include oxygen absorbers or desiccants to prevent spoilage. Regularly inspect your jars for mold or rust, and discard any with damaged seals or compromised lids. Consistently following these steps will help keep your stored food safe and fresh over time. Using jars of various sizes accommodates different dry goods like flour or grains and improves organization.