How to Use a Food Vacuum Sealer for Homesteading
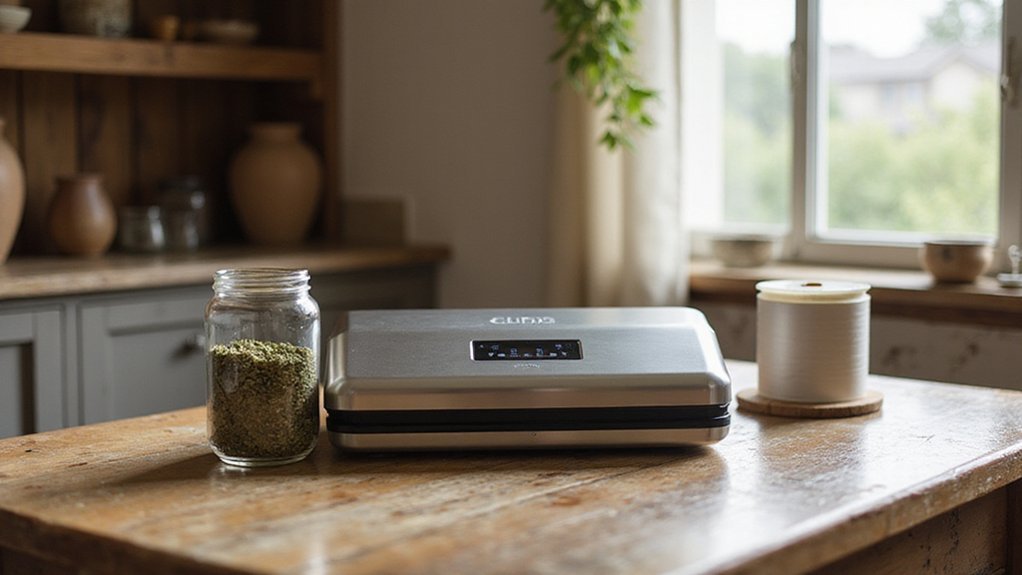
Launching into food preservation with a vacuum sealer might seem tricky at first, but it’s actually straightforward once you get the hang of it.
Whether you’re sealing raw meat, fresh produce, or frozen berries, knowing how to prepare and seal properly can make a big difference.
By understanding the steps involved—from drying foods to choosing the right settings—you’ll be able to lock in freshness and save space.
Keep reading for all the tips you need to master this useful homesteading skill.
Why Vacuum Sealing Changes How Homesteaders Store Food
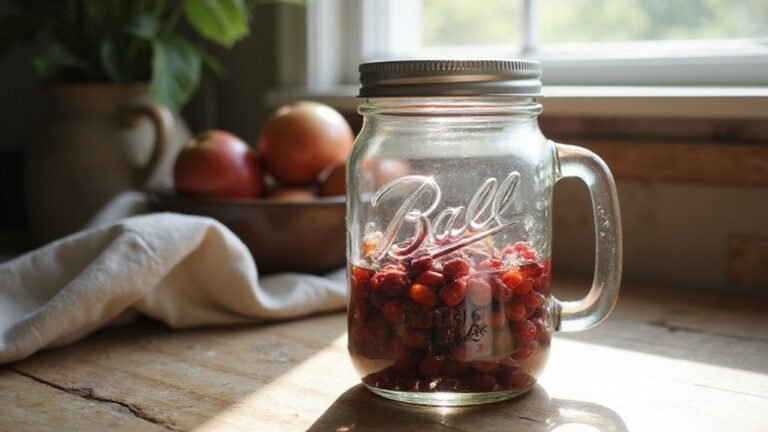
Vacuum sealing changes how you store food by removing oxygen, which halts the chemical reactions that cause spoilage. This process helps you retain up to five times more vitamin C compared to conventional storage methods. It also keeps foods fresh approximately three times longer, significantly reducing waste. By eliminating oxygen, vacuum sealing greatly improves food safety by inhibiting microbial growth and preventing fats from oxidizing and turning rancid. This method also effectively protects foods against freezer burn by locking in moisture and preventing dehydration. To further reduce kitchen waste, you can even pair this method with a countertop compost bin for scraps. Beginners building their first homestead setup may also benefit from studying chicken coop basics to manage eggs and garden waste efficiently. For versatile long-term pantry organization, mason jars are an excellent airtight choice for storing vacuum-sealed dry goods.
However, there are important storage guidelines to follow. Dry goods sealed this way can stay shelf-stable without refrigeration, but perishables require refrigeration or freezing to remain safe. High-moisture items such as raisins are unsafe at room temperature and need cold storage, while high-fat nuts may need moisture control to prevent spoilage. Vacuum sealing doesn’t just extend shelf life; it preserves flavor and nutrition without the need for canning. Removing oxygen fundamentally transforms your approach to pantry management and food preservation.
How to Prep Meat and Produce for a Perfect Vacuum Seal
To prep meat and produce for a perfect vacuum seal, start by controlling moisture and sharp edges. For meat, pat all surfaces dry with paper towels and trim excess fat or bones to prevent punctures. Wrap exposed bones with freezer paper to shield the bag from tearing. Chill or partially freeze meat for 30 to 60 minutes; warm meat leaks juices, which can ruin the seal. For a healthy flock, consider that predator-resistant coop designs help protect chickens from common threats. Similarly, wood ducks require proper nesting box designs to ensure successful breeding and protection from predators.
For produce, blanch vegetables to halt ripening and dry them thoroughly. Flash freeze berries on a baking sheet until solid to avoid crushing them. Delicate items like fish fillets should be pre-frozen to maintain texture and prepare for flavor infusion later. Use a moist setting for fruits with liquids to prevent crushing during the sealing process. For a more permanent solution, consider constructing a raised bed garden with durable materials to grow your own produce at home.
Master portion planning by dividing bulk meat into meal-sized packages and labeling each with the cut type and date. Leave at least one inch of bag space to allow for air expansion during sealing. Always clean the sealing strip before use to ensure an airtight, durable seal.
Choose the Right Bag Size for Every Item You Vacuum Pack
Matching bag dimensions to your food size and shape is crucial for a proper vacuum seal. Use quart-sized bags (8×12 inches) for steaks or chops, while gallon-sized bags (12×16 inches) suit whole chickens. Irregularly shaped foods need extra bag length to fold corners without puncturing the seal area. Always add 3 to 4 inches to accommodate the vacuum machine’s grip area and leave 1 inch for the seal to ensure a secure closure. Bag thickness varies depending on the food: 3 to 4 mil is sufficient for soft items, but for sharp bones or prolonged freezing, opt for 4 to 6 mil. Larger cuts like roasts require an additional inch in width to allow for expansion around the food. For optimal storage, similar principles apply to watering can selection for homesteaders, where proper balance and capacity are key to efficient use. When choosing a compost bin, prioritize models with a durable seal to prevent odors and pests.
For liquids, leave 4 to 5 inches of headspace to prevent overflows during vacuuming. When vacuum sealing marinated meats or liquids, use wider rolls, around 10 to 11 inches, to reduce the risk of seal contamination. Selecting the right bag size and thickness helps ensure a tight seal, minimizing air exposure and extending storage life.
Run Your Sealer for Moist, Dry, or Delicate Foods
Pre-freeze moist foods until they are slushy, typically for 1 to 2 hours in a single layer. This step prevents liquids from being sucked into your sealer’s pump and causing seal failure. Once frozen, select the appropriate mode: use “Moist” for wet items like marinated meats or stews, “Dry” for fresh produce or dry goods, and delicate settings for soft berries or fish. Adjust the vacuum strength based on the food’s density to avoid crushing fragile items. For optimal results, leave extra headroom in the bag and ensure the sealing area stays dry. Even if your sealer runs on farm solar power, precision in these steps is crucial, especially when seed saving dry seeds—use the “Dry” mode to preserve viability without damage. For added stability, position sealed bags on roosting bars of the correct height to keep them level while cooling. Double bagging or including an absorbent paper towel can further prevent leaks for high-moisture items. For long-term storage, consider transferring vacuum-sealed dry goods into plastic mason jars with lids for added protection against pests and moisture.
Check That Your Vacuum Seal Is Tight and Reliable
After sealing the bag, verify that the vacuum seal is tight and reliable before storing your food. Start by inspecting the seal visually. A good seal should be firm and flat, with no loose wrinkles or bulging areas. Check that the seal strip is smooth, continuous, and free from gaps or bubbles. The bag should cling tightly around the contents, with no air pockets or visible gaps. Similar inspection methods can be applied to mason jar vacuum seals to ensure airtightness. For a more thorough check, submerge the sealed bag in water. Apply external pressure or create a vacuum to push out any tiny air leaks. If you see a steady stream of bubbles from the seal area, it indicates a compromised seal. Isolated bubbles are usually trapped air and can be ignored. Always ensure the seal holds securely, as a compromised seal can lead to food spoilage or freezer burn. During vacuum application, material permeability allows slow air ingress without necessarily indicating a breach, so confirm with your film manufacturer if this is acceptable for your storage needs. For long-term homesteading storage, consider investing in a reliable vacuum sealer that consistently delivers strong, airtight seals. Choosing the right garden bed cover can protect your crops and extend your growing season.
Prevent Bag Punctures Before They Ruin Your Work
To prevent bag punctures, start by wrapping sharp items like bones or fins with paper towels or plastic before sealing. This extra layer cushions the bag and minimizes the risk of tears. Trim thick stems and edges of meat to create a smoother surface, reducing the chance of punctures during sealing. Applying parchment paper over jagged or uneven edges helps protect the bag from sharp points. Ensure contents are flattened evenly so pressure is distributed uniformly, preventing weak spots. Avoid overfilling—leave at least two inches of headspace to allow for proper sealing and to prevent contents from pushing against the bag’s seals. When handling jagged or rough items, double-bag them by turning the second bag inside out, creating a smoother inner surface that is less prone to tearing. Always choose high-quality, puncture-resistant bags for added durability, as cheap bags tend to rip like paper compromising seal integrity. For wooden components like cutting boards or countertops, using pressure treated lumber provides extra moisture resistance and durability during food prep. A lightweight plastic model like a Dollar General watering can offers an affordable rinsing solution for your homestead kitchen. Implementing these techniques will help reinforce your packaging process and keep bags intact, saving you effort and reducing food waste. For a homesteader’s workspace, a watering can can be used to rinse off cutting boards and sharp tools before sealing, preventing debris from causing punctures.
Label and Store Sealed Bags to Keep Food Fresh Longer
Store sealed bags in a single layer inside the freezer to maximize contact with cold air. Arrange them upright to prevent the formation of ice crystals, which can damage the packaging and reduce freshness. For dry goods, use a cool, dark pantry as your primary storage area. Implement a First-In, First-Out system by placing newly sealed bags behind older ones, ensuring you consume older food first and reducing waste. Adding oxygen absorbers to dry goods before sealing helps preserve freshness, and waiting 24 hours before performing a squeeze test confirms the bag is airtight. For increased durability, place vacuum-sealed bags inside feed buckets lined with Mylar bags for larger storage needs. Consider using a raised bed garden layout for organizing your homestead storage space efficiently. For heavy loads, a two-wheel wheelbarrow offers better stability and balance than a single-wheel model. Using cedar or redwood for your raised beds provides natural rot resistance and longevity compared to other wood options.
Make Flat, Stackable Packs That Save Freezer Space
To properly seal your bags and maximize freezer space, first ensure your food is thoroughly cooled. Steam can cause the seal to fail, so letting it cool prevents this issue. When preparing your bag, fold the top outward to create a cuff—this keeps the sealing area clean and dry. Once the bag is ready, uncuff it, lay it flat in the vacuum sealer or sealing machine, and smooth out any wrinkles. Check the seal immediately to confirm it’s airtight; reseal if you notice gaps or an incomplete seal. Using these space-saving tips, you can layer your flat, stackable packs neatly in the freezer, making full use of every inch and simplifying organization. Additionally, nudging air bubbles to the edge of the bag before sealing improves the seal quality for liquids.
Clean and Maintain Your Machine for Long Life
Before cleaning your vacuum sealer, unplug the unit and remove all detachable parts such as the drip tray, gasket, and cover. Wipe the exterior with a damp cloth to remove dust and fingerprints. Use a soft brush to clear debris from the vacuum channel, ensuring there are no blockages that could affect sealing performance. Periodically, inspect the heating element for wear or damage and replace it if needed to restore sealing performance.
Follow these cleaning protocols regularly: clean the sealing bars after each use to prevent residue buildup, scrub the chamber with mild soap to remove dirt and oils, and sanitize interior surfaces with a vinegar solution to inhibit mold growth. Make sure to dry all components thoroughly before reassembling to prevent moisture-related issues.
For storage, keep your machine in a cool, dry place below 75°F. Elevate it off the floor to avoid moisture accumulation, and neatly wrap the power cord to prevent tangling. Always close the lid when not in use to shield the chamber from dust and debris. Avoid storing the unit in basements or attics where extreme temperature fluctuations can damage internal parts.
Fix Weak Suction and Leaky Seals Immediately
To fix weak suction and leaky seals promptly, start by inspecting the gasket thoroughly. Remove it, look for cracks or warping, clean away any debris, and ensure it sits flush against the chamber. Address sealing moisture by dryings the sealing strip and chamber completely—never attempt to seal wet bags. Check the vacuum hose for blockages and soak it in vinegar if buildup is present. Test the check valve to confirm there’s unobstructed airflow. Make sure the bag is placed flat and wrinkle-free to ensure a proper seal, and adjust the seal time if you’re sealing thicker bags. Finally, verify the pump oil level and clean the intake filter to maintain optimal operation. If internal components appear suspect, disconnect and reconnect any loose vacuum lines you find during inspection. Following these steps ensures your vacuum sealer regains strong suction and airtight seals immediately.