How to Use a Compost Tumbler
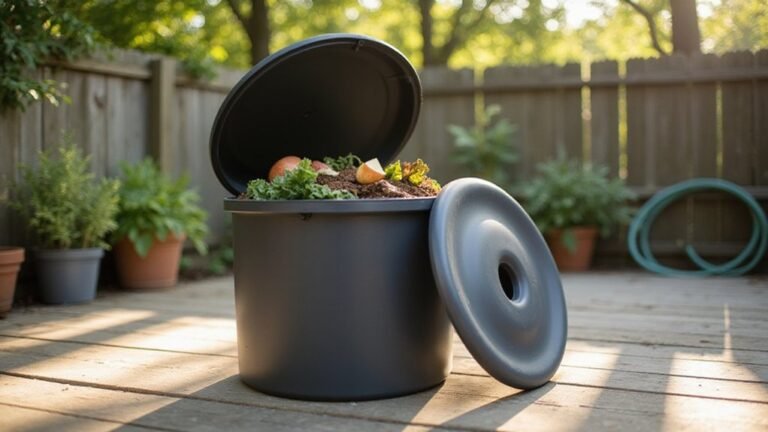
Struggling to turn your kitchen scraps and yard waste into rich compost? Using a tumbler makes the process easier and faster, often producing usable compost in just a few weeks.
By understanding the right mix of materials and how to keep it active, you can turn waste into garden gold efficiently.
Keep reading to learn the simple steps to get your compost tumbler working its best.
How a Compost Tumbler Simplifies Composting
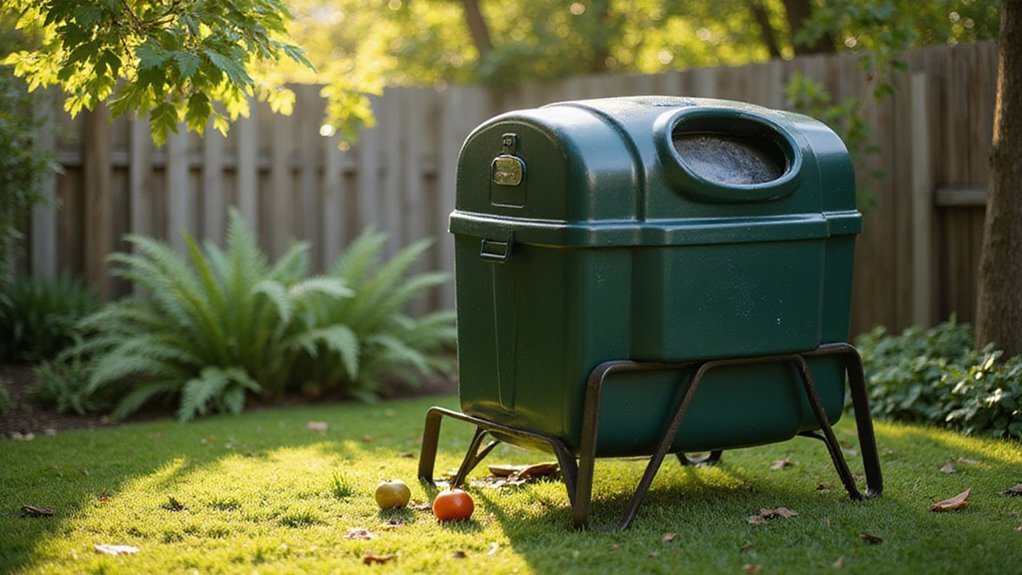
A compost tumbler simplifies composting by making the process faster and more manageable. Because it continuously aerates your pile through regular spinning, it breaks down waste two to three times quicker than a static bin. You can expect full compost maturity in just four to eight weeks. The sealed design also prevents odors and keeps pests like rodents and flies out, dispelling common myths about smelly, pest-ridden compost. Aerobic decomposition minimizes methane emissions, so you avoid the slimy rotting smell associated with anaerobic processes. A well-designed tumbler, similar to a top coop review for chickens, prioritizes ease of access and functional durability. For an even more efficient system, consider adding worms to your compost, as expert reviews on bins highlight how they accelerate breakdown and enrich the final product. For those who enjoy hands-on projects, building your tumbler using a step-by-step build guide can be a rewarding way to customize its features.
To operate a tumbler, you spin it three to five times weekly. This action evenly distributes moisture, creating a sponge-like consistency that promotes efficient decomposition. No heavy lifting or pitchforking is required, making it a low-maintenance option. The enclosed system traps heat, which helps kill weed seeds and pathogens, ensuring your compost is safe and germination-ready. The simple rotation manages both aeration and temperature control, streamlining the entire composting process. Even in small spaces, this design makes composting straightforward, clean, and quick. The two-pocket design allows you to fill one side with waste while the other side finishes composting, creating a continuous cycle of adding and finishing material.
What Materials and Tools You Need for Your Compost Tumbler
To build your compost tumbler, you need a specific set of materials and tools. Use 2×4 and 2×6 lumber for the frame, as their size provides durability and stability. A galvanized metal pipe serves as the axle for smooth rotation. Assemble the barrel with overlapping straps and screws to ensure a secure fit. For drilling holes, use a 1.5-inch spade bit for the axle and a 1/4-inch bit for aeration holes. A set square and measuring tape are essential for precise measurements and alignment. Turning the compost forces fresh air into the mix, supercharging the composting process. For best results, consider the entry hole dimensions when designing access to your barrel, as proper sizing improves usability and maintenance. For a reliable model, consider reviews of the top options to ensure your tumbler design matches the best features available.
Gather compost materials such as kitchen scraps, coffee grounds, grass clippings, raked leaves, and shredded paper. Balancing moisture content with sawdust or straw is important, and adding a handful of dirt introduces beneficial microbes. Safety gear is crucial—wear gloves to protect your hands when cutting timber or handling metal parts. Make sure you select a level area and have clamps available to hold pieces steady during assembly. For optimal aeration, consider the height for roosting bars as a principle for positioning your tumbler to allow easy access and airflow. With these materials and tools, you’re set to start composting efficiently.
Know the Right Ratio of Greens to Browns
The optimal ratio of greens to browns in a compost tumbler is about two to three parts browns (carbon-rich materials) for every one part greens (nitrogen-rich materials). This volume-based approach helps maintain a balanced environment for decomposition, preventing odors and ensuring active composting. Since tumblers lack ground aeration, leaning slightly more toward browns helps regulate moisture and airflow.
Monitor the process with your senses and temperature. A hot, damp pile indicates the right balance, while a foul smell or excessive wetness suggests adding more browns. Conversely, dry and slow material needs more greens to jump-start microbial activity. Adjustments should be quick and based on the compost’s smell, moisture, and heat—your physical indicators are more reliable than strict measurements. For homesteaders seeking a structured method, this aligns with mastering compost layering through clear step-by-step guidance.
Fill Your Compost Tumbler for Best Results
Fill your compost tumbler to about two-thirds full. This ensures there is enough space for air circulation and turning, which are essential for aerobic decomposition. Packing it fully can hinder airflow, leading to foul odors and slowing the composting process. You’ll know it’s full when the material remains below the internal turn bar. Once you reach that point, stop adding new scraps to prevent overfilling. For best results, consider pairing your tumbler with high-quality wide mouth lids to seal your finished compost for storage. Using rot-resistant wood for the base of your tumbler can also extend the life of your setup.
Maintaining proper moisture is also crucial. Aim for a damp sponge consistency—squeeze a handful to check. If it feels dry or crumbly, add water gradually. If it’s soggy, incorporate brown materials like dry leaves to absorb excess moisture. For a more controlled approach, consider integrating a rain barrel to collect water for gradual moistening. Overfilling restricts rotation and heat retention, making composting less efficient. Instead, start a second container for new waste, allowing the first batch to finish without interruption. Adjust the fill level based on your tumbler’s design, but the two-thirds rule remains a reliable guideline.
How Often to Spin Your Compost Tumbler
You should spin your compost tumbler every 2–3 days during the initial two weeks of active decomposition. This frequency encourages microbial activity and helps maintain compost temperatures between 130 and 160 degrees Fahrenheit, which is optimal for breaking down materials quickly. Unlike a pressure canner, a compost tumbler does not seal to build steam pressure but relies on consistent turning for aeration.
Once the chamber is nearly full, reduce turning to once every 1–2 weeks. During the curing stage after peak heating, extend this to every 7–14 days. Adjust the frequency based on environmental conditions: in summer, when temperatures range from 75 to 95 degrees Fahrenheit, turn every 3 days; in winter, when temperatures fall below 50 degrees Fahrenheit, turn every 7 to 10 days to help retain heat.
Each turning session should involve 2 to 8 full rotations to ensure proper aeration. Avoid over-turning, as spinning more than once daily can cool your compost pile and slow down decomposition. For consistent results, establishing a routine of turning twice per week on set days works well.
Check Moisture With the Sponge Test
To check if your compost has the right moisture level, perform the sponge test after opening your compost tumbler and sampling material from 18 to 24 inches deep. Wear gloves and firmly squeeze the sample for several seconds to gauge the moisture. A few drops of water—one or two—indicate the ideal range of 40% to 60% moisture content, which promotes efficient decomposition.
Feel the texture: it should appear damp but not soggy, resembling a water-wrung sponge. If water streams out during squeezing, the compost is over 65% moisture and too wet. Conversely, if no water comes out and the material crumbles easily, it’s below 40% moisture and too dry. To address dryness, add water gradually and mix thoroughly until the material feels like a damp sponge. For excess moisture, blend in dry browns such as leaves or straw, or cover the tumbler during rain to prevent further water intrusion. Mixing the compost well ensures even moisture distribution, maintaining aerobic activity and speeding up the decomposition process. For homesteaders, the compost bin completion time varies but is greatly influenced by maintaining this proper moisture balance.
How to Hit the 130°F Sweet Spot in Your Tumbler
To hit the 130°F sweet spot in your tumbler, you need to manage temperature carefully. The key is to keep the pile active and heated without going beyond that point. After adjusting moisture with the sponge test, focus on maintaining the correct carbon-to-nitrogen ratio by adding 2 parts browns to 1 part greens by weight. This ratio fuels thermophilic bacteria, which generate heat efficiently.
Position your tumbler in a south-facing location to maximize sunlight exposure and insulate it with materials like old carpet or foam to retain heat. Turn the tumbler every 3 to 5 days, but only when the temperature drops below 110-120°F. This cycle prevents the pile from becoming too hot, kills weeds seeds and pathogens, and reduces odor by keeping the compost aerobic.
Adding an inoculant such as compost can jumpstart microbial activity. Keep moisture levels like a wrung-out sponge; if the mixture feels too wet, add more browns like shredded paper or dry leaves. Once the temperature reaches 130°F, microbial activity accelerates, and decomposition speeds up dramatically, breaking down organic matter more quickly.
Why Your Compost Tumbler Isn’t Heating Up and How to Fix It
Your compost tumbler isn’t heating up because of several key factors. First, check your greens-to-browns ratio. Ideally, you want a ratio of 1 part green materials (such as grass clippings or vegetable scraps) to 2 parts brown materials (like dry leaves or straw) by weight. Too much green creates excess moisture and sogginess, which suffocate oxygen flow and reduce heat. For effective aeration, ensure your tumbler has proper drainage holes to prevent waterlogging, as seen in well-designed watering cans.
Next, verify the moisture level. Your compost should feel like a wrung-out sponge—moist but not soaked. If it’s too wet, spread the contents on newspaper or another absorbent surface to dry out. Conversely, if it’s too dry, add dechlorinated water gradually, mixing well.
Ensure your tumbler is at least two-thirds full. Small volumes struggle to generate and maintain high temperatures. Regular turning every three to four days introduces oxygen, keeps microbial activity active, and distributes heat evenly.
Pest prevention is also important. Wet, matted layers attract flies and pests. Maintain aeration and avoid creating dense, moisture-rich layers that invite pests.
Finally, position your tumbler where it can receive full sun exposure, which provides additional warmth. Insulate the tumbler with blankets or foam if needed, especially in cooler weather. To boost microbial activity and heat, add fresh nitrogen-rich materials regularly. Like a rain barrel, keeping your compost in full sun exposure helps provide the warmth needed to accelerate decomposition. Keeping the compost active and warm accelerates decomposition into nutrient-rich soil while deterring pests.
When Is Your Compost Tumbler Ready to Harvest?
Your compost is ready to harvest when it has a dark, rich brown color and a crumbly texture similar to moist soil, not sticky clumps. No visible food scraps should remain, and the volume will have shrunk by about half. A pleasant earthy smell and a room temperature indicate that microbial activity has slowed or stopped. Proper moisture is essential; it should feel like a wrung-out sponge. Regular turning ensures even breakdown by aerating the pile. Stop adding new materials three to four weeks before you plan to harvest to allow it to cure fully. Perform a germination test with quick-growing seeds—poor germination signals that it’s not ready. Avoid sour odors or leftover chunks of food. If all these signs are present, your compost tumbler is ready to use. For storing your finished compost, you might consider top mason glass jars with lids to keep it fresh and dry.