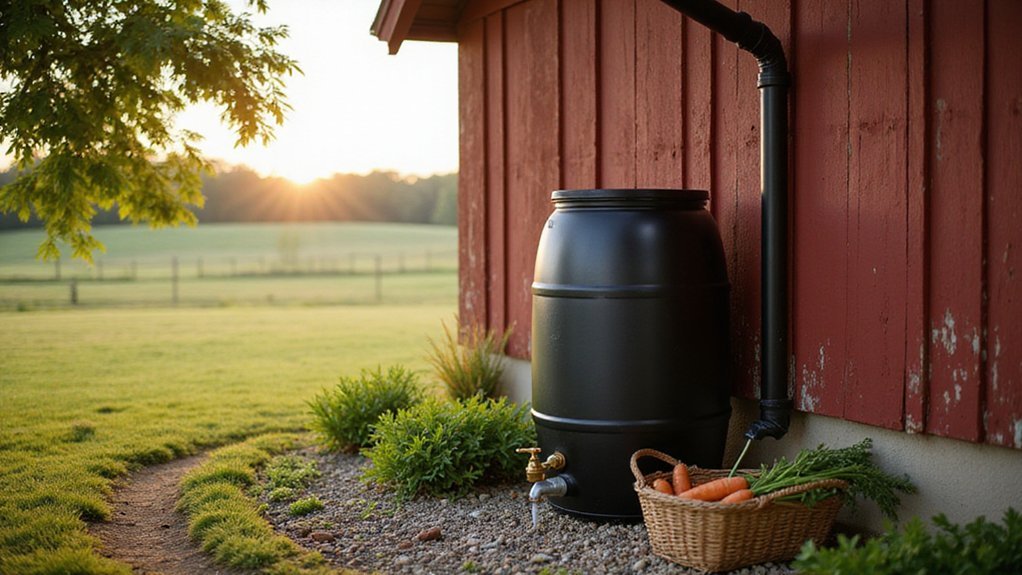
What Is a Rain Barrel for Homesteading?
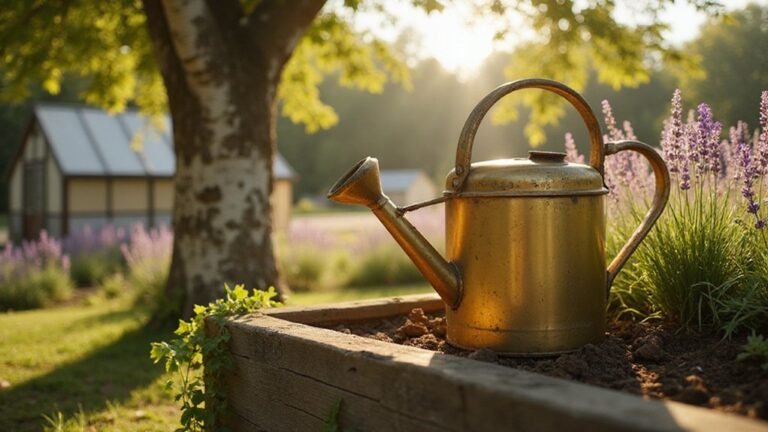
Got a garden that could use a little extra water? A rain barrel might be just what you need, especially since it can save you over 1,000 gallons of tap water each year. It’s a simple way to catch runoff from your roof and turn it into free, eco-friendly irrigation.
Once installed, your barrel can do a lot of the watering work for you, all with just basic equipment.
So What’s a Rain Barrel, and Why Start With One?
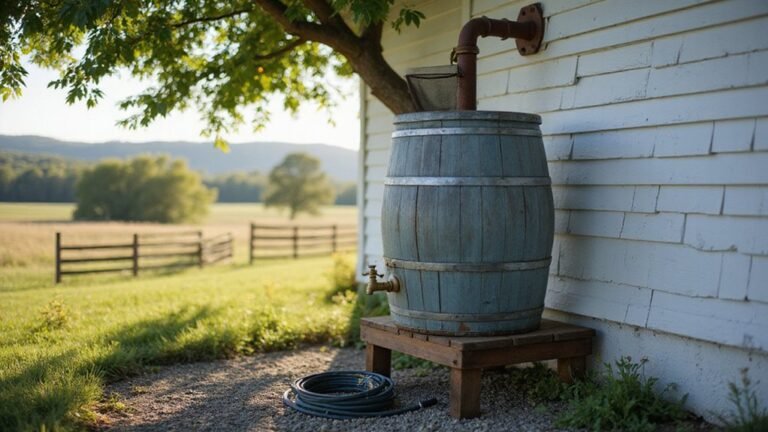
Rain barrel maintenance is essential to keep your system functioning properly. Regularly check the fine screen at the top of the barrel to remove leaves and debris that could clog the system or create breeding grounds for mosquitoes. Inspect the spigot for leaks and ensure the overflow hose directs excess water away from your home’s foundation to prevent water damage. Elevate your barrel on cinder blocks to make the spigot easier to access and to create gravity-fed water flow. Using a rain barrel also helps reduce stormwater runoff, lessening the burden on local drainage systems and supporting water conservation efforts. Similar to selecting the right water storage, choosing the best setup involves comparing the top options reviewed for efficiency and durability. With consistent, simple upkeep, your rain barrel becomes an effective and low-maintenance tool for conserving water around your homestead. For those also raising chickens, a similar commitment to upkeep is vital when choosing the best chicken coops for your flock.
How Gravity Moves Rain From Your Roof Into the Barrel
Gravity naturally moves rainwater from your roof into the barrel when you position it under a downspout. The slope of your gutters directs the flow efficiently, allowing every drop to enter without the need for pumping. Putting the barrel directly in the flow path by cutting the downspout ensures maximum rainfall capture. Elevating the barrel on a sturdy platform increases water pressure; every foot of height adds about 0.43 pounds per square inch, helping water flow through your hose. Using clean gutters prevents debris from blocking the inlet, ensuring a clear harvest of rainwater each time it rains. Incorporating a downspout diverter and first flush filter directs roof runoff while bypassing initial contaminated water. For ideal water pressure, consider that a barrel raised to roosting bar height provides a useful balance of elevation and stability. For a secure setup, attach the barrel to a nearby fence post using zip ties or wire to prevent tipping in strong winds.
3 Ways a Rain Barrel Saves You Money and Water
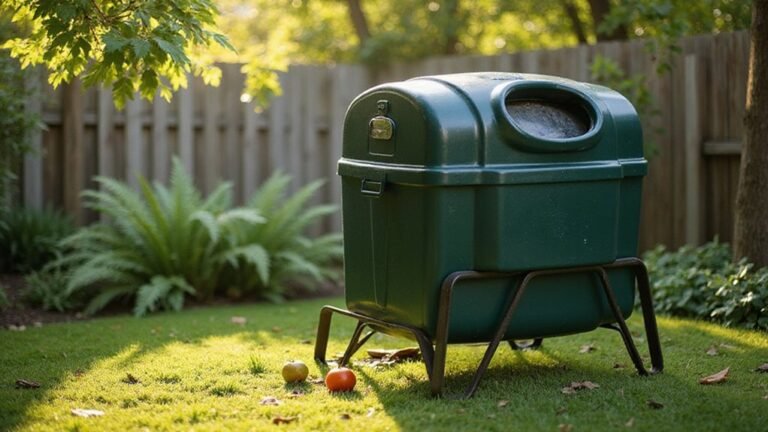
Using a rain barrel can save you over 1,000 gallons of tap water each year. This means you can water your garden, lawn, or wash your car without turning on the hose repeatedly. By collecting rainwater from your roof, you reduce your reliance on treated tap water, which can lower your water bills significantly. Properly maintaining your rain barrel and ensuring effective filtration helps keep your system efficient and maximizes savings all year round. For example, pairing rainwater collection with dehydrated garden produce can create shelf-stable snacks that cut grocery costs even further. For those who also bake, a rain barrel system can benefit from glass storage similar to the best mason jars used for sourdough starters. Combining this practice with a compost bin can further enrich your garden by recycling organic waste into nutrient-rich soil.
Must-Have Parts for a Homestead-Ready Barrel
Using the right parts ensures your rain barrel operates efficiently and safely. Start with a 55-gallon food-grade barrel that is opaque—this prevents algae growth by blocking sunlight. Attach a flexible downspout diverter to direct rainwater into the barrel and install a debris screen at the inlet to keep leaves and dirt out. Near the bottom of the barrel, drill a 1.5-inch hole for a brass spigot, sealing it well with silicone and thread tape to prevent leaks. A sediment filter on the outflow fitting can serve as an initial debris defense against contaminants. Position an overflow hole about 3 inches from the top, and connect a hose to this outlet to divert excess water away from your foundation. Elevate the barrel on cinder blocks or a sturdy platform to improve gravity flow and prevent tipping. For a more tailored approach, consider building a DIY food dehydrator to preserve your garden harvest instead. Secure the barrel with a strap to keep it stable, especially in windy conditions. Place a splash block under the spigot to manage water flow and avoid erosion. Finally, cover the inlet with fine mesh, secured tightly with bungee cords, and regularly clean the screen to maintain a smooth water flow and prevent clogs.
What Size Barrel Does Your Garden Actually Need?
To match your barrel size to your garden’s needs, start by calculating your weekly water demand. For example, a 100-square-foot vegetable garden typically requires 50 to 100 gallons per week. Measure your roof’s catchment area because rainwater harvesting depends on it: a 1,000-square-foot roof can produce about 620 gallons of water per inch of rain.
For small gardens under 50 square feet, a 50-gallon barrel generally suffices. If your garden measures between 100 and 150 square feet, opt for a 100-gallon barrel. When your weekly water needs reach around 100 gallons and rainfall is infrequent—say, every 10 days—you should consider a larger, 200-gallon barrel to ensure consistent irrigation. For optimal results, consider using a top food dehydrator to preserve excess produce from your garden.
Using multiple smaller barrels, like several 50-gallon units, makes maintenance easier compared to one large tank. Always include a 20 percent buffer in your calculations to account for summer demand spikes and storage losses, giving you a reliable water supply without risk of running dry. For a more sustainable homesteading approach, apply this same logic by employing the deep litter method in your chicken coop to naturally manage waste and enrich soil. Additionally, ensuring your chickens have proper nesting box space reduces stress and supports consistent egg production.
Where to Position Your Barrel for Highest Collection
Position your barrel directly beneath the downspout draining the largest roof section for optimal collection. This ensures maximum water capture by directing runoff from the most significant source. Cut the downspout with a hacksaw and attach an elbow so water flows straight into the barrel without splashing or overshooting. Keep wildlife interaction minimal by placing the barrel away from bird feeders or pet areas, since stray animals can contaminate your water supply. To improve aesthetics, hide the barrel behind shrubs or a lattice screen while maintaining easy access for maintenance. Use concrete pavers to ensure the ground is level, and dig a slight dip to promote proper drainage. Placing the barrel near your garden reduces hose length and makes watering more convenient. Additionally, situate it in shade to prevent algae growth. Finally, direct overflow runoff at least six feet from your house foundation to protect your home’s structure.
Install Your Rain Barrel in Under an Hour
To install your rain barrel in under an hour, start by preparing the ground. Level the soil with a tamper to create a stable base. Then, spread a 2-inch layer of gravel for proper drainage, which helps prevent water from pooling around the barrel. Elevate the barrel 8 inches off the ground by placing it on concrete blocks; this height improves water flow and allows easier access to the spigot. Elevating also helps keep rainwater pure by avoiding splash-back from the ground. This design supports a healthy garden ecosystem by providing a steady supply of untreated water for your plants. You can also use a food-grade barrel to ensure no harmful chemicals leach into your water supply. For those who also keep chickens, solar-powered automatic doors can similarly enhance your homestead’s efficiency by securing the coop without daily manual effort. For inspiration on similar creative problem-solving, remember that the film “Chicken Run” was made using stop-motion claymation, a meticulous process that mirrors the careful planning of a homestead project.
Next, gather your tools: a hand saw, drill, tin snips, and pliers. Cut your downspout 3 to 5 inches above the top of the barrel. Attach elbows to the cut end with sheet metal screws, then connect them securely to the downspout with the same screws. Drill a 2 1/8-inch hole in the barrel for the FlexiFit diverter, secure it tightly, and attach the fill hose to the gasket on the barrel’s rim to ensure a water-tight seal.
Install the spigot 3 inches from the bottom of the barrel by caulking both sides of the hole, then tightening it with a lock nut. Attach an overflow hose near the top of the barrel to divert excess water away from your foundation during heavy rains. Finally, cut a lid to size, place a piece of window screen underneath to block debris and insects, and screw the lid back on. This setup can be completed in less than an hour, ready to catch rainwater efficiently.
Quick Checks to Keep Your Barrel Flowing
Regular maintenance is key to keeping your rainwater barrel flowing smoothly. Start by clearing the screen and downspout regularly to prevent debris buildup that can block water flow. Remove visible debris with your hands or a tool, then wash the screen with a hose or soft brush to keep water moving freely. For an airtight seal, ensure your barrel lid uses high-quality mason jar lids that fit securely and resist rust. Consider building a DIY pallet stand to elevate the barrel for better gravity flow and stability. Just as with raised garden beds, using the best soil for your plants will help them thrive alongside your rainwater system.
Inspect the overflow and diverter system every few months. Make sure the overflow line is free of obstructions and that water exits away from your foundation to prevent potential damage. Check the diverter connection points for secure fitting and any signs of wear.
Test for leaks by filling the barrel until it overflows. Observe the spigot, hoses, and connections for drips or cracks. Address leaks promptly to avoid water loss and structural issues. Finally, ensure the discharge area directs water away from structures and does not pool, which can cause erosion or mosquito breeding.
Seasonal maintenance is equally important. Before freezing temperatures arrive, drain the barrel completely, rinse the interior with a hose to remove sediment, and scrub it with a mild bleach solution to prevent mold and algae growth, though you should use only mild dish soap for regular cleanings to avoid harming plants. Store the barrel upside-down in a sheltered location to protect it from the elements and prolong its lifespan. These quick checks will keep your rainwater harvesting system functioning efficiently throughout the year.