Watering Can Hacks for Happy Hens
Ever felt frustrated by messy water spills and dirty hens? Upgrading your watering system with nipple or cup drinkers can make a big difference.
These simple modifications help keep water clean and reduce daily refills, making your flock happier and healthier. Keep reading to learn how to easily transform your watering setup for better hen care.
Why Your Hens Need a Better Watering System
Ensuring your hens have adequate water intake is crucial because dehydration can occur quickly. An adult hen needs between 0.5 and 1.0 liter of water daily, while broilers under heat stress may require up to 1.5 liters. If water consumption falls below 50 percent of these needs, mortality rates can rise significantly. Water quality is equally important; without regular flushing, biofilm can form within 24 hours, obstructing flow and increasing the risk of bacterial growth. Sediment buildup can reduce flow by about 30 percent, making it harder for hens to access clean water. Pollution control is vital—stagnant reservoirs above 20°C encourage the growth of harmful bacteria like E. coli and Salmonella. Algae can clog nipples, and mineral deposits may block drinkers, both impairing water availability. Selecting a proper chicken coop with an integrated watering system can help minimize environmental contamination. Signs of dehydration include dry crops and pale combs, while a sudden 20 percent decrease in egg production can occur within days. Raising drinkers to the right height for roosting bars can further prevent contamination by keeping water sources away from droppings. Regular cleaning, monitoring intake, and preventing biofilm buildup are essential steps to keep your flock healthy and active. Using a durable, rot-resistant wood for your water system’s support structure can prevent mineral buildup and bacterial growth near the drinkers.
Choosing the Right Container for Nipple Waterers
The best containers for nipple waterers are made from food-grade plastic, which prevents harmful chemicals from leaching into the water. Thick-walled, BPA-free buckets offer durability and resist cracking when you screw in the nipples tightly. Other materials like PVC pipe or Tupperware can work if they are explicitly labeled safe for drinking water, but plastic buckets are the most straightforward choice for safety and ease of use. When selecting a bucket, consider the volume relative to wheelbarrow sizes to match your watering routine to your existing heavy-lifting equipment. For keepers seeking specific advantages, some high-quality designs incorporate features found in wood duck nesting boxes to improve stability and water protection. For this reason, many keepers prefer red nipple style waterers for their indoor coop setup to maintain cleanliness and dryness. Additionally, when selecting a container, prioritizing quality and performance can help ensure the watering system functions reliably over time.
For capacity, match the size to your flock’s needs. A small group of five hens needs at least five quarts of water daily. If you have 15 hens, plan for 30 to 45 quarts, and for 21 or more birds, aim for 50 quarts or more. Using a container that fits your flock’s daily water consumption helps prevent frequent refills and keeps your hens well-hydrated. Place the container on a level surface in a shaded location to keep the water cool and discourage bacterial growth. Proper sizing and placement are key to maintaining a healthy, efficient watering system.
How to Install Nipples and Cups on Any Container
To install nipples and cups without leaks or cracks, start by drilling a straight 11/32 inch hole. Leave a 1/8 inch gap between the container wall and the nipple flange to prevent cracking. Wrap the threads with plumber’s tape to ensure a tight seal, and apply silicone sealant under the rubber washer—keeping it clear of the O-ring to avoid interference. Hand-tighten the components until they are about 80% secure, then use a wrench to tighten further until the drip stops. Be careful not to overtighten, as this can cause damage. If installing multiple nipples, space them at least 2 inches apart, and mark the locations with a ruler beforehand for accuracy. This kit includes three horizontal nipples and two autofill cups to provide year-round functionality when paired with a heater. For optimal durability, select a container with thick sidewalls to resist cracking under pressure. Consider materials like galvanized steel which are strong and long-lasting for raised beds. A stable base is also critical to prevent tipping when the container is full.
Drill 1 to 2 small breather holes in the container lid to prevent vacuum buildup during use. Always clean the container thoroughly before installation; use a food-grade container if you plan to offer flavored water to ensure safety. Regular maintenance, including checking for blockages and proper flow, helps prevent leaks and clogs. Once assembled, test the setup with a small amount of water, let any sealant cure for several hours, then fill the container fully and observe for leaks or cracks.
Placing and Hanging Waterers at Hen Height
Placing waterers at hen height ensures easy access and encourages consistent drinking. For adult hens, position waterers so the water level aligns with their back or neck, about 6 to 12 inches above the ground. Nipple waterers should be at beak level, tilted slightly upward at 45 to 55 degrees to facilitate swallowing. Cup rims must match the smallest hen’s back, making it simple for them to dip their beak comfortably. For chicks, start with waterers at eye level, roughly 4 to 6 inches high, and raise them every 2 to 3 days during the first week. By the end of the first month, aim for a height of around 12 inches. Correct waterer height helps prevent strain, encourages drinking, and supports overall hydration. Similarly, vacuum sealer bags can be washed and reused multiple times to reduce waste in the homestead kitchen. Designing the coop with proper nesting boxes can further enhance avian comfort and safety. Adding a raised trellis nearby can also provide shade and perching spots to keep hens comfortable while they drink.
Training Hens to Drink From Cups and Nipples
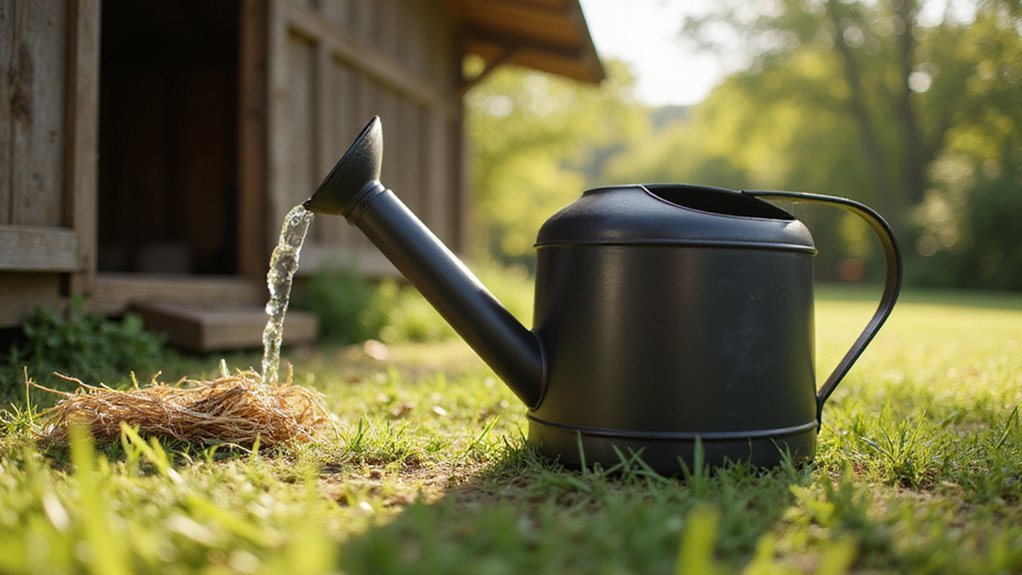
Hens can learn to drink from cups and nipples within a few hours, especially if you follow the right training approach. For cup drinkers, adoption is quick—hens recognize standing water immediately. If a hesitant bird pauses, gently dip her beak into a cup, and she will start drinking. Watching her do it encourages other hens to follow suit. A 1-gallon watering can provides just the right amount of water for a small training pen.
Training nipple drinkers takes longer—usually 2 to 6 hours—but you can speed up the process by leveraging bird curiosity. Tap a nipple to release a few droplets near a confident hen. She will investigate, peck at the droplets, and begin drinking. Other hens observe her and learn by imitation. This method also reduces water spillage because nipples only release water when pecked. You only need to train a few birds, and the rest will follow through observation. Keep old waterers available during the changeover for at least 24 hours to minimize stress. Younger birds tend to adapt more quickly, so let them lead the way. To further speed learning, dampening the nipples initially can help chickens associate them with water more easily. Using a top food dehydrator machine can also dry out treats you offer as rewards during training. For building durable waterer attachments, consider using ventilation-friendly materials from a dehydrator build to prevent moisture damage.
Troubleshooting Common Waterer Problems
Even with proper training, you will encounter some common waterer issues that have simple fixes. If you notice wet litter, your water pressure is probably too high. Reducing it by 1 to 2 psi typically resolves the problem within 24 hours. Leaks are often caused by unsealed joints; addressing these can save up to 4 gallons of water daily in a flock of ten. To ensure an airtight and durable repair, consider using a FoodSaver seal to reinforce cracked fittings or tubing connections. For heavier equipment like a wheelbarrow, a wall mount system offers a practical storage solution. Choosing between equipment like a pressure canner and a water bath involves comparing performance and lifespan.
Regular water line maintenance is crucial. Without high-pressure flushing at least twice weekly, biofilm can develop in just 3 to 5 days. To prevent biofilm buildup, flush lines daily after administering vitamins or medication. Installing a 5 to 10 micron cartridge filter can remove up to 90% of sediment that leads to deposits. Hydrogen peroxide cleaners are effective at eliminating around 95% of bio-layers. Additionally, keep water lines shaded to prevent algae growth. If algae appears, use organic red wine vinegar at a ratio of 1:1000 to kill it within 2 to 3 days.