Making beef jerky at home can seem tricky, but with the right steps, you can turn lean cuts into tasty, dried strips.
Achieving that perfect chewiness involves specific techniques, like slicing the meat thin and controlling dehydration temperatures.
Keep reading for all the tips to get your homemade jerky just right.
Choose the Right Cut of Beef for Beef Jerky
Choosing a lean cut of beef is essential for making quality beef jerky. The best options are eye of round, top round, or bottom round because their fat content stays below 10%, preventing greasy or rancid jerky. These cuts dry evenly due to their fine grain structure, resulting in tender, consistent jerky that doesn’t become tough or stringy. Cuts like sirloin tip or eye of round are also good for flavor because they absorb marinades well and develop an authentic beef taste. For consistent results, using a dehydrator model with adjustable temperature control ensures the meat dries at the ideal heat without cooking. Avoid fatty or coarse-grained meats, as they tend to dry unevenly and spoil quickly. Round cuts are budget-friendly and readily available, making them an ideal choice for most home jerky projects. Picking the right lean cut ensures your final product is tender, flavorful, and shelf-stable. For homesteaders, selecting the right equipment like a durable watering can supports consistent results in kitchen and garden tasks alike. For those interested in waterfowl conservation, similar principles of careful material selection apply when choosing wood duck nesting boxes.
Partially Freeze the Meat for Even, Thin Slicing
Partially freezing meat for 15 to 30 minutes is ideal for thin cuts, while thicker cuts may need up to 3 hours. This duration firms the meat enough to make slicing easier without turning it into an icy block. To test if it’s ready, touch the surface: it should yield slightly under pressure but not feel squishy or solid. Over-freezing makes the meat too hard, risking uneven slices and potential injuries. Using a sharp knife is crucial for clean cuts, much like choosing durable materials for a chicken coop ensures long-lasting results. A properly built coop also requires adequate ventilation to prevent moisture buildup that can harm the flock. If you later plan to store the finished jerky in glass jars, remember to sterilize mason jars beforehand for safe, long-term storage.
Before freezing, trim away excess fat and silver skin for cleaner cuts. Wrap the meat tightly to prevent ice crystals from forming and place it on a parchment-lined tray in a single layer. This promotes even firmness. Once partially frozen, slice against the grain with a sharp chef’s knife using a claw grip to steady the meat. Work swiftly because the meat will soften and warm quickly. If it becomes too warm to cut properly, return it to the freezer for 10 to 15 minutes to re-firm.
Marinate Beef Strips for at Least 6 Hours
Marinate the beef strips for at least 6 hours to ensure maximum flavor infusion and tenderness. This time frame is crucial because it allows the marinade to penetrate every fiber of the meat thoroughly. Use a sealed bag to hold the strips and gently massage it occasionally to promote even coverage. Avoid marinating for less than 6 hours, as this results in bland, tough meat. Marinating beyond 12 hours can lead to a mushy texture, especially when using acidic ingredients like vinegar or citrus. A simple mixture of soy sauce, Worcestershire sauce, and spices works effectively. Place the bag in the fridge and turn it halfway through, so all sides absorb the marinade uniformly. For storing the marinated beef or finished jerky, consider using best ball lids on mason jars to maintain an airtight seal and preserve freshness. Using a garden watering can to rinse the strips before marinating ensures even hydration and removes excess surface moisture. When done correctly, you’ll notice a richer, more balanced flavor that makes your jerky stand out. Homesteaders can benefit from selecting a specialized watering can with a narrow spout to precisely control moisture levels without oversaturating the meat.
Remove Excess Marinade and Dry Strips Before Drying
After marinating, remove the strips from the bag and immediately blot each one with paper towels. Press firmly to absorb any excess marinade liquid, stopping marinade absorption at this point. Ensure you don’t dry the meat completely; the strips should remain damp and pliable, not brittle. Discard the used marinade to prevent cross-contamination or spoilage. Blotting the beef with paper towels is a key step for enhancing dehydration efficiency. A well-ventilated drying environment, similar to what top nesting boxes provide for chickens, ensures consistent results. When choosing equipment for this process, consider that raised garden bed covers promote excellent airflow as well. For optimal airflow in your dehydrator, select materials that mimic the durable and breathable construction of quality garden beds.
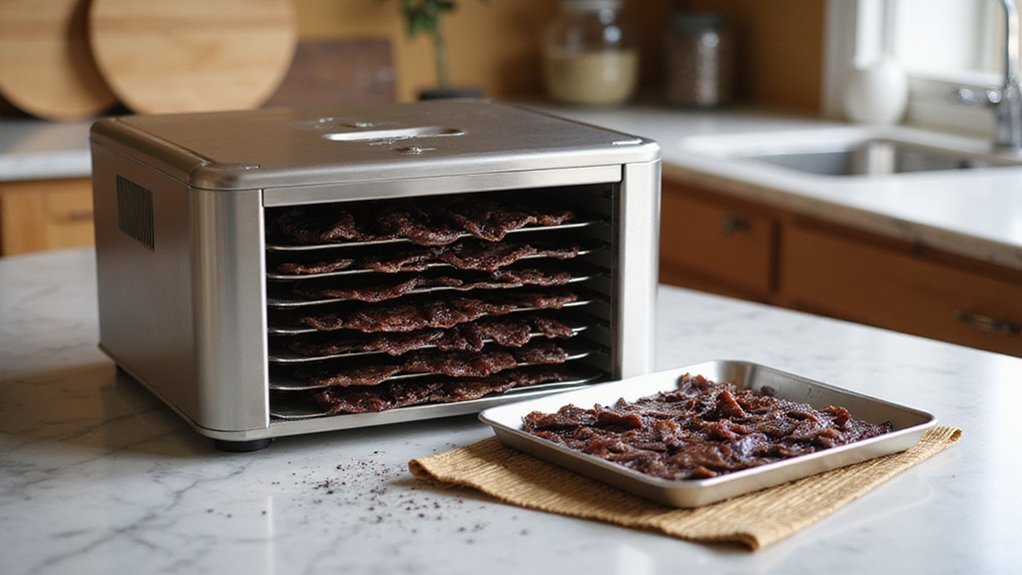
Next, lay the strips in a single layer on your dehydrator trays, leaving at least half an inch of space between each piece. Proper spacing allows for unobstructed airflow, which is essential for even drying. Make sure there are no overlapping strips, as this traps moisture and results in uneven dehydration. Visually check that no liquid pools remain but that the strips are still slightly wet to the touch. Striking this balance speeds up the drying process and preserves flavor quality. Once prepared, you’re ready to initiate the drying cycle.
Dehydrate at 165°F, Then Bend-Test for Doneness
Start by dehydrating at 165°F for the first 3 hours. This initial high temperature quickly reduces moisture on the surface and helps achieve a safe internal temperature of 160°F. After this phase, lower the heat to 145°F to allow gentle, even drying throughout the jerky. Around 4 hours into drying, perform the bend-test. Properly dried jerky should crack when bent but not snap cleanly. Check frequently to avoid over-drying, which makes the jerky brittle and less enjoyable. Using a food thermometer is essential to verify the internal temperature reaches safety standards. For flavor, consider adding cracked pepper or smoked paprika to your marinade. Once your jerky passes the bend-test and reaches the right texture, store it in an airtight container or vacuum-sealed bag. It can last for weeks at room temperature or months refrigerated. Accurate temperature control and the bend-test are your best tools for ensuring the jerky is safe to eat and has the ideal chewy consistency.