How to Choose an Egg Incubator
If you’re trying to hatch eggs successfully, choosing the right incubator can feel overwhelming. Between different styles and features, it’s easy to get lost in the options.
Understanding the key differences, like still-air versus forced-air models, will help you pick the best fit.
Keep reading for tips that will set you up for a better hatch rate.
Still-Air or Forced-Air: Which Incubator Type Wins for Your Setup?
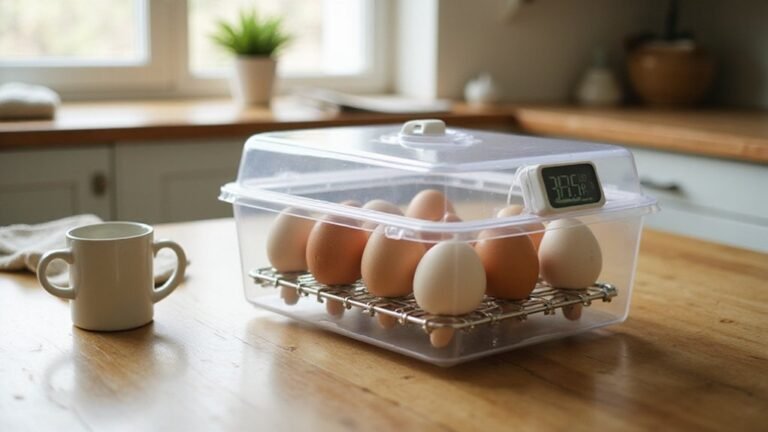
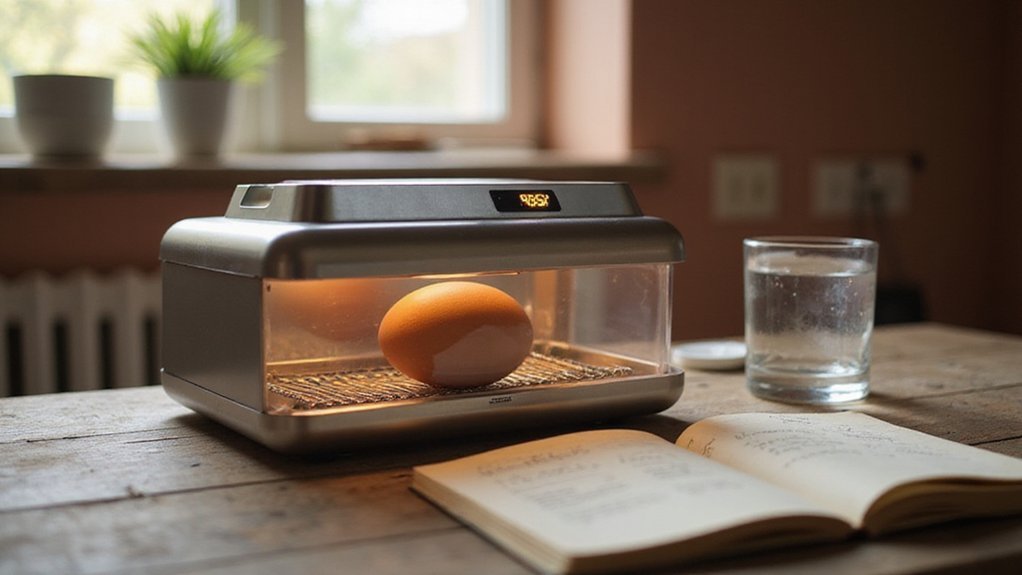
Forced-air incubators generally provide more consistent results for your setup. They keep the temperature steady at around 99.5°F, making egg handling straightforward—just set it and forget it. The built-in fan distributes heat evenly, allowing for flexible placement in your space. Still-air incubators, on the other hand, demand manual monitoring for hot and cold spots. You need to set the thermostat to about 101°F at egg level and regularly rotate eggs during incubation. Still-air models are usually more budget-friendly but can yield lower hatch rates if temperature fluctuations exceed 1°F. For beginners or those seeking low maintenance, forced air offers more stable conditions with less hands-on effort. Remember that after incubation, a reliable chicken coop is essential for raising healthy birds. However, forced-air models increase evaporation rate, requiring more frequent water addition to maintain proper humidity levels during incubation. Keeping proper humidity also prevents eggs from drying out too quickly, which can harm embryo development. Just as with incubators, using the right lids on your mason jars helps maintain consistent internal conditions for other home projects.
How Many Eggs Do You Actually Need to Hatch in an Incubator?
You need to set aside about 10 to 15 percent more eggs than your planned hatch count to account for failures. This margin is essential for any realistic hatch, as not all eggs will be viable. Overloading your incubator beyond its rated capacity hampers airflow and humidity, making maintenance difficult and increasing the risk of poor hatch rates. Choose an incubator that matches your desired number of eggs without overcrowding. Candle the eggs early to identify and remove non-viable ones before they contaminate the rest, ensuring healthier hatch outcomes. For example, if you plan to hatch 10 chicks, set at least 20 eggs to accommodate potential losses comfortably. Ensuring adequate roosting bar height prevents overcrowding and promotes proper airflow within the brooder.
3 Environmental Controls That Make or Break Your Hatch Rate
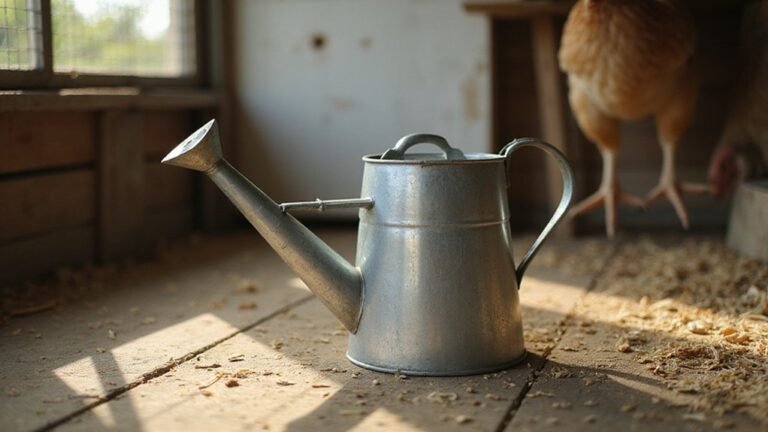
Maintaining the right temperature, humidity, and ventilation is crucial for a high hatch rate. Keep the egg temperature steady between 99.5°F and 100°F in a forced-air incubator. Even a 1°F fluctuation can decrease hatch success, so precise control is essential. Humidity levels should be maintained at 50–60% during the first 18 days, with an egg water loss of about 12–14% of the initial weight to optimize development. During lockdown, increase humidity to 65–70% to ease chicks’ breakout process and prevent shell dryness. Adequate ventilation is equally important; embryos need a constant supply of oxygen and must expel carbon dioxide. Increase airflow in the last third of incubation to meet their rising metabolic needs. For outdoor settings, selecting the right wood duck nesting boxes can similarly protect developing eggs from environmental extremes. Using a galvanized steel watering can, which resists rust and corrosion, can help you consistently provide fresh water to your flock without contamination. Choosing a quality compost bin ensures organic waste decomposition proceeds at an optimal rate, much like a controlled incubator environment. Perfecting these three factors ensures a better environment for embryo growth and increases your chances of a successful hatch.
What Happens When Incubator Temperature or Humidity Goes Wrong?
Fluctuations in humidity can be extremely harmful. Maintaining humidity levels between 40% and 65% is crucial for a healthy hatch. When humidity exceeds 65%, the air cell growth is hindered, causing chicks to drown in excess amniotic fluid. Conversely, dropping below 40% causes air cells to over-expand, dehydrating embryos and increasing the risk of internal bleeding, which can be fatal. For consistent performance during incubation, choose a model with high-quality glass jars to hold water for humidity control. For even heat distribution inside the incubator, consider using a sturdy wire rack to elevate the eggs above the water surface. These conditions often lead to chicks that are undersized, have fragile legs, or fail to hatch altogether. Without steady humidity control, your hatch is at significant risk of failure. For reliable results, consider using a vacuum sealer to store eggs, as consistent freshness is key to maintaining embryo viability.
Red Flags to Watch for Before You Buy an Incubator
Always verify that the incubator comes with comprehensive English-language manuals featuring clear safety warnings and troubleshooting instructions. Be cautious of sellers who do not offer a return policy or do not provide U.S.-based support, as this can indicate a lack of accountability or after-sales service. Claims of a 95 percent or higher hatch rate are often exaggerated and lack scientific proof; if such claims are made, check whether they are supported by third-party audit reports from organizations like BSI or Intertek. Without third-party verification, the quality control of the product remains unconfirmed. Additionally, avoid purchasing from sellers who cannot provide a clear trading address or calibration logs; these omissions suggest potential safety risks and unreliable performance. For context, reviewing best heat options for adult birds can help you understand why incubators require different temperature control standards.