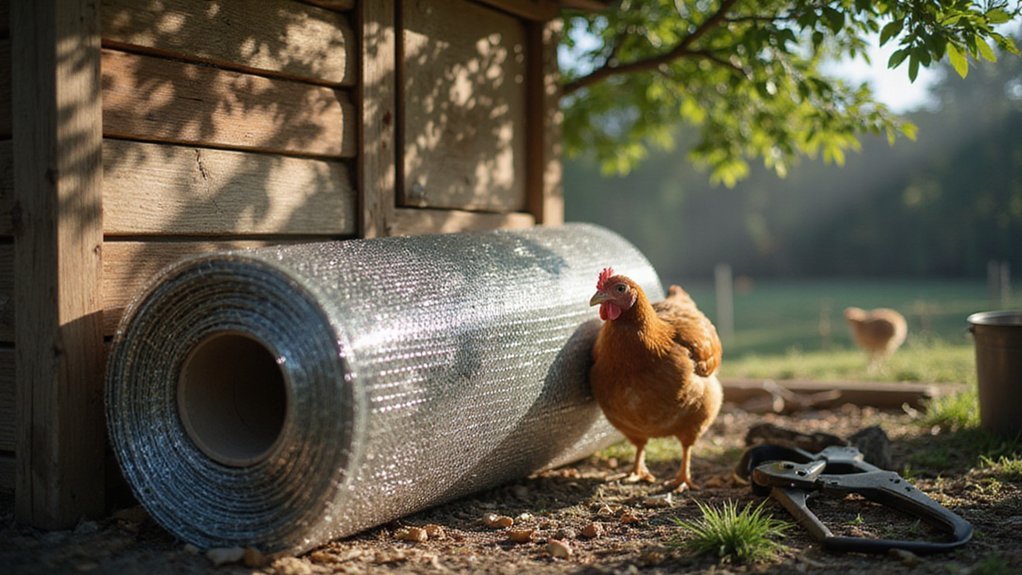
How to Cut Hardware Cloth for Chicken Coops
Wondering how to cut hardware cloth so it fits perfectly in your chicken coop? It’s easier than you might think, and the right tools make all the difference.
With simple steps like measuring carefully and using the right cutting tools, you’ll be able to create a secure, predator-proof coop in no time.
Keep reading to learn the best methods for cutting hardware cloth cleanly and safely, ensuring your chickens stay safe and cozy inside.
Plan Your Hardware Cloth Installation to Fit Your Coop
Before cutting any hardware cloth, you should measure all walls, roof sections, and floors of your coop carefully. Record the exact dimensions for each opening, including doors, windows, and vents. Don’t forget to measure the height of your run walls; this helps you determine the total vertical surface area you need to cover. When cutting sheets, include a 2 to 3-inch overlap at seams to prevent predators from squeezing through gaps. For ground-level security, add a horizontal apron extending 12 to 18 inches away from the coop’s base. Following this detailed measurement plan helps you avoid wasting material, ensures proper ventilation, and keeps your chickens safe from predators. Measure twice, cut once — your chickens’ safety depends on precise planning. To deter predators like coyotes and mountain lions common in Washington State, use quarter-inch hardware cloth for the apron to block underground digging threats. For additional protection, consider selecting a top-rated coop that already features reinforced predator-proof construction.
Use the Right Tools for Cutting Hardware Cloth (Aviation Snips, Angle Grinder)
To cut hardware cloth accurately and efficiently, use either aviation snips or an angle grinder, depending on project size. For smaller, precise cuts, aviation snips are best because they offer control and clean edges. Their compound lever design provides about 20% more cutting power, and offset jaws help reduce hand fatigue. Choose right-cut snips for clockwise curves, while left-cut snips handle counterclockwise curves. These tools are constructed from Cr-V steel for excellent strength and durability. For those also working on strawberry gardens, raised garden beds provide optimal soil conditions and drainage for healthy plant growth. For larger projects, having the best food dehydrators on hand can make preserving your harvest much easier.
For larger jobs where speed matters, an angle grinder with a 40-tooth metal-cutting blade is ideal. It can cut up to 10 feet of hardware cloth in under 30 seconds. To ensure safe and effective cuts, clamp the cloth securely between two boards to prevent vibration. Always wear heavy-duty leather gloves, safety glasses with side shields, a dust mask for metal particulates, and ear protection. Sparks are common during grinding, so work in a fire-resistant area. Don’t forget sturdy work boots with steel toes to protect against sharp edges or falling tools. Your choice of cutting method should match the project size and complexity, so you can work confidently and safely.
Measure and Mark Hardware Cloth With 5–10 Cm Extra Margin
To cut hardware cloth that fits your chicken coop perfectly, start by measuring the perimeter and each panel section with a tape measure. Record dimensions from fixed corners to fixed points to avoid gaps. Accuracy in measurement is critical; double-check every dimension against the actual structure to prevent errors. Identify the cloth type by counting how many holes per inch it has, as a count of five indicates a specific mesh size. For faster results in similar projects, you can apply a step-by-step guide to boost efficiency and avoid wasted material.
Next, add a margin of 5 to 10 centimeters to each side of your recorded measurements. This extra margin helps the cloth wrap securely around the wooden frame, ensuring it covers the thickness of the wood for a flush fit. It also provides enough overlap for staples or tacks to hold the wire firmly in place. For example, similar principles apply when securing wood duck nesting boxes to prevent predator access. When choosing materials for such projects, consider using compostable bags for waste disposal to reduce environmental impact.
Finally, mark your cutting lines clearly using a permanent marker. Align the marker with the measurement plus the extra margin, and use a straightedge to keep the line straight. Make the lines visible against the wire mesh for precise cutting.
Snip in the Middle of Squares to Avoid Jagged Edges
Focusing your snips on the middle of each square instead of at the wire intersections ensures cleaner cuts and prevents jagged edges. This precise technique involves cutting through the center of each square, avoiding the overlap points where wires cross and the metal is compressed. Snip blades glide smoothly through the middle, producing uniform lines without sharp burrs that can snag on soil or gloves. Cutting at a wire intersection causes your tool to jerk unpredictably and leaves protruding ends that can pose safety hazards for your chickens’ skin and feet. Mid-square cuts keep the edges smooth, reducing the risk of injury and rust formation at rough spots. Understanding hardware cloth’s galvanized coating helps explain why avoiding rough edges prevents premature rust. Following this method allows your snips to follow the grid pattern cleanly, making overall assembly safer and faster. Cutting smart from the start prevents sharp points from causing problems later on. For those raising multiple chicks, a best chicken brooder can provide a safe, controlled environment that protects them from jagged wire hazards. When storing your cut panels, plastic mason jars offer a durable, transparent container for organizing small hardware cloth offcuts and fasteners.
Grab an Angle Grinder When Cutting Large Sections Fast
An angle grinder with a thin metal cutoff disc—1mm to 1.6mm thick—is your best tool for cutting large sections quickly. A 4.5-inch grinder, which matches standard arbor sizes, operates at 8,000 to 11,000 RPM, providing the speed needed to cut through wire mesh efficiently. To ensure a straight cut, clamp the mesh securely between two flat boards to prevent spring-back and stabilize the wire. Use only the edge of the disc to follow your line, making sure the grinder is at full speed before making contact. Approach the cut at a right angle, pressing the disc into the metal with steady, controlled passes. Lift the grinder after each pass instead of forcing it through the entire width in one go to maintain accuracy and safety. The cutoff wheel slices through material about 300% faster than traditional snips, saving you time and reducing fatigue on large jobs. Alternatively, a masonry bit on the angle grinder also cuts hardware cloth effectively, using tension from stepping on both sides to produce smooth, clean cuts. For best results, ensure the disc is thin to prevent excessive heat buildup and warping of the mesh during fast cuts. This method supports zero waste goals by avoiding disposable cutting lubricants and using durable, reusable tools. When creating a spooky chicken wire ghost, similar clamping and cutting techniques apply to shaping the mesh without damaging the fragile wire structure.
Wear Gloves and Eye Protection When Cutting Hardware Cloth
Always wear gloves and eye protection before cutting hardware cloth. Heavy-duty leather or cut-resistant gloves rated Level 3 or higher are essential to prevent slicing injuries from sharp wire edges. Choose gloves with buttoned cuffs to keep wire splinters out and avoid gaps. For eye safety, select safety glasses with ANSI Z87.1 rating that feature side shields or wrap-around designs; these protect against high-velocity metal fragments. Adding a face shield offers extra defense and should be used whenever possible. Wear long-sleeved clothing along with gloves to minimize skin exposure. Always inspect your gear before use, replacing torn gloves or cracked lenses immediately. Regular cleaning of your safety equipment maintains clear vision and ensures protection remains effective. Combining gloves and eye protection reduces the primary risks associated with cutting hardware cloth effectively, and using the thinnest cutoff wheel available ensures precise cuts with less effort. These same safety principles apply when handling sterilizing mason jars for canning, as glass breakage can also produce sharp fragments. These jars can also be fitted with lids that create airtight seals, ideal for long-term pantry organization. For those who also compost their organic waste, used coffee grounds can be combined with coffee chaff or sawdust to create a balanced high-nitrogen compost that enriches garden soil.
Secure the First Edge of Your Hardware Cloth With U-Shaped Nails
To secure the top edge of your hardware cloth, start by placing the first U-shaped nail so it straddles a vertical wire near the top strip. This placement provides the best grip, preventing the mesh from pulling away from the frame. Keep the cloth taut and drive the nail flush with the wood, ensuring the mesh remains straight and tight. Use galvanized steel U-nails rated for outdoor use, about 1/8 inch thick, to resist rust and penetrate wood without bending. Hammer the nail deep at a slight downward angle to lock the mesh securely against the frame. Verify that no gaps remain between the nail and the surface. Continue fastening every 4 to 5 inches along the top, making sure each vertical wire is covered for maximum stability. For a durable structure, consider using rot-resistant wood similar to cedar or redwood for the framing. If you are also installing roosting bars, remember that the right height for those bars depends on the breed and size of your chickens, ensuring they can perch comfortably without crowding. For consistent results when preparing dried treats for your flock, consider using a top food dehydrator for quality and performance.
Space Staples or Screws Every 30 to 50 Cm Along the Frame
Space your staples or screws every 30 to 50 cm along the frame to securely lock the mesh in place. This spacing ensures consistent tension across the entire surface and prevents sagging, which is crucial for effective predator protection. For wooden frames, use U-shaped nails or heavy-duty staples with an arrow T50 stapler, and arrange them in a zigzag pattern to avoid warping the wood. When using screws, select #8 or #10 wood screws with fender washers to distribute force evenly and increase the durability of the material. Keep the mesh flat and tight while fastening; any looseness can create gaps that predators might exploit. Check that each fastener sits flush against the frame, and pound down any staples that stick out to prevent cuts. For bunnies, a well-secured coop also benefits from a proper nesting box placed inside the enclosure. Whether you opt for staples or screws, maintaining this 30–50 cm interval along the frame securely anchors the hardware cloth and enhances its resistance against raccoons and other threats without compromising the mesh’s overall strength. For ongoing flock management, consider pairing this sturdy setup with a reliable automatic feeder to simplify daily feeding routines.
Reinforce Hardware Cloth Corners With Wire Ties to Stop Predators
To reinforce hardware cloth corners with wire ties effectively, start by looping heavy-duty zip ties, 8 inches or longer, through the mesh and around the frame studs. Gradually tighten them to achieve the right tension before adding permanent fasteners. At each corner, bend the hardware cloth to an appropriate angle and secure it with iron wires or additional zip ties, ensuring the mesh is firmly locked to the frame. Overlap sheets a few inches and tie them together with hog rings to maintain continuity. For enhanced security, double-layer the corner areas with extra mesh. When securing the top edge, place fasteners every 4 to 6 inches, pulling the mesh taut with a hammer handle. Then, staple in a zigzag pattern every 2 to 3 inches to prevent warping and ensure maximum strength against predators. Hardware cloth offers increased durability against rust and pests when layered in these vulnerable spots.
Bury the Bottom 1–2 Inches to Prevent Digging Under the Coop
Bury the hardware cloth at least 12 inches deep around the entire coop perimeter to prevent predators like foxes and coyotes from digging underneath. For high-risk areas, increase the trench depth to 18 to 24 inches. Extend the bottom of the hardware cloth outward in an L-shape by about 6 inches to create a horizontal barrier that discourages digging. Overlap the sheets by a few inches and secure them with heavy-duty zip-ties to ensure continuous coverage. After placing the cloth, backfill the trench with soil and compact it firmly, avoiding any loose spots. This method creates a predator-resistant underground barrier that helps keep your flock safe.