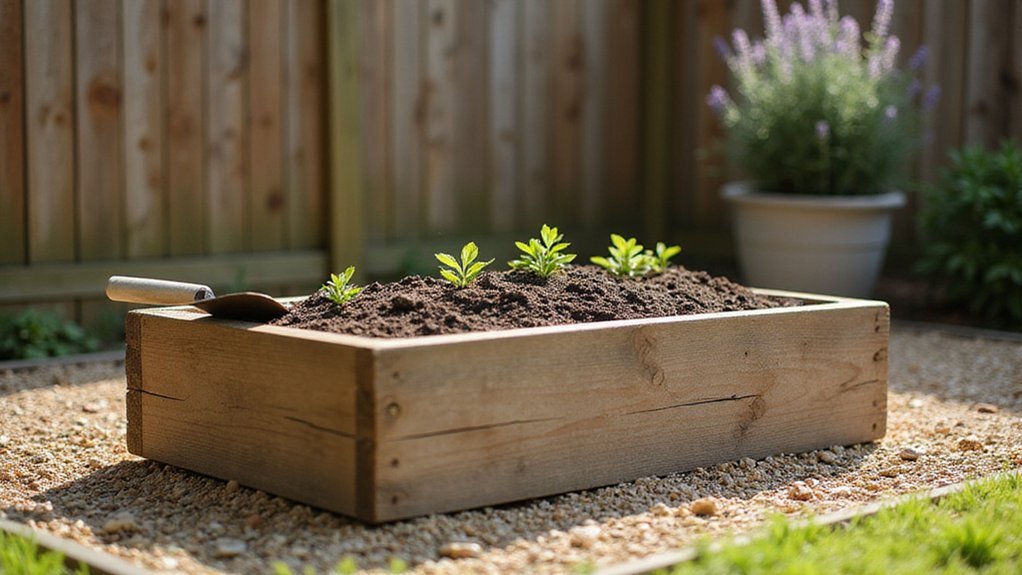
How to Layer a Raised Garden Bed
Building a raised garden bed might seem simple, but getting the layering right can boost your plants’ health and productivity. The key is creating a balanced mix of organic materials that decompose well and provide nutrients over time.
By the end, you’ll know how to prepare a bed that’s both easy to build and ready to grow. Keep reading to see the step-by-step process.
Measure Your Site and Prep for Raised Bed Layers
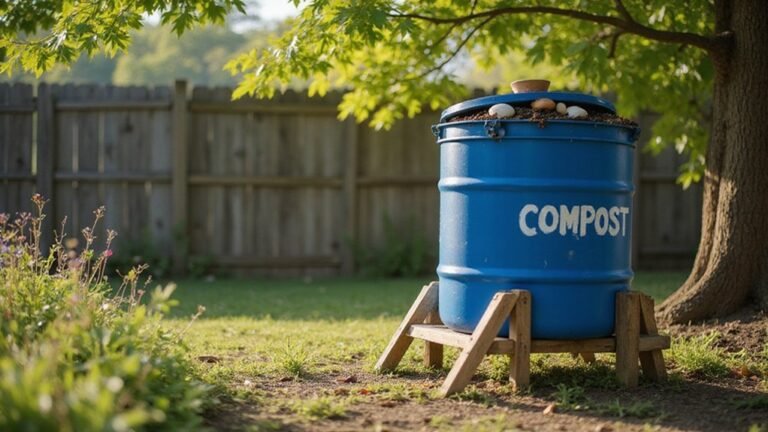
Before building your raised bed, measure your site carefully and prepare the ground for the layers. Aim for a width of 4 feet to allow easy access from all sides, with pathways at least 3 feet wide for comfortable movement. Select a location that receives at least 8 hours of direct sunlight daily and has nearby water access to keep watering simple. Clear all existing vegetation, especially deep-rooted perennials like thistle, removing them manually to prevent regrowth. If you also plan to house chickens nearby, consider the coop material durability recommended in reviews for long-lasting structures. For those also managing compost, choosing a compost bin that matches your yard’s size can simplify waste recycling. Using glass jars with lids can help store harvested seeds or dried herbs in an airtight and durable way.
Don’t skip soil testing; it provides vital insights into nutrient levels and soil pH, helping you determine the necessary amendments for optimal plant growth. Lay down cardboard or wet newspaper over the cleared area to suppress weeds naturally, which also helps prevent soil-borne pests by blocking their habitat. Loosen compacted soil with a garden fork to improve drainage and encourage healthy root development, and ensure the site slopes 1-2% away from buildings for proper water runoff.
Mark pilot holes on your raised bed frame’s corners before assembly. Drilling these first prevents the wood from splitting when you put it together and ensures a clean, sturdy frame. Proper site measurement and thorough preparation set a solid foundation, promoting healthy layers and a thriving garden.
Build the Base With Logs, Branches, and a Weed Barrier
Starting your raised bed with logs, branches, and a weed barrier creates a nutrient-rich and aerated foundation. First, lay uncoated cardboard over the entire ground inside your frame, overlapping edges by at least 4 inches. Wet it thoroughly to prevent shifting in the wind. This layer blocks weeds and decomposes within six months, providing a natural mulch that improves soil health without smothering plant roots.
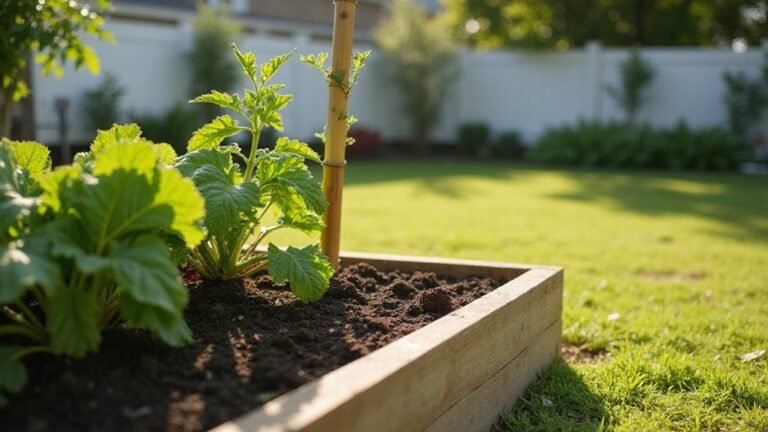
For your Hugelkultur base, position dead logs on the bottom half of the bed for stability and long-lasting support. Stack sticks and branches on top, avoiding any diseased material that could introduce pests or infections. Use only wood chips if your bed is shallow. Fill the organic layer to about 40 to 50 percent of your total bed depth—the remaining space should be soil that remains loose to promote good aeration and root growth. Leave at least six inches of space at the top to add garden soil, ensuring your plants have ample room to grow healthily. Gaps at the bottom are intentionally left for soil fill after the structure is completed, which will further stabilize the logs and improve the base for your Hugelkultur layer.
Layer Carbon and Nitrogen to Feed Your Soil
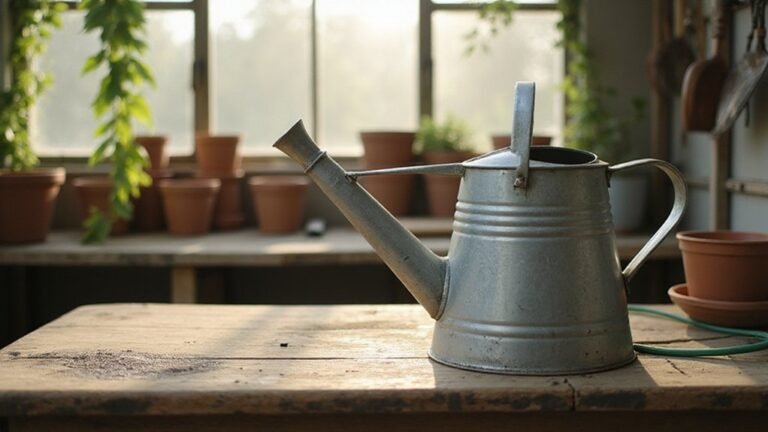
Layering carbon and nitrogen in your compost requires a 2:1 volume ratio of carbon to nitrogen. This ratio maintains dampness—about one water drop squeezed from a handful—without making the pile soggy. For carbon layers, use materials like shredded dry leaves, straw, sawdust, and coarse wood chips at the bottom, keeping these layers 10 to 15 centimeters thick. For homesteaders seeking efficient hydration, consider using the biggest watering can to lightly water each layer. Nitrogen layers should include grass clippings, kitchen scraps, or compost, each approximately 10 centimeters thick. Alternating these layers feeds your soil microbiome, which thrives on organic amendments like well-rotted manure or rock dust. Continue layering until your bed reaches 18 to 36 inches in height, noting that it will shrink as it decomposes. Be sure to lightly water each nitrogen layer before adding the next, maintaining consistent moisture for optimal composting. Avoid using pure compost alone, as it rapidly decomposes into CO₂ and causes the bed to sink, creating a nutrient imbalance that leads to weak plant growth. For additional protection and moisture retention, consider adding a raised garden bed cover over the top during heavy rain or extreme heat. Homesteaders can also follow practical guidance from expert insights to improve their composting techniques.
Mix 60% Compost, 20% Worm Castings, and 20% Coir for the Top Layer
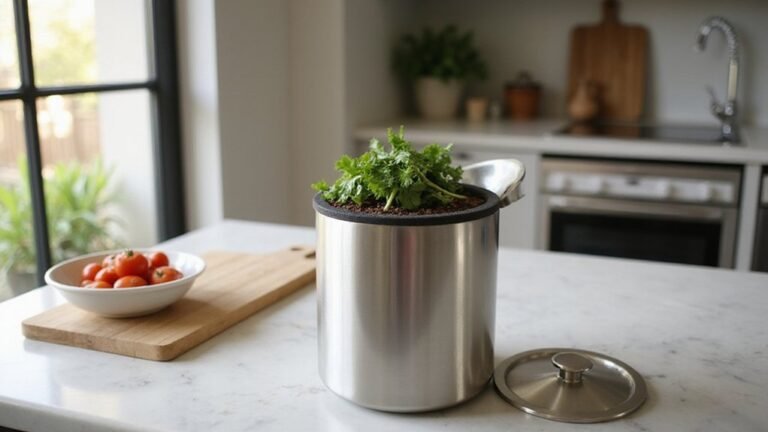
Mix 60% compost, 20% worm castings, and 20% coir for the top layer. This blend significantly enhances soil aeration by balancing water retention with open pore spaces, thanks to the compost’s structure. The coir helps keep everything fluffy, preventing compaction and promoting healthy root growth. This combination also enriches the soil with two effective fertilizers: compost provides slow-release nitrogen, reducing reliance on synthetic fertilizers by up to 40%, and worm castings offer immediate access to nutrients and enzymes that stimulate root development. For extra protection against burrowing pests, lining the bottom of the bed with galvanized hardware cloth can keep rodents from disturbing this rich layer. For homesteaders, adding properly decomposed compost from a starter bin ensures the mix is free of weed seeds and pathogens. Use gloved hands to fluff and thoroughly mix these ingredients without pressing them down. Keep this top layer 3 to 4 inches deep to support strong seedling establishment and vigorous plant growth. Consistently maintaining this depth ensures your plants receive proper aeration and nutrients throughout their early stages. A ceramic watering can planter offers an attractive and practical way to deliver water directly to this critical zone without disturbing the lightweight mix.
Water Each Layer and Let the Bed Rest for 6–8 Weeks
Water each layer thoroughly as you build it to activate decomposition without making the compost soggy. Before adding twigs or wood chips, dampen them lightly; mist shredded cardboard just enough to dampen it, and fluff nitrogen-rich layers after moistening to maintain air spaces. This careful watering encourages microbial activity during the six to eight-week rest period.
Check the temperature weekly and aim for peaks between 105 and 115 degrees Fahrenheit. When the temperature drops below 85 degrees after five weeks, sprinkle one cup of alfalfa meal per four square feet to boost microbial growth. Avoid heavy watering—stick to light misting to prevent nutrient washout. The top layer should darken and crumble easily, not feel sticky or dusty.
You’ll know the compost is ready when it crumbles easily without mold. When probing three inches into the bed, water only if that area feels dry. Keeping moisture steady helps the decomposition process stay consistent, ensuring your bed is well prepared for planting.
Mulch and Maintain for Long-Term Health
Start by removing all weeds, old roots, and debris from the bed to create a clean surface for mulching. Pull weeds completely, including roots, to prevent regrowth beneath the mulch layer. Rake out fallen leaves and old plant material that could harbor pests or disease. If pests are a persistent concern, choosing reflective insulation can also deter rodents and insects in nearby coop structures. Check the drainage by pouring water onto the bed; it should absorb within a few minutes without pooling or runoff. Ensure the soil is well-watered before applying mulch to optimize its effectiveness in retaining moisture.
Apply 2 to 3 inches of organic mulch evenly across the bed, maintaining a distance of 3 to 4 inches from the bases of plants. Keep the mulch 6 inches away from wooden bed frames to help prevent termite infestations and discourage pests. This mulch layer also serves as a wildlife deterrent, making it less attractive to insects and rodents. For long-term garden health, consider pairing this maintenance routine with a vacuum sealer to store leftover seeds and harvested produce with less waste. Weekly, test soil moisture by inserting your finger 2 to 3 inches into the soil. When the mulch appears to thin out to less than 1 inch, refresh it—usually once or twice a year after spring planting. Always ensure the total mulch depth remains under 4 inches to avoid suffocating roots and to allow proper air circulation around plants. Using wide mouth lids on mason jars can help seal preserved garden harvests more securely for winter storage.
Top Off With Compost Each Season to Replenish Nutrients
Applying 1 to 2 inches of compost to your raised garden bed each season is key to maintaining healthy soil. Do this in late winter or early spring before planting and again in early September for cool-weather crops. Spread the compost evenly, leaving a one-inch gap from the rim of the bed to avoid overflow. You do not need to till it in; rainfall will gradually incorporate the nutrients into the soil. This annual top-dressing boosts soil aeration as organic matter decomposes and works its way down. It also promotes beneficial microbial activity, which helps naturally suppress plant diseases. Choose well-rotted manure or certified compost instead of synthetic fertilizers. For extra nutrient density, mix in worm castings or alfalfa meal before spreading. This simple step keeps your soil fertile without the need for full replacements each year. For best results, use a high-quality watering can to apply moisture evenly after top-dressing. If soil has settled significantly over time, adding about four inches of topsoil alongside compost can restore the bed’s full volume and structure. Using a water bath canner is not needed here, but the same principle of gentle, gradual heat application helps evenly distribute moisture. For the raised bed frame itself, durable cedar is the top choice for long-lasting garden structures.