If you’re wondering which flowers thrive best when planted in a watering can, the answer depends on the season and your climate.
Choosing the right blooms can turn a simple container into a colorful focal point. With some attention to timing and pairing with evergreen foliage, your watering can garden can flourish all year round.
Keep reading to discover the top flowers for every season and how to keep them healthy.
How to Prepare Your Watering Can for Planting Flowers
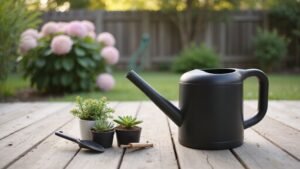
To prepare your watering can for planting flowers, start by selecting the right container. Choose a non-toxic metal, plastic, or glazed ceramic can to ensure it won’t harm your plants. Remove all labels and sticky residues by washing the can with warm, soapy water. Scrub both the inside and outside thoroughly to eliminate dirt and any buildup from previous use. Rinse the can well with clear water to remove all soap residues. Allow it to air dry completely in the sun to prevent moisture issues that could lead to rust or mold. For long-term success, consider choosing a durable coop that protects your flock from predators and harsh weather.
Next, focus on watering can maintenance. Flip the can over and use a heated nail or a 1mm drill bit to create three to five small drainage holes evenly spaced in the base. These holes will help prevent water from pooling and protect your plants’ roots from sitting in excess moisture. Drill an additional hole near the bottom side to facilitate air circulation, helping roots breathe. Before using, test the flow by pouring a cup of water through the can to ensure no clogs are present. For a durable seal, seal connections with M-seal after assembly. Once these steps are complete, your watering can is ready to hold soil and flowers.
Choose the Best Flowers for Your Watering Can by Season
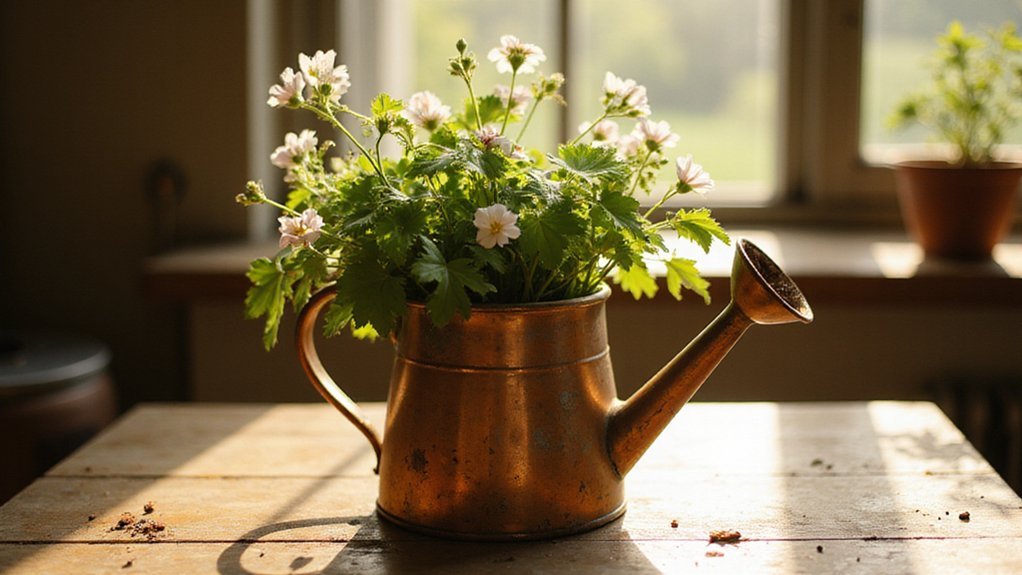
Choosing flowers suited to each season allows you to maximize your watering can’s potential year-round. In spring, plant pansies and violas for cool-weather color; they pair well with primulas in shallow soil. During summer, dwarf marigolds thrive in heat and provide natural pest control, while petunias bloom continuously, offering vibrant display after display. Come fall, snaptadragons and asters add late-season color before the first frost hits. In mild winter zones, cyclamen and winter jasmine can keep your watering can lively. To maintain visual interest year-round, pair these seasonal blooms with evergreen foliage like lavender or coleus. Grouping flowers as companion plants enhances your arrangement, and selecting pest-resistant varieties such as marigolds simplifies upkeep. For optimal nesting success, consider placing your watering can at a height that mimics a wood duck nesting box to attract local cavity-nesting birds. Rotating your plant choices ensures vibrant blooms every season with minimal effort. For sun-drenched summer containers, Lantanas are drought-tolerant and attract hummingbirds and butterflies with their nectar-rich flowers. To further support healthy growth, position your watering can near a secure roosting bar to prevent accidental tipping by curious garden birds. For consistent feeding of your backyard birds, consider using an automatic feeder to reduce daily refills and keep seed dry.
Plant Bulbs in a Watering Can Without Any Soil
To grow bulbs in a watering can without soil, you need to turn the container into a water-retentive vessel. Start by sealing its drainage holes or choosing a narrow-necked can that supports the bulb on the rim. Add a 2-to-3-inch layer of pebbles at the base, then place your bulb upright on top. Pour water until it just touches the basal plate of the bulb. Keep the bulb’s bulbous end dry to prevent drowning bulbs, which leads to bacterial growth and a foul smell. This setup increases indoor humidity as water evaporates, promoting root development. For long-term success, consider using a wide-mouth mason jar to support larger bulbs more securely. To prevent pests and keep the water fresh, change the water every 3 to 4 days and add a small piece of charcoal. Begin the process in a dark, cool spot for about two weeks. Afterward, move the can to a bright, indirect light area. You will see roots grow downward toward the water, creating a striking, soil-free display. For even better moisture control, you can use a vacuum sealing system to remove excess air from the container. Consider lining the pebble layer with hardware cloth to provide additional stability for the bulb’s developing roots.
The Easiest Cuttings to Root in a Watering Can
Start with 4 to 6-inch stems from healthy plants like impatiens or mint. These lengths are ideal for quick root development and easier handling. Choose green, non-woody stems to increase the chances of successful rooting. Focus on nodes—where leaves meet the stem—as these will be the points where roots emerge. Impatiens, for example, thrive in shaded areas and water rooting.
Remove the lower leaves to prevent rotting in the water, but leave the top two leaf sets intact for photosynthesis. Use rainwater or distilled water to avoid impurities that could hinder root growth. A stable temperature and humidity range is also critical for successful rooting, similar to what a high-quality incubator provides. Change the water every 2 to 3 days to keep it fresh and to prevent bacteria or algae from forming. For a more stable setup, consider using a rain barrel stand to elevate your watering can and simplify water collection. Keeping your water vessel clean is as important as choosing the right countertop compost bin for kitchen recycling.
Place your watering can in bright, indirect light and keep room temperatures between 18 and 24 degrees Celsius. To stimulate faster root growth naturally, add a small amount of aloe vera gel to the water. For the best results, stick with herbs like basil, mint, or rosemary, which root rapidly. Check your cuttings weekly; roots are ready to transplant when they reach 2 to 5 centimeters in length.
Avoid These 3 Mistakes That Kill Watering Can Gardens
Overwatering is the most common mistake that kills watering can gardens. Saturated soil blocks oxygen from reaching roots, leading to root rot and plant death. To avoid this, check soil moisture levels with a meter before watering, and only water when the soil is dry a few inches below the surface. Directing water at the base of the plant instead of the foliage helps prevent fungal diseases and leaf damage. Remember, overwatering can drown roots and cause failure in about 90 percent of watering can garden issues. Keeping soil properly moist—neither soggy nor bone dry—is key to healthy, thriving plants. Using a container with proper drainage is essential, such as plastic mason jars designed for airflow. Digging down approximately 10 cm provides a more accurate moisture assessment than relying on surface appearance or gauges. For additional guidance, consult expert tips and guides from experienced homesteaders. Choosing a sealer that creates an airtight seal prevents leaks and maintains consistent soil moisture levels.