DIY Chicken Perch: A Simple Step-by-Step Guide
Building a chicken perch might seem simple, but getting it just right is key to your flock’s comfort and safety.
Choosing the right materials and proper placement can make a big difference in keeping your chickens happy and healthy.
By the end, you’ll know how to craft a sturdy, comfortable perch that fits your coop perfectly and keeps your birds safe from splinters and drafts.
Keep reading for all the step-by-step details.
Why a Good Roost Matters for Bird Health and Safety
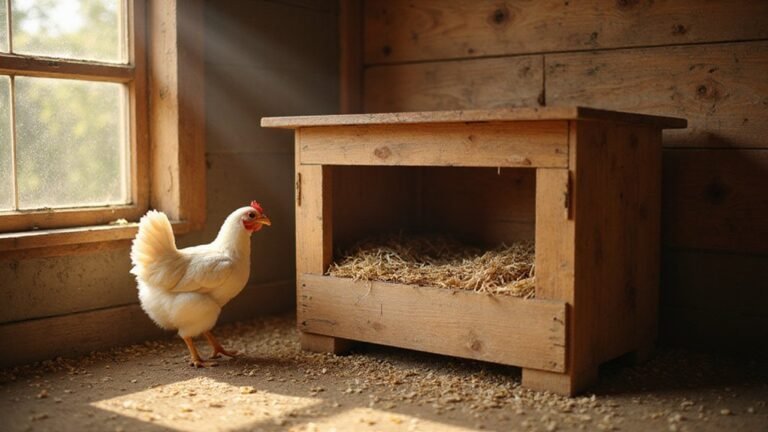
A good roost height is at least 12 inches above your nesting boxes. This prevents chickens from sleeping in the nesting areas, which helps keep the eggs clean and reduces the risk of contamination. Elevating roosts also improves predator prevention because it makes it harder for pests to reach the birds while they sleep. Light breeds like Leghorns can comfortably handle roosts at 4 to 6 feet high, while heavy breeds like Orpingtons need only 2 to 3 feet to prevent leg injuries. Bantams prefer roosts at 18 to 24 inches. Always place the roosts in a quiet, draft-free area to promote good ventilation and avoid respiratory issues. When positioning your coop, consider that like a compost bin, the location should balance sun and shade to avoid extreme temperatures that stress your birds. For hydration, some homesteaders also provide a Jellycat watering can in the run to ensure fresh water is always available. Proper height and placement make the environment more natural for your chickens and help reduce stress and injury risks. For heavy breeds, lower roost heights are essential to prevent leg and foot injuries during landing. Ultimately, choosing the right roost height is key to keeping your flock safe and healthy.
Choosing Safe Perch Materials (and What to Skip)
Wood is the safest choice for chicken perches because it is durable, comfortable, and gentle on your birds’ feet. It maintains a moderate temperature—unlike metal, which can become dangerously cold in winter or scorching hot in summer, risking frostbite or burns. Plastic perches are slippery, preventing chickens from gripping securely and increasing the risk of falls and stress. Choosing smooth, splinter-free wood helps prevent foot infections like bumblefoot and makes cleaning simple; you can scrub it thoroughly without damage. Avoid metal and plastic altogether, as they are hard on feet and can compromise your flock’s comfort. For wood ducks, the design of best wood duck nesting boxes often includes wood as the primary material for similar reasons of safety and durability. For more inspiration, consider reviewing top chicken coops that feature sturdy wooden roosts in their designs.
Selecting Roost Branch Size and Wood Species
Use branches with a diameter of at least 1.5 inches. Thinner branches increase the risk of foot injuries and bumblefoot in chickens. For warmth in cold climates, place flat-side-up branches; in warm climates, natural round branches work best. Commercial perch bars are typically 4 centimeters wide, but your perches should have a minimum thickness of 3/4 inch to ensure stability. For those interested in integrating their perch with a composting system, a compost bin can be conveniently placed beneath the roost to catch droppings. Using a hygrometer in your incubator helps ensure the correct humidity level for successful egg hatching. Consider providing one nesting box for every three to four hens to reduce competition and keep eggs clean.
When selecting wood, avoid pressure-treated pine or any toxic species. Cedar and redwood naturally resist rot but must be untreated to be safe for chickens. Hardwoods like oak provide durability and a smooth surface, which helps reduce splinter risks. Never use PVC or metal perches, as these are too slippery and cold. Always choose untreated, rot-resistant wood to keep your flock safe and comfortable. Oak offers a milder, balanced smoke flavor with lighter coloration when used in smoking, though for perches its durability and smooth surface are the primary benefits.
Cutting and Sanding Your Perch Pieces
To ensure safe and precise perch pieces, start by measuring each chicken’s preferred length, which is typically between 8 and 10 inches. Mark these measurements clearly with a pencil and a speed square to ensure straight, accurate cut lines. Use a miter saw or cordless saw for clean, straight cuts on 2×4 lumber or natural branches. Carefully trim the ends to remove jagged fragments, making the perch both functional and visually appealing. For homesteaders who also garden, repurposing a durable watering can for light-duty tasks can simplify tool storage.
After cutting, thoroughly sand all pieces on all four sides using a power or hand sander. Focus on removing any mill glaze or rough spots that could cause splinters. Use a router or file to smooth out edges, preventing injury. Your goal is a flat, smooth perch that chickens can sleep on comfortably. Before assembly, inspect each piece to ensure there are no splinters or rough textures that could harm your hens. Just as fish filleting requires checking for residual scales and bones, inspect each perch piece for residual scales and bones. For a stable structure that supports your flock’s weight, consider the minimum depth required for your perch lumber to avoid any risk of tipping or breakage.
Build a Basic Ladder Roost
To build a basic ladder roost, start by securing the ladder rails to the coop floor using metal brackets or screws for stability. If the structure can’t hold both ends securely, add support legs to ensure the ladder remains steady. This creates a natural, stable perch area that encourages chickens to rest at night, fulfilling their instinct to seek high, secure places.
Next, install horizontal rungs 12 to 14 inches apart. Cut each rung to about 4 inches wide for comfortable perching. Secure each rung with two screws at both ends to prevent rolling or slipping. Align the rungs at a 45-degree angle to mimic the look of tree branches, which chickens naturally prefer. Laying the flat side of the rung facing up allows chickens to warm their feet and may help prevent frostbite during winter. For precise water delivery to the coop’s plants, consider using a bonsai watering can with a narrow spout. For additional stability, you can attach chicken wire to the t posts to reinforce the structure. A mason jar sealer can create an airtight lid for storing feed or water in the coop.
Fasten each roosting bar with at least two screws per end, ensuring it remains stable and prevents twisting or rocking under the weight of the hens. For a more natural appearance, you can use tree branches for side rails and rungs. Wrap rope diagonally around these branches and tie square knots to secure them. Use guide holes and zip ties where necessary to maintain a tight, secure fit.
Getting the Height and Spacing Exactly Right
To get the height and spacing right for your chicken roost, start by placing perches at least 18 inches off the floor. For heavier breeds, aim for around 12 inches to reduce fall-related injuries. Ensure there is at least 15 inches of vertical space between levels to keep droppings from falling onto hens below. Horizontally, provide each bird with 18 inches of clearance from walls or other perches to prevent crowding. Maintain at least 15 inches of headroom above the highest perch, allowing hens to jump comfortably without bumping their heads. Using a perch covering with a textured grip will keep birds secure during the night. Position roosts higher than nest boxes to discourage overnight squatting, and place them away from drafts for warmer, cozy sleeping conditions. In cold weather, a heated waterer prevents your flock’s water from freezing while they roost. For additional stability, consider using a raised bed garden design to elevate the roost structure off the ground.
Mounting Your Roost to Prevent Accidents
Mounting your roost securely is essential for your flock’s safety. Use sturdy brackets that support the birds’ weight without relying on glue or permanent adhesive. Support depends on gravity and proper balance, so regularly check hardware for shifts or looseness. Using non-permanent fixtures makes removal for cleaning straightforward, helping keep waste off the floor. Place roosts 12 to 18 inches from walls and above nesting boxes to prevent collisions and create optimal space. Proper spacing also improves *coop ventilation*, reducing moisture buildup. A stable perch not only keeps birds safe but also acts as a *predator deterrent*—a wobbly roost might cause startling, making birds vulnerable. When attaching, use pre-drilled screws into 2×4 boards with rounded edges to avoid splintering or injury. For ladder-like setups, ensure the construction is level to minimize stress and injuries from jumping. Regular inspections are vital to ensure all mounts stay secure over time. Additionally, maintaining a clean environment around the roost can be simplified by considering composting worm bins to manage droppings efficiently. Choosing a material like cedar or redwood ensures the roost resists rot and weather damage without harmful chemicals. For an even more convenient cleanup routine, you can store a small kitchen compost bin nearby to collect and recycle soiled bedding materials.
How Much Roost Space Each Chicken Needs
Each chicken needs 8-12 inches of roost space; large breeds like Brahmas require 10-14 inches, while Bantams only need 6-8 inches. Providing this spacing ensures they have enough personal space to roost comfortably without crowding, which can disrupt their behavior and increase stress. For standard-size chickens, using 10 inches per bird is a good general rule, whereas larger dual-purpose breeds should be allotted around 12 inches. Remember that feather density and patterns influence how close they prefer to sit; fluffier birds may need slightly more space. For moving heavy loads of roost materials, consider using a wheelbarrow with handles for easier transport. A food dehydrator can also be used to make perfect fruit leather as a healthy treat for your flock.
To calculate total roost length, multiply your flock size by the per-bird requirement. For example, if you have 10 standard hens, you need at least 100 inches of roost space, or about 8.3 feet. Always consider breed size: heavy breeds such as Orpingtons benefit from a lower roost height—under 4 feet—to make access easier. Proper spacing prevents overcrowding, which can interfere with foraging behaviors and cause stress, ultimately promoting healthier, happier chickens.
Quick Maintenance Checks for Long-Term Safety
Performing regular maintenance checks is essential for ensuring your chicken perch remains safe and functional over time. Scrape droppings daily to prevent parasite buildup and keep the perch hygienic. Use a vinegar-water solution weekly to clean the surface thoroughly and remove grime. Inspect the perch design weekly for splinters or cracks; use a mild detergent to scrub stubborn dirt and maintain smooth edges. Check brackets and screws monthly to ensure they are secure and not wobbling, tightening or replacing any loose fittings. Confirm that the perch ends are not sharp to prevent injuries. Maintain headroom above 30 centimeters and keep spacing between perches at 30 to 40 centimeters to prevent overcrowding. Regularly observe your chickens’ feet for sores or scabs and inspect vents for mite eggs. Ensuring your setup is firm and stable minimizes injury risks. Staying consistent with these maintenance routines helps catch issues early and keeps your chickens safe for the long term.
Upgrading With Trellises, Window Frames, and Grids
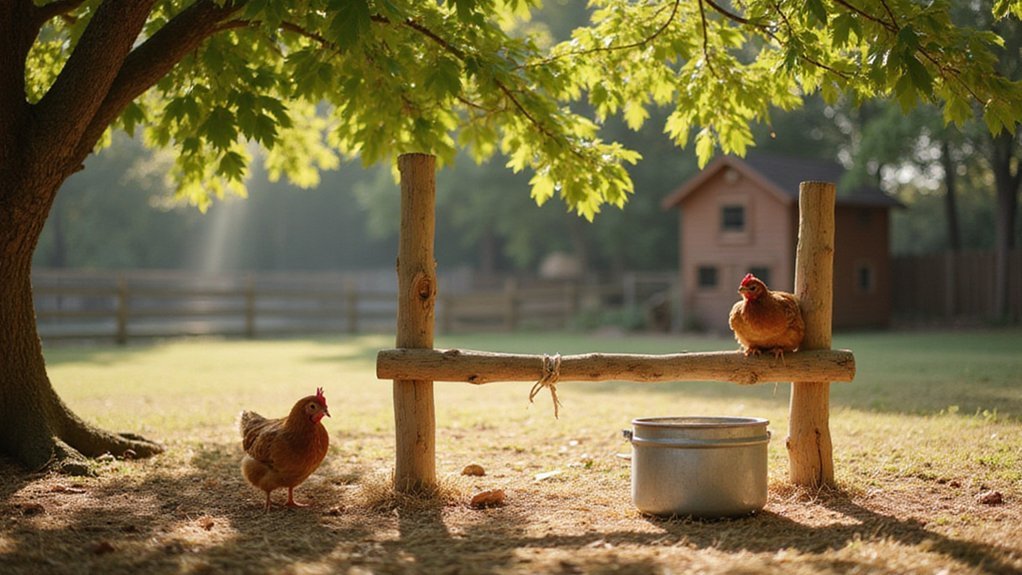
To upgrade perches and create more vertical space, lean a garden trellis against your henhouse wall to allow multi-level climbing. Bury thick post ends three to four inches deep to ensure perch stability. Tightly weave chicken wire around sticks every inch to form a grid structure, which helps your flock spread out and reduces competition. Use recycled bamboo or treated wood for durability, and sand sharp spots to prevent injury. Applying tea tree oil around the perches can also help deter insects.
Discarded window frames can serve as excellent roosts too. Remove the glass, then securely mount the frames to the wall or ceiling using ropes or chains. Keep the frames level to prevent foot strain, and stagger them vertically with at least 15 inches of space between levels. Flat, rigid surfaces provide comfortable balance for flat-footed roosting, offering an effective way to increase vertical space safely. For enhanced natural light and ventilation, clear plastic sheets can be installed on the roof to maximize sunlight, benefiting the feed area and roost.