Garbage Can Chicken Feeder: DIY Guide
Wondering how to cut feed waste and save money while keeping chickens happy? Building a simple yet durable garbage can chicken feeder for under $50 can help you do just that.
It reduces waste by up to 40% and needs refills only every few months. It’s an easy project that makes managing your flock more efficient. Keep reading for the full step-by-step instructions.
Why Build a Garbage Can Chicken Feeder?
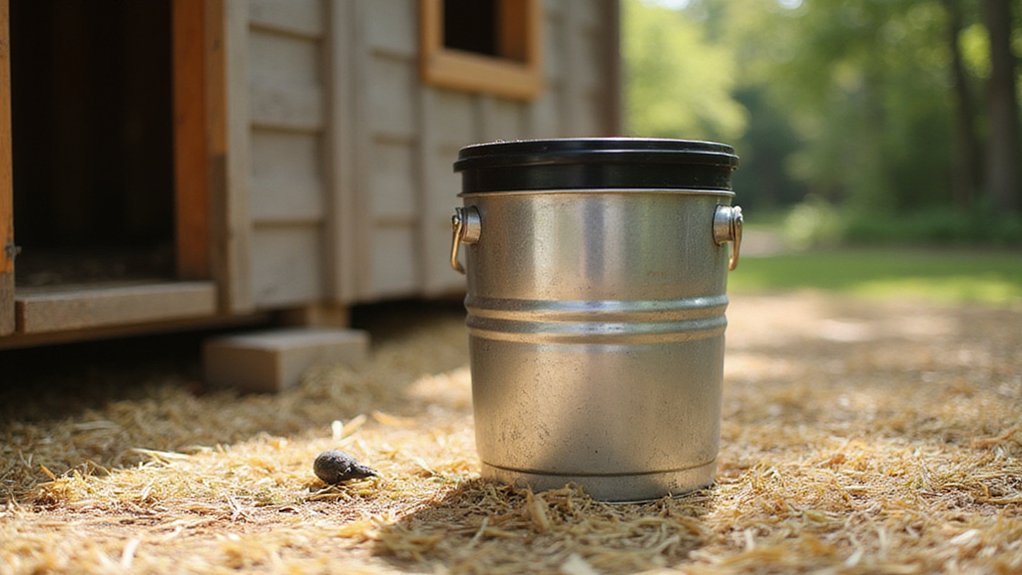
Building a garbage can chicken feeder is a cost-effective and practical solution. By repurposing a standard 30-gallon galvanized or plastic can, you can keep the entire project under $50—significantly less than the $150 or more you’d pay for commercial options. Using PVC elbows for the feed flow, you save over $100 annually in replacement costs. This simple design minimizes feed waste by up to 40% with its gravity-fed system, reducing daily grain loss to less than half a pound and saving you about $30 to $50 each year. The system achieves a fill and forget approach by storing all feed within the feeder, allowing refills every few months. Placement of the elbows is crucial: position them 1 to 2 inches above the can’s bottom to maintain a steady flow without clogging. Secure the lid tightly with snaps to prevent predators from accessing the feed and to keep your flock safe. The can’s durability means it can withstand harsh weather conditions for five to ten years, especially if you seal all joints to prevent mold and leaks. Assembly takes just one to two hours with basic tools, making it accessible even if you have limited DIY experience. For optimal durability, consider sealing all seams and edges with a weather-resistant silicone caulk to match the longevity of commercial heated waterer designs. If you are also shopping for a more traditional housing solution, consider the top picks reviewed for complete coops that best suit your flock’s needs.
What You’ll Need to Build Your Garbage Can Feeder
To build your own garbage can chicken feeder, you’ll need a 32-gallon Brute Rubbermaid trash can. This size is ideal because it can hold up to 600 pounds of feed without collapsing, ensuring durability and ample supply for your flock. Prioritize a tight-fitting lid to prevent moisture from compromising the feed. For the ports, choose galvanized metal or plastic options between 20 and 45 gallons, with 95-millimeter hole saws for precise cuts. Mark six evenly spaced points around the can’s circumference for the ports to ensure uniform feed distribution. Ensure holes are spaced to allow ample food flow for chickens for natural feeding. For maximum stability, consider using a raised garden bed frame to elevate the can and prevent tipping. Using a pressure canner for other homestead tasks can waste significant water and energy if not managed carefully. When choosing the final elevation, ensure the ports are set at roosting bar height to align with your chickens’ natural perching preferences.
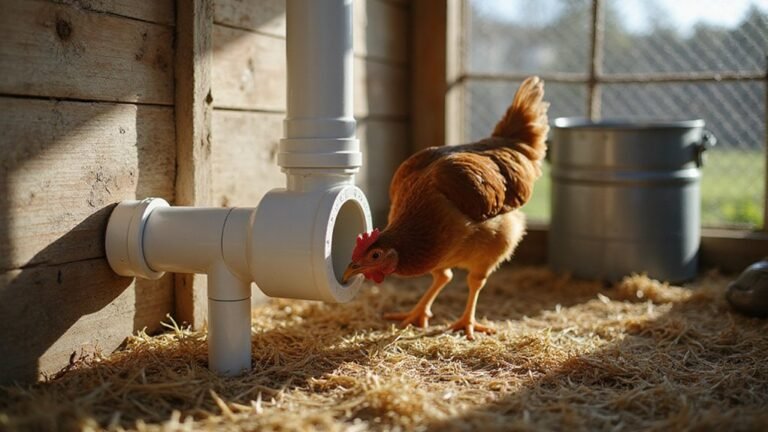
Use three-inch PVC elbows with 90-degree bends for each port, creating an accessible feeding outlet. Seal each port with pre-drilled silicone gaskets against water intrusion, applying exterior silicone caulk—preferably uranium-free—to secure the edges against leaks. When drilling, use a one-inch drill for pilot holes and a utility knife to trim any excess material. For layout, a marker will help you accurately position the ports before drilling. Set the assembled can on concrete slabs for elevation, positioning it so that the feeding flow remains at head height level for your chickens, which encourages natural feeding behavior and reduces waste.
Measure, Cut, and Install Feed Ports on Your Feeder
To measure, cut, and install feed ports on your feeder, start by marking the locations 4 to 6 inches above the container’s bottom. Use a 95mm hole saw and a power drill to make precise holes, driving slowly to prevent cracking the plastic. For proper spacing, keep 10 inches between ports on large garbage cans and adjust to 6 inches on smaller buckets. The container’s size determines the number of ports: a 60-inch circumference container requires four ports, while a 5-gallon bucket needs three. However, for a 55-gallon barrel, mark eight spots 8¾ inches apart using a 75 mm hole saw with a string and tape measure for accurate alignment. Choosing one of the best chicken brooders will ensure your setup provides optimal warmth and safety for young birds.
Once marked, cut the holes carefully and insert each feed port with the rubber seal facing outward and the bushing facing inward. Ensure the feeding hole faces downward to promote gravity flow. Hand-tighten the retainer nut to secure each port firmly, then trim any sharp edges with sandpaper to protect your chickens from cuts. Confirm that all ports are aligned vertically and leave a gap of 1 to 2 inches between the bottom of the container and the elbow for smooth feed release.
Waterproof and Elevate Your Feeder for Dry Feed
To waterproof and elevate your feeder for dry feed, start by applying marine-grade sealant to all rims and joints. This creates a continuous moisture barrier that prevents water from seeping in and turning feed soggy. Use multiple coats, allowing each layer to dry completely before applying the next. This process improves the feeder’s appearance and enhances its durability over time. For similar weatherproofing, a 1-gallon watering can offers a convenient, portable option for precisely watering garden beds without waste. For a similar weatherproof solution, the PVC Chicken Feeder is crafted from waterproof, anti-aging PVC material to ensure long-lasting performance outdoors. For additional durability, treated lumber is a popular choice for raised garden beds due to its resistance to rot and insects. For an evenly heated alternative during cold months, some chicken keepers prefer electric radiant heaters for their safety and efficiency.
Next, raise your feeder to chicken head height, typically 6 to 10 inches, by placing it on cinder blocks. Elevating it prevents moisture wicking from the soil, keeping feed dry. For a cost-effective upgrade, marine-grade sealant and cinder blocks are inexpensive solutions that save you money by reducing feed waste. Additionally, drill drainage holes 4 to 5 inches above the bottom of the feeder, spaced about 8 to 9 inches apart. Make sure to deburr the edges of the holes to prevent injuries and ensure proper drainage.
Securely hang or mount the feeder using appropriate hardware to keep it stable and protected from tipping or wind. Proper elevation and waterproofing together help you maintain dry, fresh feed and extend the lifespan of your feeder.
Keep Mice Out With Proper Feeder Elevation
Elevating your feeder 12 to 18 inches above the ground effectively keeps mice out. Mice struggle to climb vertical surfaces higher than 18 inches unless they have a rough texture. By raising the feeder within this height range, you eliminate their easy access and prevent them from using debris on the ground as climbing aids. Use smooth, non-porous materials like galvanized steel for supports to ensure rodent-proof stability. Proper elevation also blocks potential nesting sites and hidden pathways near the feed, reducing dampness that attracts pests. Additionally, concentrating mouse activity at ground level improves trap placement and effectiveness. Spills are less likely to accumulate near walls, limiting hidden food sources. Always verify that the supports remain secure and free of gaps, as this enhances the seal around the feeder and prevents mice from breaching your defenses. Consider using elevated rain barrel stands to keep the feeder supports off damp ground, further reducing pest-friendly conditions.
Maintain Your Garbage Can Feeder for Fresh Feed
Regular cleaning and maintenance are essential to keep your garbage can feeder functioning effectively. Empty it completely before scrubbing all surfaces with warm, soapy water, focusing on corners and elbow openings where grime can accumulate. Rinse thoroughly and allow it to dry in a well-ventilated area before refilling. Inspect for cracks, dents, or degraded seals—any damage should prompt immediate replacement to prevent structural failure. Elevate the feeder off the ground and ensure the lid is sealed tightly to keep pests out. A key design feature uses four 3-inch pipe fittings that lock into the can’s lip, ensuring they stay secure during use. For a comparable approach to waste management, consider how compost bin selection involves similar structural considerations to prevent pest intrusion and material degradation. For those who prefer a more portable feeding solution, mason jars for salads offer a convenient way to portion and store dry feed. Using hardware cloth as a bottom screen can also deter rodents from chewing through the feeder base.
Look out for early signs of wear, especially if the feeder is made of galvanized steel or plastic. Galvanized steel requires rust checks, while plastic should be monitored for sun damage. Smell the feed regularly; discard any moldy or foul-smelling portions and rotate stock to use older supplies first. When storing the feeder in between uses, keep it in a cool, dry location and slightly vented to prevent moisture buildup, which can lead to spoilage. Proper maintenance prolongs the lifespan of your feeder and keeps feed fresh and safe for consumption.