Elephant Watering Can: Homestead Hydration Hack?
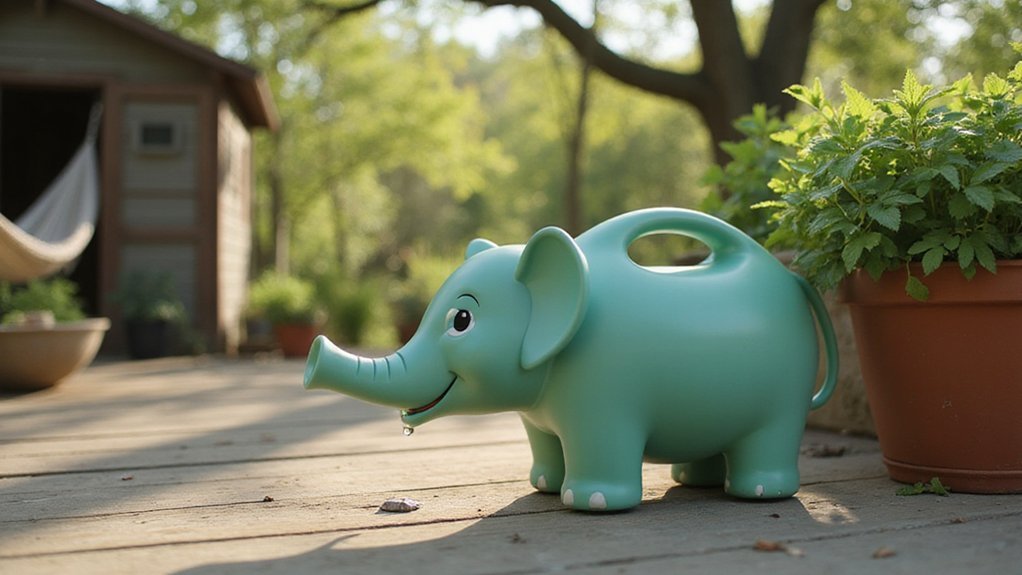
Wondering how to water your plants without overdoing it? A simple, DIY watering can—shaped like an elephant—can make watering easier and more charming. Made from basic materials like milk jugs and craft foam, it delivers a gentle, rain-like stream that helps prevent root rot.
Keep reading to see how you can create your own eco-friendly watering helper.
How to Build an Elephant Watering Can From Milk Jugs
To build an elephant watering can from milk jugs, start by cutting the trunk and body from a clean, empty gallon jug. Use used jugs from your recycling for materials. Safety is key—use sharp scissors or a craft knife on a stable surface, keeping your hands away from the blade. Cut the handle just below the base to form the trunk. Remove the bottom half of the jug to separate the body. Leave small arches on each side of the handle area to shape the legs. Extend your cut slightly below where the handle attaches to ensure the trunk fits securely. Discard or repurpose the lower half for later steps. After gluing on the ears, use tape until dry to secure them in place. To make the legs, cut semi-circles from the remaining sides for the front legs and slit the back corner for the hind legs. Keep the loops intact so your elephant can stand upright. Symmetry is important to maintain balance. For a more durable watering solution, consider using raised bed gardens instead of repurposed plastic. A DIY food dehydrator can also be built with recycled plastic jugs for preserving garden harvests. For a reliable hydration setup, adapt the same milk jug to function as a heated chicken waterer by insulating the base to prevent freezing.
Customize Your Waterer With Paint, Ears, and Googly Eyes
Cut elephant ears from craft foam using a template, then hot glue them symmetrically to the sides of your waterer. For a more lifelike look, attach googly eyes with hot glue, placing slightly larger foam circles behind them to create depth and dimension. These foam pieces hold securely with either wood glue or hot glue, ensuring they won’t sag over time. Once the eyes are in place, your elephant will have plenty of personality, and you’re ready to move on to attaching the trunk. For a cohesive, vintage appearance, ensure the elephant watering can’s paint color closely matches the can’s original color before applying adhesive or decorative elements. Consider pairing your creation with a raised garden bed that includes compost for optimal plant hydration and soil quality. For best results, choose a galvanized steel watering can that resists rust and provides durable support for your craft additions. For lasting outdoor use, position your elephant near a secure nesting box to attract beneficial wildlife to your garden.
Use Your Elephant Watering Can on Indoor and Outdoor Plants
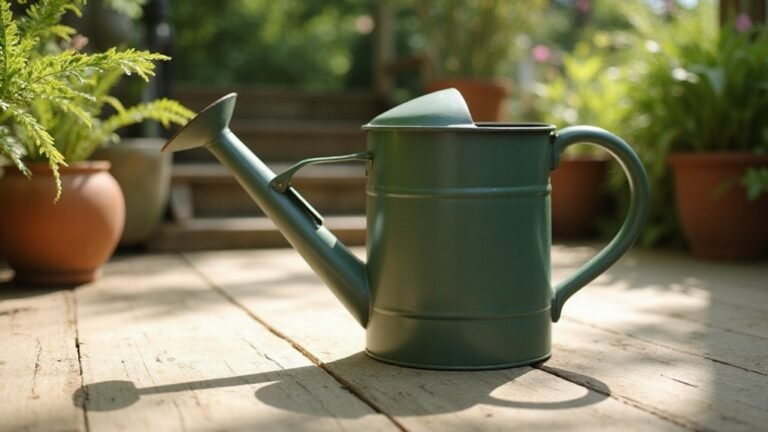
Your elephant watering can works well for both indoor and outdoor plants. Its compact size fits easily into small indoor spaces, making it perfect for plants on shelves or windowsills. Outdoors, its durable plastic or metal construction withstands weather, suitable for patio planters or balcony gardens. The can is made in the USA, ensuring reliable quality for long-lasting use. For outdoor setups, you might consider pairing it with a well-ventilated coop to protect nearby plants from roaming chickens. Homesteaders appreciate durable watering can designs that resist rust and cracking over many seasons. Those who preserve homegrown produce may also find the concept of water bath canning useful for storing excess vegetables without a pressure canner.
The elongated spout delivers a slow, steady stream that mimics natural rainfall. This controlled flow prevents water from pooling around roots, which is especially important for indoor plants with limited air circulation. By adjusting your watering frequency based on each plant’s soil absorption, you can avoid issues like root rot. Its even distribution ensures your herbs and flowers stay healthy without wasteful runoff.
How the Elephant Waterer’s Trunk Prevents Overwatering
The elephant waterer’s trunk prevents overwatering by mimicking the biological mechanisms of an elephant’s trunk and nostrils. It uses a muscular bellows-like system to create precise suction, allowing you to hold water without spilling. The device features a volume expansion of about 64%, similar to how an elephant’s nostrils dilate to increase airflow capacity. This expansion helps maximize water control, ensuring you can precisely water plants without excess. The design also includes a nostril closure at the tip, which blocks unintentional water discharge and prevents spilling. During drinking, an elephant uses valve control to close its breathing passages, ensuring no water enters the lungs while it sucks water into the trunk. For homesteaders looking to preserve meat using similar precision, pressure canner techniques ensure safe long-term storage without waste. Proper roosting bar placement at an appropriate height also supports the natural perching instincts and health of your flock.
A key feature is the valvular anatomy inspired by an elephant’s epiglottis-like valve. This valve stops water from flowing unless you actively squeeze the bellows, giving you control over when water is released. Airflow dynamics are crucial: exhaling creates a directed jet of water, not a flood, helping you water each plant accurately. This natural biology-inspired approach keeps your soil healthy by delivering just the right amount of water without overwatering. For homesteaders seeking the same precision, the Fiskars nozzle offers a similar controlled flow through ergonomic trigger design.
Troubleshooting: Fix Flow Issues and Prevent Leaks
To ensure your Elephant Watering Can flows smoothly and avoids leaks, focus on three key areas: flow regulation, seal integrity, and spout maintenance. Start by checking the air intake vents at the base. If they’re blocked, you’ll experience glugging and splashing when watering. Clean these vents monthly using a brush or toothpick to keep air flowing freely. Additionally, flush the interior with mild vinegar every three months—about one part vinegar to three parts water—to dissolve mineral deposits that can restrict water delivery. For similar results, reviewers often cite top ghost with chicken wire when seeking durable flow components. For high-volume canning tasks, a pressure canner ensures consistent temperature control for safe preservation. For those building a durable watering station, a raised garden bed cover can protect the can from debris and sun damage.
For leak prevention, inspect the high-density silicone gasket in the lid every six months. Replace it annually or if you notice cracks or hardening. The double-lock lid system is designed to prevent accidental spills; always ensure it’s fully engaged before lifting or carrying the can. Don’t forget the spout, which has micro-perforations prone to clogging with debris. Rinse the spout with warm water every two weeks to maintain an even, drip-free flow. After each use, dry the spout and lid thoroughly to prevent algae growth and keep your watering can operating seamlessly.