How to Use a Food Dehydrator for Homesteading
Wondering how to effectively dry your garden’s harvest using a food dehydrator? Achieving perfectly dried fruits, veggies, and meats is about more than just turning on the machine.
Proper prep, the right temperature, and careful monitoring will help you preserve food safely and efficiently. Keep reading for step-by-step tips to master dehydration all year round.
Prep Your Produce for the Dehydrator
Start by thoroughly washing your produce using cool water to remove dirt and any chemical residues. Studies show that vinegar and commercial fruit washes offer minimal benefit compared to plain water. Choose only fresh, high-quality items to ensure the best results. Trim off any inedible parts, peel if necessary, and cut your produce into uniform sizes—slices between 1/8 and 3/8 inch or dices of 1/2 inch—to promote even drying. Remove pits, seeds, and any other parts that won’t dehydrate well.
Pretreat your produce to enhance flavor and preserve color. For fruits, soak them in a solution containing vitamin C or citric acid to prevent browning. For vegetables, blanch them in boiling water for 3 to 5 minutes to deactivate enzymes that can cause spoilage and loss of quality. Berry skins can be cracked with boiling water to help dry more evenly. For those raising chickens on a homestead, a well-ventilated chicken coop can aid in keeping dried goods stored in a separate, cool area free from pests. Choosing the right construction sand for the coop floor can also help maintain a dry, clean environment for your poultry. Any leftover coffee grounds from your morning brew can be added to a top-rated compost bin to enrich your garden soil.
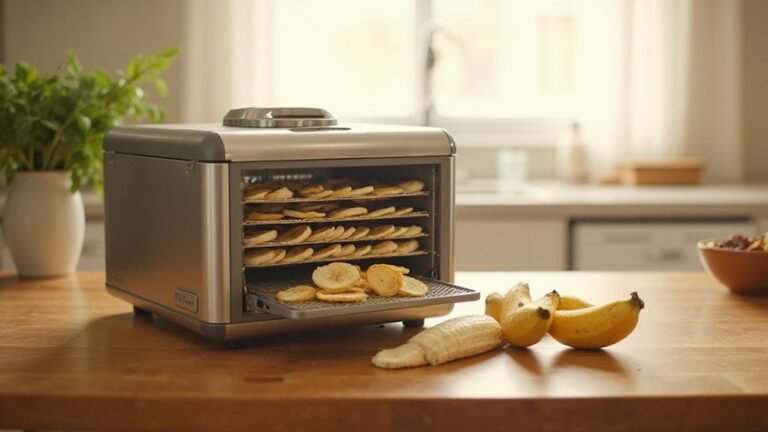
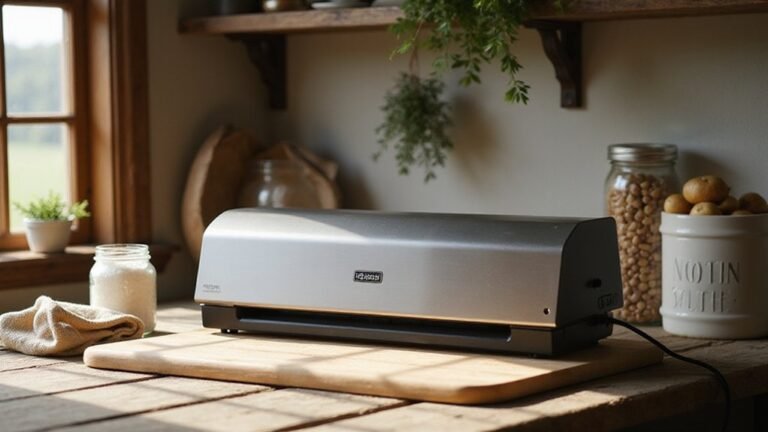
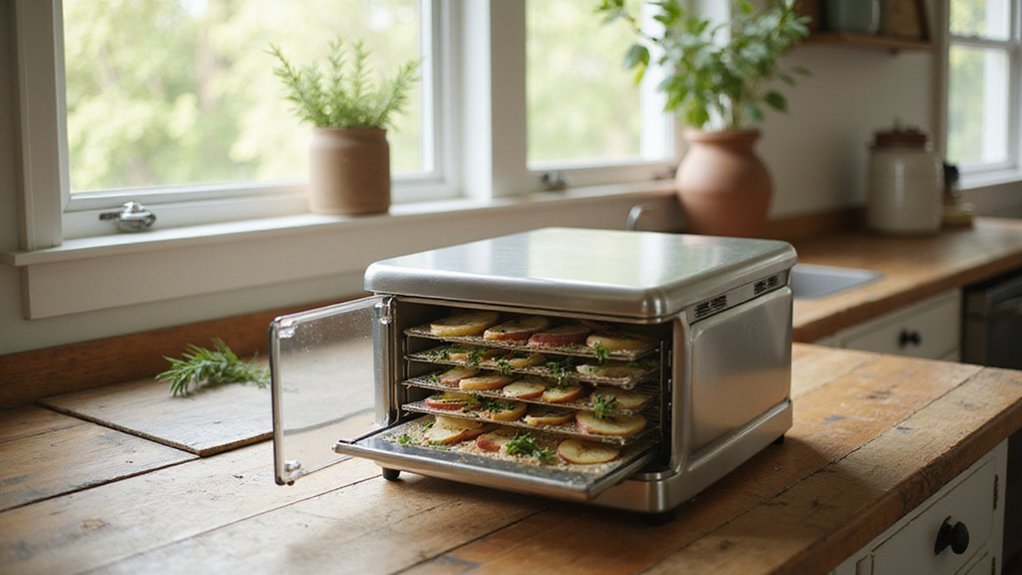
Once prepped, arrange the pieces flat on your dehydrator trays with space between each piece to allow proper airflow. Proper spacing ensures even drying and reduces the risk of mold. It’s also wise to think about your packaging early — most dried goods store best in glass jars or vacuum-sealed bags kept in a cool, dark pantry to maintain freshness and prevent moisture from re-entering.
Set the Right Temperature for Each Food Type
Setting the right temperature is crucial for effective dehydration of different foods. Herbs and leafy greens should be kept between 95°F and 115°F to maintain their delicate structures, vibrant color, and nutrients; higher temperatures can lead to degraded flavor and appearance. Vegetables generally dehydrate best at 125°F to 135°F, but juicier types like tomatoes need slightly lower temperatures, around 115°F to 125°F, to prevent burning and preserve freshness. Fruits tend to dehydrate efficiently at 130°F to 140°F, which speeds up drying time without compromising texture or flavor. Meats require the highest temperatures, typically between 145°F and 160°F, to ensure all harmful bacteria are eliminated. Always calibrate your dehydrator’s temperature settings to ensure accuracy, as fluctuations can extend drying times and reduce the quality of your dried foods. For comparison, roosting bars for chickens should be at a consistent height to ensure their comfort and safety, much like consistent temperatures ensure even drying. Homesteaders can also draw inspiration from Pokémon watering cans used for plant care, as they offer durable, even-flow designs that mirror the precision needed for consistent dehydration. Similarly, when composting garden waste, it is important to know that weeds with seeds can survive low-temperature compost piles and should be avoided to prevent spreading unwanted plants.
Load Trays and Rotate for Even Airflow
Load trays with proper spacing and rotate regularly to ensure even airflow during dehydration. Leave at least 2.5 inches of space between each tiered tray and ensure there is a minimum of 3 inches of free space at the top to promote consistent air circulation. Skip one tray slot between trays to enhance upward airflow, and avoid stacking trays directly on top of each other; maintaining uniform spacing prevents air stagnation. This careful arrangement mirrors the principles of a simple compost bin where airflow is equally essential for proper decomposition.
Arrange food in single layers without overlapping, with at least 1 inch of space between pieces. Uniform slice thickness helps achieve even drying, while overcrowding can hinder the process by blocking air movement. For the best results, start with popular recipes like dehydrated fruit leathers that are simple to prepare and require minimal monitoring.
Rotate trays every 1 to 2 hours: flip trays vertically, move the top tray to the bottom, and shift side trays toward the center. For large pieces, turn them halfway through the dehydrating process. Stir small bits to prevent sticking and ensure thorough dehydration. This consistent rotation helps achieve evenly dried results across all items. Proper air circulation is critical, much like ensuring nesting box ventilation prevents moisture buildup for wood ducks.
How to Test Dehydrated Food for Dryness?
To test dehydrated food for dryness, start by assessing its texture after cooling to room temperature. Bend a piece of fruit; it should feel leathery and flexible without being sticky. Break a vegetable; it should snap cleanly with a sharp “plink.” Crumble herbs; they need to break apart instantly without clumping.
Next, check for visual signs of moisture by cutting a sample in half. Look inside for any water droplets or damp spots. Press the pieces together—if they stick or clump, they’re not fully dry. For a final test, seal a cooled sample in a jar and leave it for 24 hours. Any condensation forming inside indicates residual moisture, meaning you need to return those pieces to the dehydrator. If no fog appears, the food has achieved the proper level of dryness.
Store Dried Food in Airtight Containers for Long Life
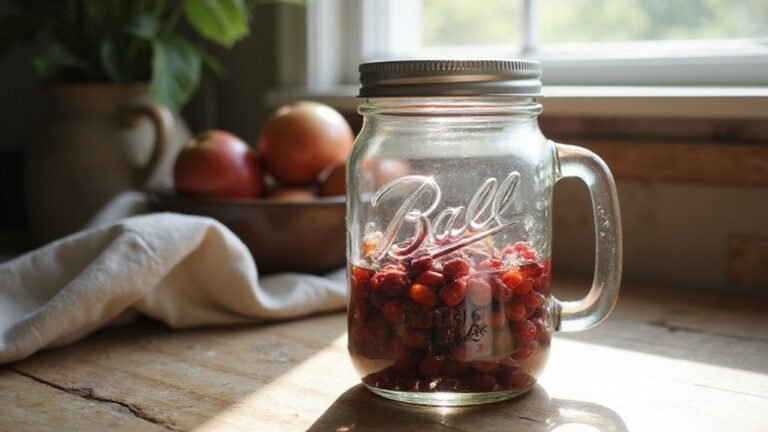
Properly storing dried food in airtight containers is essential to maintaining its quality and maximizing shelf life. Begin by thoroughly cleaning your storage containers—whether glass jars, HDPE buckets, or metal cans—using hot, soapy water. Ensure they are completely dry before use to prevent moisture buildup. Make sure all lids seal tightly to prevent air infiltration. When using mason jars, fill them nearly to full capacity before shaking to maximize space and reduce oxygen, as glass acts as an absolute barrier against oxygen and moisture. For best results, keep storage containers at least six inches off the floor to allow for proper air circulation as recommended.
To further protect your dried food, add a 300 cc oxygen absorber for each gallon of storage to remove residual oxygen. Seal pouches with impulse sealers or securely tighten lids on rigid containers to create an airtight environment. Labels are crucial—write the food type and packing date on each container to keep track of freshness.
Store your dried goods in a cool, dark place with temperatures between 50°F and 70°F. Humidity should remain below 60% to prevent mold and spoilage. Keep containers at least 6 inches off the floor and away from walls, allowing for proper air circulation. Regularly check your stored items monthly for signs of mold, webbing, or off-odors. If condensation appears, re-dry the food immediately to prevent spoilage. Use older stock first by following the FIFO method. For even longer storage, consider freezing dried foods, which can significantly extend their shelf life.